


To install your winter pool cover correctly, you’ll need to first balance your water chemistry (pH 7.2-7.6) and shock the pool 48 hours before covering. Lower the water level below the skimmer, then thoroughly clean and remove debris. You’ll need proper safety gear, anchoring hardware, and measuring tools to guarantee precise fit. Position the cover by floating it in the pool, secure with properly spaced anchors, and maintain ¾-filled water bags along edges. Further installation steps will guarantee your pool’s protection throughout winter.
Essential Pool Preparation Steps
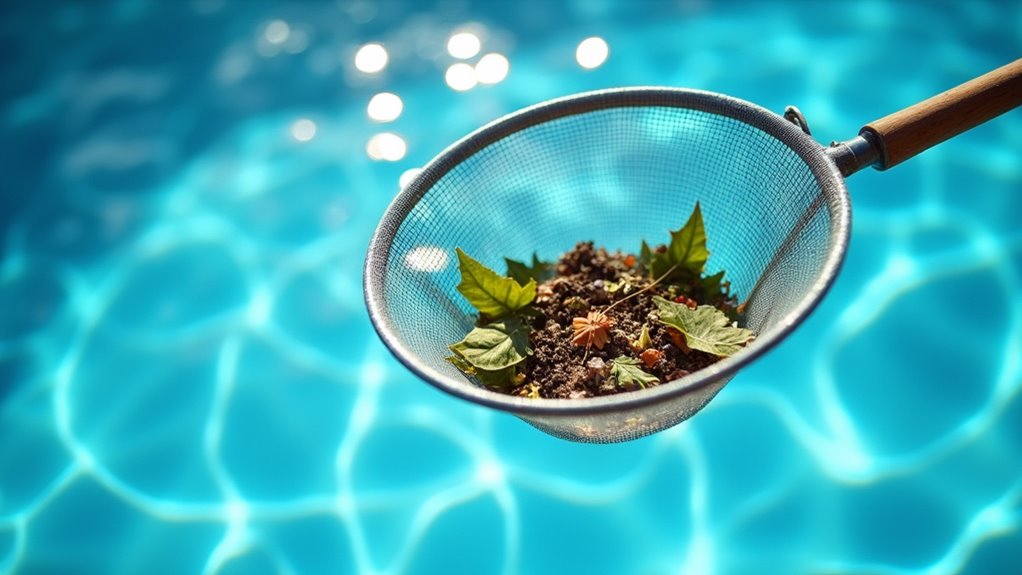
Before beginning your winter pool cover installation, properly preparing your pool is critical to prevent damage and guarantee effective protection throughout the cold season. Start your winter preparation by lowering the water level below the skimmer or installing a cover plate to maintain proper levels. Test and drain all pumps, heaters, and plumbing systems to prevent freeze damage. Ensure your water chemistry is properly balanced to prevent algae growth during winter closure. Use E-Z POOL winterization solution to maintain water clarity throughout the season.
Remove any floating debris and pool equipment that could strain your pool cover. If you’re using an ice equalizer pillow, inflate it to ½–¾ capacity to manage ice expansion effectively. Having a partner for assistance will make the cover installation process much smoother and safer. Secure all return line plugs and winterize your filter and pump system to prevent corrosion. You’ll also need to carefully clean skimmer and pump baskets, ensuring they’re completely drained before proceeding with your pool cover installation.
Tools and Equipment Checklist
Before gathering your installation tools, you’ll need essential safety equipment including protective gloves, a safety harness for fall protection, and proper footwear to guarantee secure footing around the pool perimeter. Your basic tool requirements encompass measuring devices like tape measures and chalk lines, along with core installation equipment such as drills, wrenches, and anchoring hardware. For best results, consider adding specialized equipment like a heavy-duty rotary hammer drill, winter cover pump, and chemical testing kit to your arsenal. Having the right tools not only ensures proper installation but helps achieve maximum heating efficiency when the cover is in place. Using several 5-gallon buckets as weights can help maintain proper cover centering during the installation process. A thorough chemical balance test should be performed before covering to ensure proper winterization of the pool water.
Essential Safety Equipment Needed
Installing a winter pool cover requires five essential categories of tools and safety equipment to guarantee proper installation and worker protection. Your safety gear must include protective goggles, especially when operating the hammer drill or working with anchors. Keep your installation checklists organized by grouping tools into drilling equipment (hammer drill with masonry bits), anchoring components (brass anchors and screws), and measuring tools (chalk lines and tape measure). Since safety covers are designed to support heavy weight, always verify your anchoring equipment meets load-bearing requirements. Safe installation helps prevent accidental drownings and provides essential protection for your pool investment.
Ensure you’ve got proper area preparation equipment, including a shop vac or garden hose for cleanup, and strategically placed 5-gallon buckets for tool organization. For enhanced security against damage, consider using online protection services during installation research and planning. Position extension cords carefully to prevent tripping hazards while providing power to your drill. Always double-check that your anchor points are clearly marked and your safety equipment is readily accessible before beginning the installation process.
Basic Installation Tools Required
A thorough pool cover installation requires five essential tool categories: drilling equipment, measurement tools, anchoring components, support materials, and general tools. To guarantee proper installation techniques, you’ll need specialized tools like tamping tools and installation rods for secure anchor placement and spring tensioning. If you encounter any issues accessing installation guides online, you may need to provide your Cloudflare Ray ID for support.
These tool types work together systematically during different installation phases. The tamping tool helps you set anchors firmly into pre-drilled holes, while the installation rod allows precise spring tensioning to achieve ideal cover tautness. Having the right tools ready before starting guarantees efficient workflow and prevents installation delays.
When organizing your tools, keep anchoring components separate from general installation equipment, and always verify that specialized tools match your cover manufacturer’s specifications to ensure proper installation and long-term performance.
Advanced Equipment Recommendations
Professional pool cover installation demands several specialized equipment categories beyond basic tools. You’ll need precision alignment tools like a laser level and chalk line reel to guarantee accurate anchor placement, along with advanced tensioning techniques using hex keys and ratchet handles for cover springs.
For peak drainage solutions, invest in a submersible pump with freeze sensors and an EZ Drain Winter Cover System. Include stabilization equipment such as reinforced air pillows and weighted cover bags to maintain proper tension throughout winter conditions.
Don’t overlook winterization accessories you’ll require chemical stabilizers, pH test strips calibrated for cold weather, and timed-release algaecide injectors. For complex pool shapes, use a centering template and string grid system to achieve professional-grade anchor spacing and alignment. Remember to incorporate automatic chlorinators for post-installation maintenance.
Measuring Your Pool for the Perfect Cover Fit
Precise measurements serve as the foundation for a properly fitting winter pool cover. You’ll need to determine your pool’s shape first, whether it’s a standard rectangle, Roman, kidney, or freeform design, as this dictates your measuring techniques. For rectangular pools, measure both diagonally and straight across to guarantee measurement accuracy. Round up measurements to the next available standard cover size for optimal fit. Using the wrong size cover can lead to costly water damage and debris accumulation over the winter months.
If you’ve got a freeform pool, start from the center and work outward using the AB measuring method. Don’t forget to account for features like built-in steps, waterfalls, or raised spas. You’ll also need to measure around non-removable obstacles such as handrails or lighting fixtures. Snap multiple photos from different angles to document all measurements accurately. If your water level is below the skimmer, add this difference to your measurements. For custom covers, establish reference points 5 feet from the pool’s edge and follow manufacturer guidelines precisely.
Selecting the Right Winter Cover Type
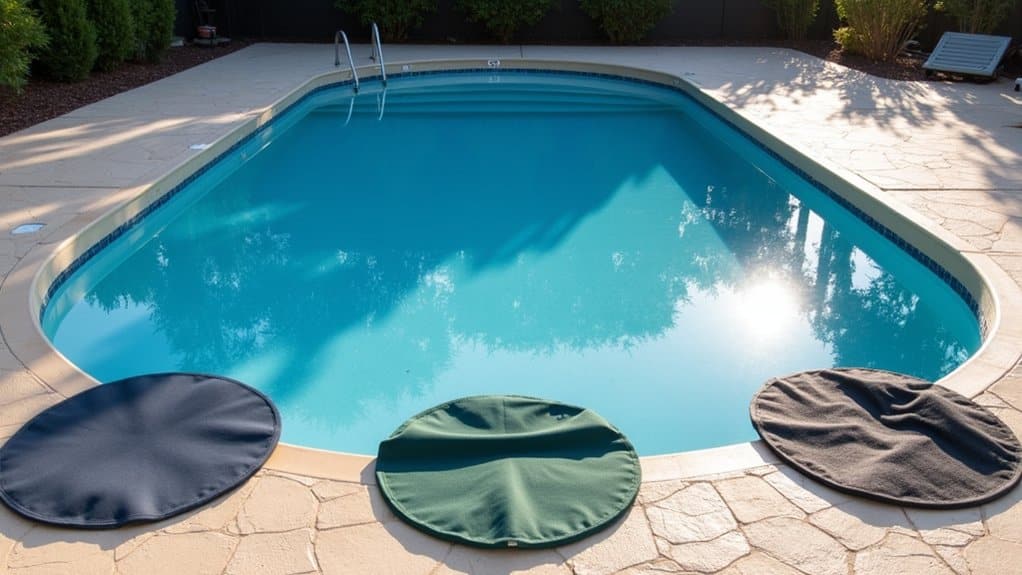
Several critical factors determine the ideal winter pool cover for your specific needs, including regional climate, maintenance preferences, and safety requirements.
If you experience heavy snowfall, consider a mesh cover‘s superior snow-handling capabilities and self-draining design. For best cover durability in harsh conditions, security covers offer exceptional strength and safety features, though they’ll require deck modifications for anchoring. Consider covers with reinforced materials for maximum protection against winter elements. Standard tarp covers typically last 3 seasons before requiring replacement. When cover aesthetics and convenience are priorities, automatic covers provide a sleek appearance and effortless operation, but they’re the most expensive option.
For moderate climates, solid covers effectively prevent algae growth and maintain cleaner spring water, though you’ll need a cover pump for drainage. Many pool owners choose to add leaf nets over their winter covers for easier debris removal during fall. If you’re on a tight budget, tarp covers offer basic protection but won’t withstand extreme weather conditions or heavy debris loads.
Safety Precautions Before Installation
You’ll need to equip yourself with essential safety gear including work gloves, safety goggles, knee pads, and non-slip footwear before beginning the pool cover installation. Your power tools must have GFCI protection and weatherproof extension cords to prevent electrical hazards around the pool area. Keep a first aid kit, emergency contact numbers, and a partner nearby to assist with heavy lifting and provide immediate help if needed.
Required Safety Equipment Needed
Before beginning any pool cover installation, gathering proper safety equipment guarantees protection against common hazards while working around water and with power tools. You’ll need safety gear including protective gloves when handling the rotary drill and masonry bits. Keep your extension cord safely routed away from water sources and ascertain proper grounding.
While using power tools like the hammer drill, wear safety goggles and ear protection. Have a first aid kit readily accessible and establish emergency procedures before starting work. When operating the shop vac or handling chalk and measuring tools, maintain stable footing on non-slip surfaces. Store your tools in buckets to prevent tripping hazards and keep the work area organized. Remember that hazard awareness includes keeping electrical equipment away from pool water and maintaining clear pathways around your workspace.
Preventing Installation Accidents
Taking proper safety precautions during winter pool cover installation greatly reduces the risk of accidents and guarantees a secure fit. Before you begin, thoroughly inspect your cover’s integrity by checking for tears, damaged seams, and worn straps that could compromise installation safety.
You’ll need to clear your work area completely by removing ladders, furniture, and debris that might interfere with cover placement. Keep the deck dry and restrict access to prevent slips and falls. Secure any sharp deck edges with protective padding to avoid punctures during installation.
When you’re ready to install, center the cover carefully and mark your anchor points before drilling. Don’t skip testing anchor stability and spring tension. Remember to maintain proper water chemistry levels to protect your cover’s material during winter storage.
Step-by-Step Cover Installation Process
Installing a winter pool cover requires careful attention to a systematic process that protects both the cover and pool structure. During winter preparation, begin by clearing debris and adjusting water levels to manufacturer specifications. You’ll need to balance pool chemicals before starting cover maintenance.
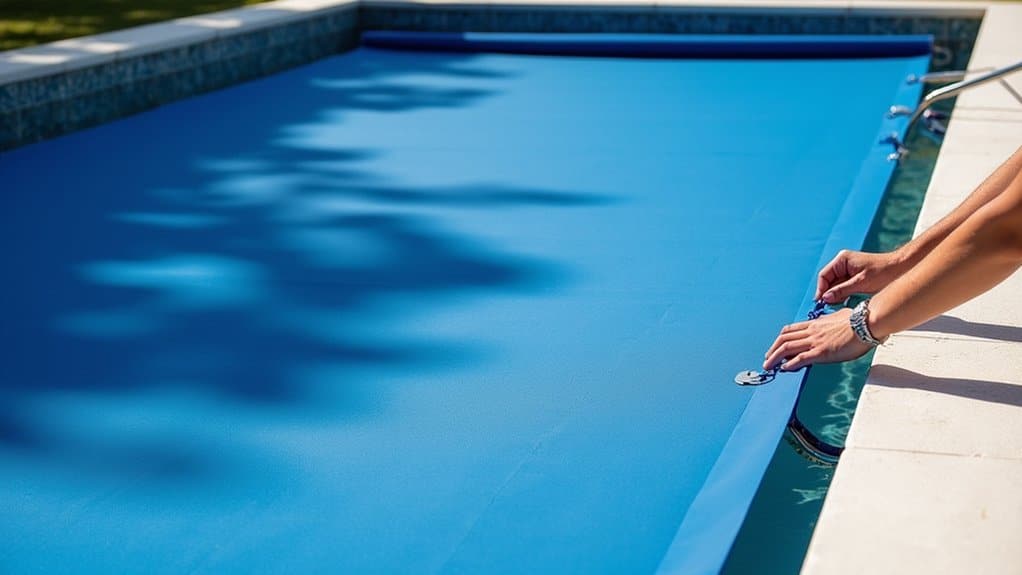
First, unfold your cover on a flat surface and verify proper sizing. Position it over the pool with a partner, using smooth wave motions to eliminate wrinkles. Next, secure the edges with water bags filled to ¾ capacity, threading cover loops through the handles. Don’t forget to leave room for ice expansion.
Reinforce corners by connecting rope loops between wall bags and edge bags. Finally, check for proper tension, ensuring the cover extends past the coping while maintaining a 1-2 inch gap above the water surface.
Proper Anchoring and Securing Techniques
Secure anchoring serves as the foundation for a properly installed winter pool cover, requiring specific hardware and techniques based on your pool’s surrounding surface materials. Select the appropriate anchor types: brass anchors for durability, concrete-specific anchors with 3/4″ holes, or 9-18″ pipe anchors for pavers. Wood decks need pre-drilled holes with screw anchors.
For proper tension alignment, use chalk lines between corner anchors and maintain 18″ spacing from edges. Install anchors according to your surface type: drill and tamp concrete anchors, use spade bits for wood, or drive lawn pins into soil. Supplement your installation with water bags positioned 18″ apart, filled to ¾ capacity, or winter cover blocks along edges. Remember to inspect anchors annually and clean debris before installation to guarantee peak performance.
Water Chemistry and Treatment Requirements
Before installing your winter cover, you’ll need to establish precise chemical balance with pH between 7.2-7.6, calcium hardness at 400-500 ppm for solid covers or 180-220 ppm for mesh covers, and appropriate alkalinity levels based on your cover type. You must shock the pool 24-48 hours before covering, maintaining a chlorine level of 3-5 ppm while guaranteeing the water is crystal clear and debris-free. Apply manufacturer-recommended winterizing solutions after the shock treatment has fully circulated but before water temperatures drop below 65°F to guarantee maximum effectiveness.
Chemical Balance Before Covering
Proper chemical balance stands as the cornerstone of successful pool winterization, requiring careful attention to pH, alkalinity, and calcium hardness levels before installing your winter cover.
Start with chemical testing to verify your pH falls between 7.6-7.8, which will counteract the natural pH drop in stagnant water. You’ll need to adjust alkalinity based on your cover type: 100-150 ppm for solid covers and 80-120 ppm for mesh covers. For calcium hardness, maintain 400-500 ppm with solid covers or above 500 ppm for mesh covers, especially in areas prone to hard freezes.
Make pH adjustments gradually to avoid cloudiness, and document all chemical readings for insurance purposes. If you’re using a solid cover, you’ll need higher initial chemical levels since you won’t be able to make frequent adjustments during winter.
Shock Treatment Guidelines
Three critical steps define effective pool shock treatment during winterization: timing, application, and monitoring. For ideal shock application, you’ll need to perform this treatment after cleaning but before adding other winterizing chemicals. Pre-dissolve granular chlorine and distribute it evenly around your pool’s perimeter at night to prevent UV degradation and guarantee proper chlorine stabilization.
- Test water chemistry before shocking, confirming pH levels are between 7.2-7.4
- Run the pump continuously during treatment to maximize chemical circulation
- Wait 24 hours after shocking before covering your pool
- Maintain chlorine levels between 1.0-3.0 ppm post-treatment
- Keep shock products separate from other winterizing chemicals to prevent adverse reactions
Monitor water parameters after treatment and guarantee complete circulation before proceeding with winter cover installation. Never combine shock with other chemicals unless specifically indicated on product labels.
Winterizing Solution Applications
Following shock treatment, maintaining precise water chemistry becomes a cornerstone of successful pool winterization. You’ll need to adjust alkalinity to 100-150 ppm and calcium hardness to 400-500 ppm while water temperatures remain above 65°F. Pre-dissolve all chemicals in warm water before adding them to guarantee proper distribution.
Your winterization checklist should include reducing sanitizer levels to 3-5 ppm, which helps conserve resources while maintaining protection. If you’re using a mesh cover, maintain higher alkalinity levels to combat pH fluctuations. For solid covers, focus on moderate calcium hardness levels to prevent etching. These chemical adjustments directly impact your cover longevity and pool surface protection. Remember to test and balance all chemical levels before water temperatures drop below 65°F to guarantee ideal effectiveness during the winter months.
Common Installation Mistakes to Avoid
Successful winter pool cover installation hinges on avoiding critical mistakes that could compromise safety and performance. Among the most common mistakes are improper obstacle management, incorrect cover stretching, and inadequate securement. To guarantee a proper installation that withstands winter conditions, you’ll need to follow precise installation tips and safety protocols.
- Don’t rely on cable systems to bypass drilling around obstacles always anchor at water level for proper tension
- Install covers by floating in the pool rather than working from deck level to guarantee correct placement
- Remove all debris and balance water chemistry before covering to prevent cover damage
- Use correct-sized covers and maintain proper anchor spacing to prevent sagging
- Perform regular post-installation checks to identify loose straps, wind damage, or tension issues
Winter Maintenance and Cover Care Tips
Maintaining your pool cover throughout winter requires a systematic approach to prevent damage and guarantee lasting protection. Begin your winter cover maintenance by monitoring water chemistry levels, keeping pH between 7.2-7.6 and ensuring proper chemical balance before covering. You’ll need to implement regular debris removal techniques using a leaf blower or soft-bristle brush to prevent accumulation.
When snow arrives, promptly remove it to avoid cover stress, and use your cover pump to drain melted water. You’ll want to perform weekly integrity checks, testing cover tension and inspecting for damage. Keep the surface dry and maintain proper water levels below the skimmer for solid covers and above 18″ for mesh types. Remember to adjust straps to maintain 50% spring compression and center the cover for ideal weight distribution.
Frequently Asked Questions
How Long Can I Expect My Winter Pool Cover to Last?
Your winter pool cover’s lifespan depends heavily on its material and how well you maintain it. You’ll get 6-10 years from thick vinyl covers with UV-resistant coatings if you’re diligent with seasonal maintenance. Mesh covers can last 10+ years but require more frequent cleaning. Basic tarps only last 1-3 seasons. To maximize cover durability, you’ll need to prevent water pooling, store it properly when dry, and protect it from chemical exposure.
Can I Install a Winter Cover During Rainy Weather?
While you can install a winter cover during rain, it’s not ideal and requires extra precautions. You’ll need to maintain proper tension despite wet conditions and make certain water doesn’t pool excessively during installation. Higher water levels can actually help with cover floatation and centering, but you’ll want to pump off accumulated rainwater immediately after securing the cover. Always handle the material carefully as it becomes more slippery and susceptible to damage when wet.
Should I Remove Snow Accumulation From My Pool Cover?
Yes, you’ll need to remove snow from your pool cover as part of regular cover maintenance. Remove accumulations of 2 feet or more to prevent damage from excess weight. Use a soft-bristle broom or specialized pool cover snow removal tool never a shovel, which can tear the material. Don’t wait until snow becomes heavy and wet; it’s easier to remove when fresh. Remember to clear meltwater with a cover pump to prevent refreezing.
What’s the Best Way to Store My Pool Cover During Summer?
For proper storage of your pool cover during summer, you’ll need to clean it thoroughly with mild detergent and let it dry completely to prevent mildew. Roll the cover in 4-foot sections and store it in a ventilated container with rodent deterrents. As part of seasonal maintenance, keep the cover in a cool, dry place below 120°F, away from direct sunlight. Don’t forget to elevate the container off the ground and check it every few months.
Can I Reuse Water Tubes From Previous Seasons?
Yes, you can reuse water tubes if you maintain them properly. Before each season, inspect your tubes carefully for pinholes and valve damage. You’ll need to clean off debris and chemical residues, then apply flexible sealant to repair minor punctures. When installing reused tubes, fill them to ⅔ capacity to prevent freeze damage and guarantee they remain flexible. If stored in freezing climates, don’t forget to add antifreeze to protect the vinyl material.