


To repair your fiberglass pool, you’ll need specific tools including a complete repair kit with resin, cloth, and gel coat, plus safety equipment like chemical-resistant gloves and a respirator mask. Start by draining the pool, identifying leaks with dye tests, and preparing the surface through acid etching. For crack repairs, clean thoroughly, apply bond coat, reinforce with fiberglass cloth, and finish with gel coat layers. Proper technique and safety measures guarantee professional-quality results. Investing in top brands for fiberglass pools ensures better materials, durability, and support. Pairing quality construction with regular inspections helps prevent costly repairs and keeps your pool in top condition.
Essential Tools and Safety Equipment for Pool Repair
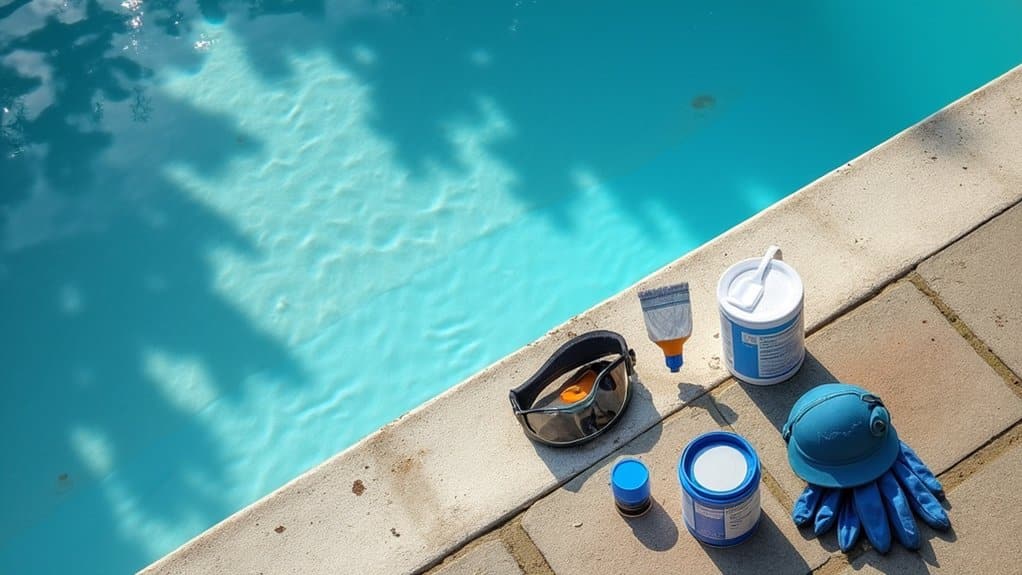
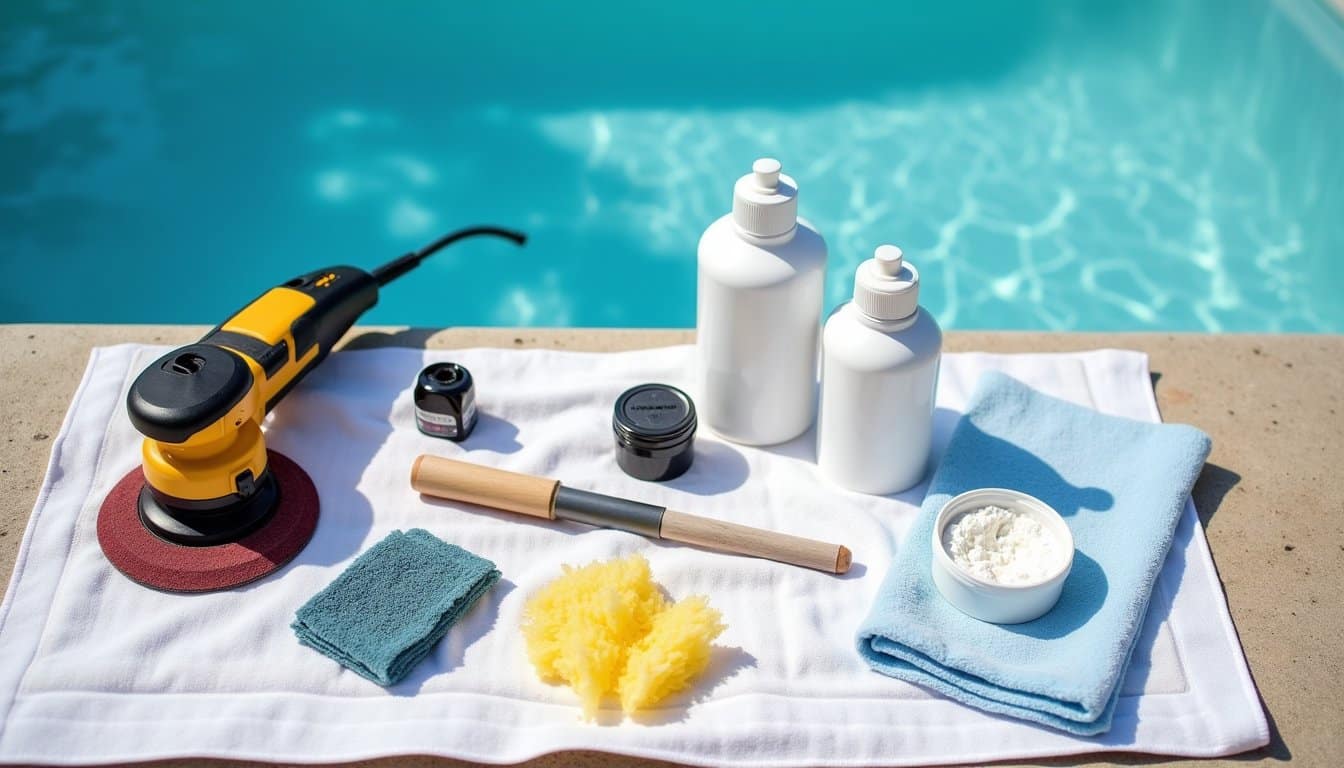
Three primary categories of tools and equipment are essential for repairing a fiberglass pool: repair kits, application tools, and safety gear. Your tool selection should include a complete fiberglass repair kit with resin, cloth, and gel coat, along with bond coat and marine-grade fillers for structural repairs. A reliable leak detection kit with dye syringes will help you precisely identify problem areas before starting repairs. For optimal effectiveness in your repairs, ensure proper surface preparation as fibreglass pools feature a smooth gel finish that requires careful cleaning and sanding.
For proper application, you’ll need an electric disc sander, putty knives, and paintbrushes. Don’t forget essential surface preparation items like acetone cleaner and various grits of sandpaper. Regular inspections can help identify problems before they become major issues. Safety practices require protective equipment including chemical-resistant gloves, safety glasses, and a respirator mask to guard against harmful fumes. You’ll also need proper ventilation and a fire-resistant apron when working with flammable materials. Consider adding a safety harness if you’re working on raised areas of the pool.
Preparing Your Pool Surface for Restoration
Before initiating any fiberglass pool restoration, proper surface preparation stands as the most vital phase of the entire repair process. You’ll need to start by completely draining your pool using a submersible pump, ensuring the hydrostatic plug remains secure afterward. Professional expertise is highly recommended for achieving optimal resurfacing results. Keep protective gear ready throughout the preparation process. For long-lasting results, apply a base primer coat before any resurfacing material.
Surface preparation involves several essential cleaning techniques. First, conduct dye tests to identify any leaks that require sealing. Next, remove old gel coats through pressure washing or sandblasting, followed by acid etching with muriatic acid to create an ideal bonding surface. Don’t forget to neutralize the acid with baking soda afterward.
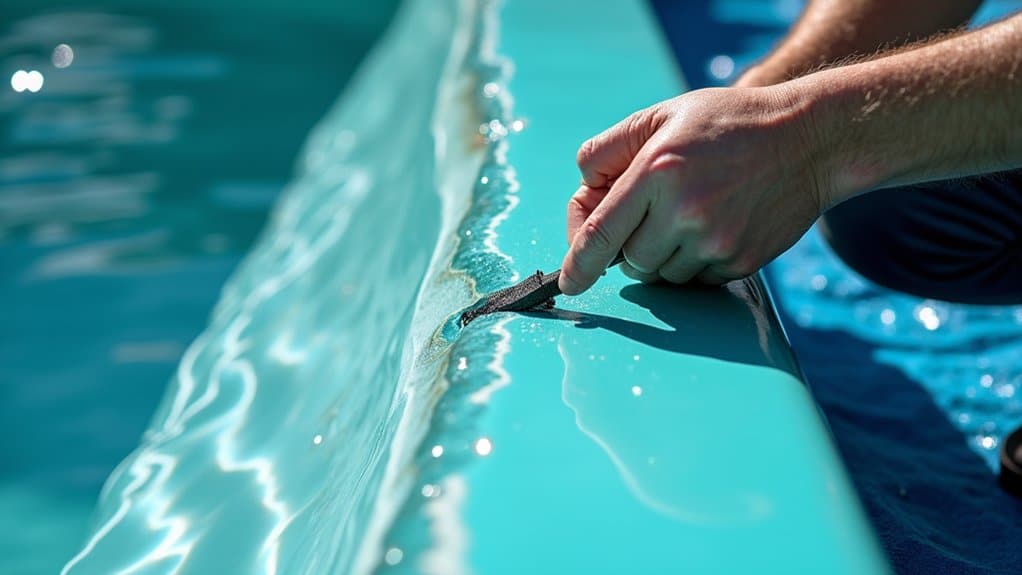
You’ll then need to repair cracks using fiberglass patch kits and address any bulges or blisters. Progress through multiple sanding stages, starting with 80-grit and finishing with 320-grit sandpaper, creating a suitable surface for new coating application.
Step-by-Step Fiberglass Crack Repair Guide
A successful fiberglass pool repair starts with identifying and addressing cracks through a systematic repair protocol. Begin with crack evaluation to determine severity and select appropriate repair materials. For small cracks, you’ll need epoxy or putty; larger ones require hydraulic cement and professional-grade tools. Maintaining proper water chemistry levels helps prevent future cracking and deterioration. Wear appropriate protective equipment including a respirator, gloves, and safety glasses when working with fiberglass materials.
Clean the damaged area thoroughly by removing debris with a wire brush, then sand the surface and wipe with acetone. Modern electric disk sanders provide more consistent results when preparing the repair surface. Apply your bond coat and let it cure until tacky. Mix polyester putty according to the kit’s instructions and apply it evenly. For structural support, reinforce with fiberglass cloth, extending 2 inches beyond the repair area. Complete the process with multiple gel coat layers and a protective sealant. Allow 2-3 days for curing before refilling your pool.
Advanced Repair Techniques for Serious Damage
Major structural damage to fiberglass pools requires advanced repair techniques and careful assessment before proceeding. When you’re dealing with severe cracks or structural issues, you’ll need to implement advanced sealing methods and professional-grade resin layering techniques. Certified professionals should oversee complex repairs to ensure proper warranty coverage and safety. The application of premium materials like ecoFINISH and polyFIBRO® provides superior durability for long-lasting repairs. Marine-grade sealant must be applied to ensure complete waterproofing of the repaired areas.
For significant damage, follow these critical steps:
- Drain the pool completely and disconnect all electrical components before conducting a thorough inspection of the damage
- Use specialized tools to remove damaged sections, including proper surface preparation with electric sanders and acetone cleaning
- Apply multiple layers of epoxy resin and gel coat, ensuring proper curing between applications
If you encounter osmotic blisters or recurring structural issues, don’t attempt repairs yourself. These conditions require professional intervention due to the specialized equipment and expertise needed for proper restoration and long-term durability.
Long-Term Pool Care and Damage Prevention
While addressing serious damage requires intensive repair work, preventing issues through proper maintenance saves both time and money in the long run. Regular pool maintenance should include weekly chemical checks, surface skimming, and filter operation for at least six hours daily during peak season. Using Tri-Chlor tablets only helps prevent damage to fiberglass surfaces. Since fiberglass has a nonporous surface, algae growth is significantly reduced compared to other pool types. You’ll need to brush pool walls twice weekly and maintain proper water levels at mid-skimmer height. Monthly testing of water chemistry including total alkalinity levels should be conducted to ensure optimal pool conditions. In addition to regular maintenance, hiring a professional pool service offers expert care, early problem detection, and specialized tasks like deep cleaning and equipment checks, extending your pool’s lifespan and enhancing your enjoyment.
For effective damage prevention, conduct routine damage assessments and schedule professional inspections to catch problems early. Don’t use metal tools or sharp objects that could chip the fiberglass, and only apply chemicals specifically designed for fiberglass pools. Store your equipment properly during off-seasons, and guarantee winter covers fit correctly to minimize chemical use. After storms or large gatherings, remove debris promptly to prevent surface staining and structural stress.
Frequently Asked Questions
How Long Can I Expect My Fiberglass Pool Repair to Last?
Your fiberglass pool repair longevity depends on several key factors. Professional-grade repairs using high-quality resins can last 10-15 years, while DIY fixes might only last 1-2 years. You’ll extend your repair’s lifespan by maintaining proper chemical balance, conducting annual inspections, and promptly addressing any new issues. For best results, you should use UV-resistant materials and guarantee proper surface preparation before repairs begin.
Can I Repair My Pool During Rainy Weather Conditions?
While you can perform pool maintenance during rain, it’s not ideal for repairs. Rainy repairs face significant challenges like poor material adhesion, contamination risks, and extended curing times. You’ll need to use temporary canopies, industrial blowers, and work in small sections during dry spells. If possible, you should postpone major repairs until dry weather conditions prevail. For emergency fixes, guarantee you’re protecting work zones and allowing extra curing time.
Will the Repaired Area Look Different From the Rest of My Pool?
Yes, your repaired area may look slightly different from the surrounding pool surface. Color matching can be challenging, especially with aged or sun-faded surfaces, and you’ll likely notice subtle variations in surface texture. While skilled technicians use specialized techniques to minimize these differences, achieving a perfect match is difficult due to environmental factors and application methods. For the most seamless appearance, you’ll want to hire a certified technician with experience in fiberglass repairs.
Should I Hire Professionals for Hairline Cracks in My Pool?
Yes, you should hire professionals for hairline cracks, as they can indicate serious structural issues that DIY repairs won’t adequately address. While DIY kits cost $20-$100, failed attempts often require professional correction, ultimately costing more than the initial $300-$1,000 professional repair. Certified technicians use specialized tools to assess crack depth and properly reinforce damaged areas. They’ll also provide warranties and prevent costly future replacements through proper structural repairs.
What Temperature Conditions Are Ideal for Fiberglass Pool Repairs?
For ideal fiberglass pool repairs, you’ll need to maintain specific temperature conditions. Keep the water temperature between 78-82°F during the repair process, and don’t exceed 96-98°F when heating. The perfect temperature for material application requires a clean, dry surface at moderate ambient temperatures. You should make gradual temperature adjustments to prevent stress on materials and guarantee proper curing. Monitor temperatures consistently throughout repairs for the best results.