


To repair pool deck cracks, start by thoroughly cleaning the damaged area and removing loose debris with a pressure washer or stiff brush. Next, fill the crack with an appropriate sealant—elastomeric for moving cracks or epoxy for structural repairs—slightly overfilling to compensate for shrinkage. Ultimately, apply a high-quality deck sealer after the repair has fully cured (24-48 hours) to protect against future damage. These simple steps will extend your deck’s lifespan and improve its appearance.
Clean and Prepare the Cracked Surface
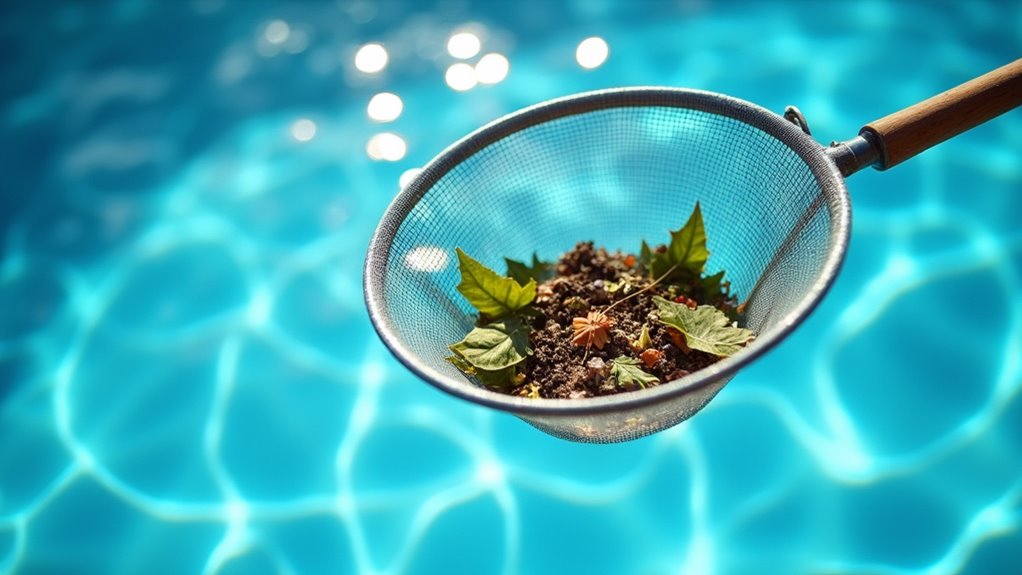
The initial step in successfully repairing pool deck cracks involves thorough cleaning and preparation of the damaged area. Begin with thorough surface cleaning using a pressure washer or stiff-bristled brush to remove dirt, algae, and loose debris from the crack and surrounding concrete. Once dry, perform a detailed crack inspection to determine its depth and width, as this will dictate the repair material needed.
Use a chisel and hammer to remove any crumbling concrete edges, creating a slightly wider base than top—this “undercut” profile helps the repair material bond securely. Vacuum all dust from the crack, then wipe the area with a damp cloth. Allow the surface to dry completely before proceeding with repairs. Don’t skip this preparation stage, as it greatly impacts the durability of your repair.
Fill and Patch the Pool Deck Cracks
Selecting the appropriate repair material marks your initial critical decision when filling pool deck cracks. Choose between elastomeric sealants for moving cracks or epoxy compounds for structural repairs. Apply your chosen crack filler with a caulking gun, making certain it penetrates deeply into the void. For wider cracks, you’ll need to use patch material that can withstand pool chemicals and temperature fluctuations.
- Work the filler into the crack completely, slightly overfilling to compensate for shrinkage during curing
- Smooth the surface with a putty knife held at a 45-degree angle, creating a slight crown above the deck
- Allow the patch material to cure according to manufacturer specifications before sanding flush with the surrounding surface
After filling, protect the repair from foot traffic and moisture until completely cured to guarantee maximum durability and longevity.
Seal and Protect Your Repaired Pool Deck
Once your repairs have fully cured, applying a high-quality sealer represents the final critical step in your pool deck restoration project. Wait at least 24-48 hours after patching before proceeding to guarantee proper adhesion.
Choose from numerous sealant options based on your deck’s material. Acrylic sealers provide UV protection and improve color, while penetrating sealers offer invisible protection without changing appearance. For maximum durability, consider polyurethane or epoxy protective coatings, which create a thick barrier against chemicals and heavy foot traffic.
Apply your chosen sealer using a roller or sprayer in thin, even coats. Work in sections to maintain a wet edge, and apply a second coat perpendicular to the initial. You’ll need to reapply sealant every 2-5 years depending on weather exposure and product quality.
Frequently Asked Questions
What Causes Pool Deck Cracks to Form Initially?
Your pool deck cracks form due to several key factors. Temperature fluctuations cause expansion and contraction of the concrete, creating stress points. When moisture infiltration occurs between these stress points, it weakens the structural integrity. You’ll notice this happens particularly during freeze-thaw cycles. Poor initial installation, inadequate concrete mix, improper curing, ground settlement, and excessive weight can also contribute to crack formation. Regular inspections help you identify these issues before they worsen.
How Often Should Pool Deck Repairs Be Done?
You should inspect your pool deck annually and perform repairs every 3-5 years depending on climate conditions and deck materials. Don’t wait for major damage—address hairline cracks immediately to prevent water infiltration. Your repair frequency can be reduced through proper maintenance tips: apply sealant every 2-3 years, control vegetation near the deck, maintain proper drainage, and avoid harsh chemicals for cleaning. Regular professional evaluations will help identify potential issues before they require extensive repairs.
Can I Repair Cracks in Winter Temperatures?
You shouldn’t attempt crack repairs during winter temperatures below 40°F as most repair materials won’t cure properly. If necessary, consider specialized winter repair techniques like cold-weather epoxies designed for low-temperature application. Temporary patching can prevent further damage until warmer conditions allow permanent fixes. For crack prevention methods during winter, maintain proper drainage away from the deck and use appropriate sealing products annually before cold weather arrives. Wait for temperatures to consistently exceed 50°F for ideal repair results.
Are DIY Repairs as Effective as Professional Services?
DIY vs Professional repair techniques differ greatly in effectiveness. Your DIY repairs can be successful for minor cracks if you follow proper procedures and use quality materials. However, professionals bring specialized equipment, extensive experience, and access to commercial-grade products that often yield longer-lasting results. They’re also trained to identify underlying issues you might miss. For hairline cracks, your DIY approach may suffice, but for structural concerns, you’ll achieve better durability with professional services.
How Do I Match the Color of My Existing Deck?
In order to match your existing deck color, collect color samples from inconspicuous areas of your deck surface. Take these samples to a home improvement store for professional color matching. You’ll need to take into account sun fading when selecting a match. For concrete decks, test small batches of tinted repair material before full application. Some manufacturers offer color charts for their products. Keep in mind that new materials will often appear slightly different until they weather naturally.