


Installing a San Juan fiberglass pool requires precise planning and execution across multiple phases. You’ll start with a thorough site assessment and permit acquisition, followed by careful excavation according to pool specifications. Next, you’ll need proper installation of plumbing and electrical systems before the fiberglass shell placement. The process continues with methodical backfilling and deck construction. Each phase demands attention to detail and professional expertise to guarantee your pool’s long-term structural integrity and performance.
Key Takeaways
- Site assessment includes evaluating soil conditions, utilities, and access points while creating detailed plans for optimal pool placement.
- Local permits and inspections must be secured before installation, ensuring compliance with safety codes and San Juan Pools’ guidelines.
- Professional excavation requires precise measurements, proper depth gradients, and stable foundation preparation with compacted gravel or sand.
- Installation of plumbing and electrical systems includes pressure-tested connections, GFCI protection, and proper equipment placement.
- Final stages involve systematic backfilling, reinforcement installation, and concrete deck construction with appropriate drainage slopes.
Initial Site Assessment and Planning
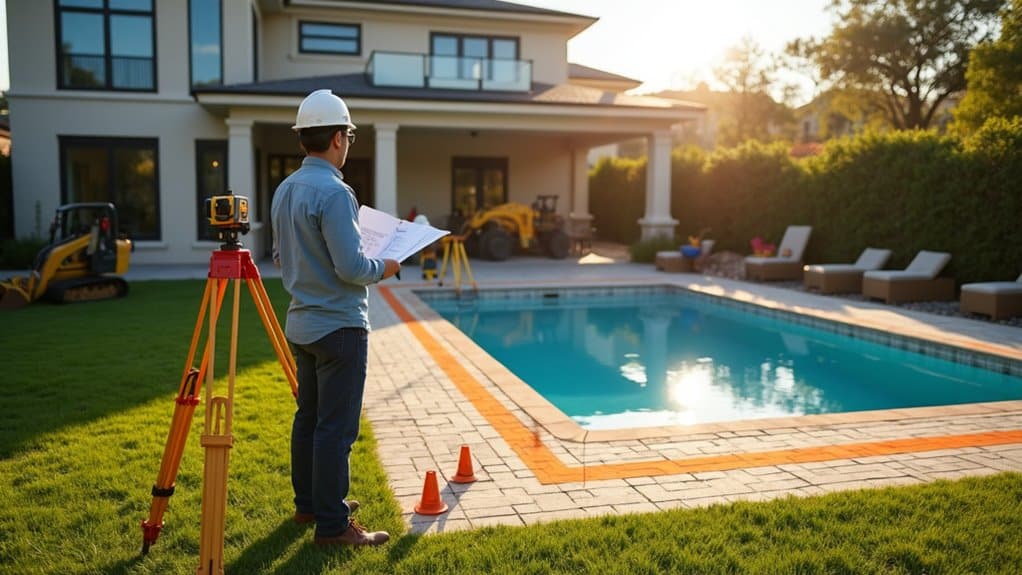
Before beginning any pool installation, a thorough site assessment determines the project’s feasibility and identifies potential challenges. Your site evaluation will examine soil conditions, groundwater levels, utility locations, and property boundaries. You’ll need to take into account access points for heavy equipment and potential obstacles like trees or existing structures.
During the planning phase, you’ll work with your San Juan Pools contractor to address specific design factors. These include ideal pool placement, sunlight exposure, drainage requirements, and local building codes. You’ll also need to verify setback requirements, obtain necessary permits, and guarantee compliance with HOA regulations if applicable. Your contractor will create detailed site plans incorporating elevation measurements, proposed pool location, equipment placement, and required safety features to guide the installation process effectively.
Obtaining Permits and Meeting Local Requirements
Once you’ve completed your site assessment, securing the proper permits becomes your critical next step in the San Juan Pools installation process. You’ll need to navigate local regulations and submit a thorough permit application that meets your municipality’s requirements for residential pool installations.
Securing proper permits is essential before installation check local regulations and submit detailed applications to meet all municipal requirements.
- Contact your local building department to obtain specific zoning requirements, setback distances, and fencing regulations
- Submit detailed site plans, including pool placement, equipment locations, and proposed drainage solutions
- Provide documentation of compliance with safety standards, including barrier specifications and electrical requirements
- Schedule necessary inspections throughout the installation process, including pre-construction, plumbing, and final safety reviews
Your permit application must address all local codes while incorporating San Juan Pools’ specific installation guidelines. Working with experienced contractors who understand both local requirements and San Juan’s specifications will streamline this process.
Ground Excavation and Pool Layout
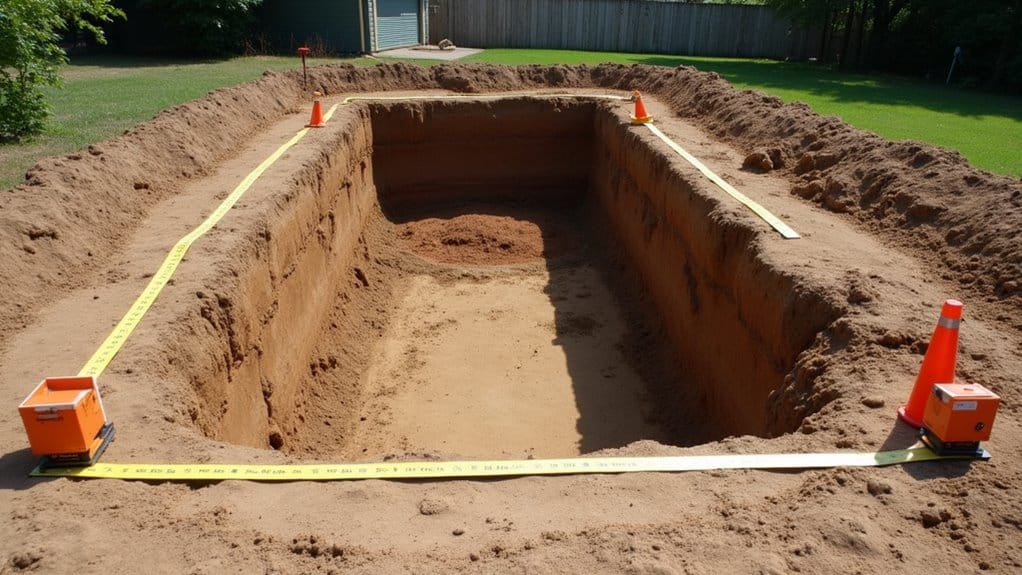
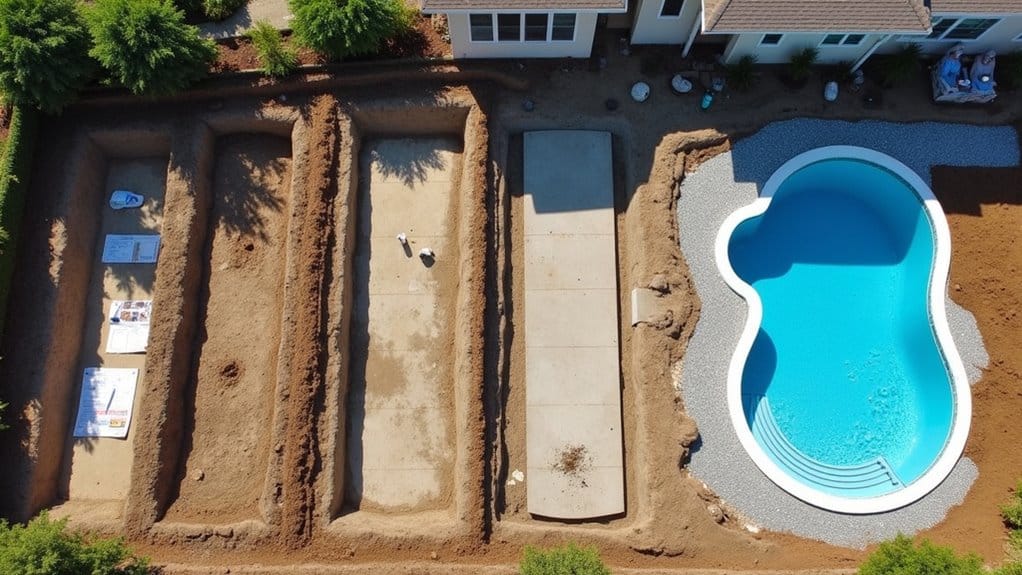
With permits in hand, the ground excavation phase marks the physical start of your San Juan pool installation. Your contractor will initially conduct soil stability tests to guarantee proper foundation support and identify any potential drainage issues. They’ll then use precision excavation techniques to dig according to your pool’s exact specifications.
The layout process involves marking the pool’s perimeter and establishing proper depth gradients. You’ll need to verify the excavation accommodates essential components like plumbing lines, electrical conduits, and structural supports. Your contractor will use laser-guided equipment to maintain accurate measurements and levels throughout the dig.
Once the hole meets specifications, they’ll prepare the base with compacted gravel or sand, creating a stable foundation for your fiberglass pool shell. This careful preparation prevents future settling or shifting issues.
Plumbing and Electrical Installation
Installing proper plumbing and electrical systems serves as the foundation for your pool’s functionality. You’ll need to guarantee all plumbing materials meet local codes and that electrical safety standards are strictly followed during this critical phase.
Properly installed pool plumbing and electrical systems aren’t just about function – they’re about ensuring safety and compliance for years to come.
- Position your main drain lines, skimmer connections, and return fittings according to your pool’s design specifications, using high-quality PVC piping and secure connections
- Install your pump and filter system on a level concrete pad, connecting them to the main plumbing network with appropriate valves and unions
- Set up GFCI-protected electrical circuits for your pump, lights, and auxiliary equipment, guaranteeing all wiring is properly conduit-protected
- Test all plumbing connections for leaks using pressure testing, and verify electrical connections meet safety requirements before proceeding with the next installation phase
Installing the Fiberglass Shell
After completing the plumbing and electrical work, the precise placement of your San Juan fiberglass shell marks a major milestone in the pool installation process. You’ll notice the installation team using a crane to carefully lower the shell into the excavated area, ensuring perfect alignment with the previously installed plumbing connections. This stage reflects San Juan’s fiberglass pool origins, built on durability and quality. After placing the shell, the team connects plumbing and electrical systems with precision for a reliable, long-lasting installation.
The team will verify the shell’s level and elevation at multiple points during placement, making necessary adjustments to maintain structural integrity. They’ll then backfill around the shell with a specific mixture of gravel and sand while simultaneously filling the pool with water. This synchronized process prevents any shifting or warping of the shell walls. Once properly positioned, they’ll secure the shell’s perimeter and verify all connections are properly sealed, setting the foundation for the next installation phase.
Backfilling and Deck Construction
Once the shell is secured, the backfilling process begins systematically from the deep end in the direction of the shallow end of your pool. Proper backfill techniques guarantee stability and prevent shifting of the shell over time. You’ll need to coordinate with your contractor to select appropriate deck materials that complement your pool’s design while meeting local building codes.
- Layer clean gravel or crushed stone around the pool’s perimeter in 6-inch increments, compacting each layer thoroughly
- Install plumbing lines and electrical conduits before completing the backfill
- Position reinforcement bars for the concrete deck according to engineering specifications
- Pour and finish the concrete deck, maintaining proper slope for drainage
Your contractor will implement expansion joints and waterproofing measures during deck construction to prevent cracking and guarantee longevity. The entire backfilling and deck construction phase typically takes 3-5 days, depending on weather conditions.
Final Landscaping and Pool Start-Up
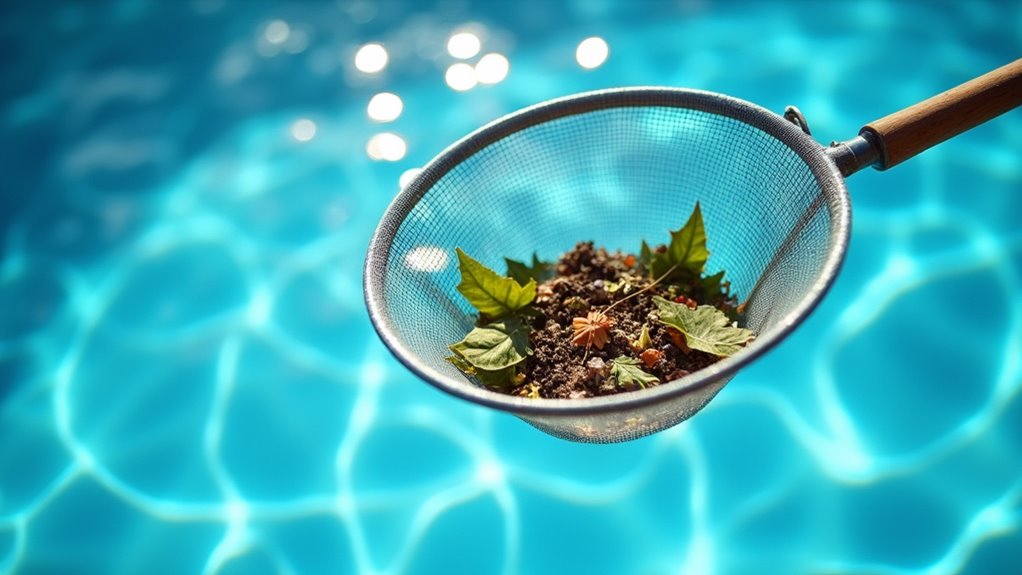
When your pool deck has fully cured, the final scenery and pool start-up phase can begin. You’ll need to implement your scenery design plan, which includes installing irrigation systems, planting vegetation, and laying sod around the pool area. Choose plants that won’t shed excessive debris into the pool to minimize future pool maintenance requirements.
For the pool start-up, you’ll need to fill the pool with water and balance the chemical levels. Start by testing the water’s pH, alkalinity, and calcium hardness. Add the necessary chemicals to achieve proper balance, then begin running the filtration system. You’ll need to brush the pool walls and floor daily for the initial week to prevent algae growth. Once the water chemistry stabilizes, you can begin regular pool maintenance routines according to your manufacturer’s guidelines.
Frequently Asked Questions
How Long Does It Take for Pool Water to Become Crystal Clear?
You’ll achieve crystal clear water clarity within 24-48 hours after properly balancing your chemicals and running your filtration system continuously. However, if you’re starting with cloudy water, it might take 3-5 days of consistent pool maintenance. Make certain you’re maintaining proper pH (7.2-7.6), chlorine levels (1-3 ppm), and running your filter at least 8-12 hours daily. Regular testing and adjusting chemicals will guarantee peak clarity.
Can I Convert My San Juan Pool to Saltwater Later?
Yes, you can convert your San Juan pool to saltwater later. The conversion process requires installing a salt chlorine generator system, which transforms dissolved salt into chlorine. You’ll need to add pool-grade salt until reaching the proper concentration (usually 3000-4000 ppm). Saltwater benefits include softer water, less eye irritation, and reduced chemical maintenance. The conversion typically takes 1-2 days and requires professional installation for best performance and warranty protection.
What Type of Pool Cover Do You Recommend for Winter?
For winter protection, you’ll want a heavy-duty safety cover specifically designed for inground pools. Choose either a solid or mesh cover with reinforced straps and secure anchoring systems. Solid covers prevent debris and sunlight from entering but require pumping off standing water. Mesh covers allow water through while blocking debris. Whichever you select, guarantee proper cover maintenance by regularly removing debris and checking anchor points throughout the winter season.
How Often Should I Replace the Pool Filter Cartridge?
You’ll need to replace your pool filter cartridge every 2-3 years with proper maintenance, though this can vary based on usage and pool conditions. To extend your cartridge’s lifespan, clean it every 4-6 weeks during swimming season by rinsing with a garden hose. If you notice decreased water flow or higher pressure readings on your filter gauge, it’s time for more frequent cleaning or replacement. Regular filter maintenance helps guarantee ideal water quality.
What Happens if My Fiberglass Pool Develops Hairline Cracks Years Later?
If your fiberglass pool develops hairline cracks, don’t panic – they’re typically superficial and repairable. As part of regular pool maintenance, inspect for cracks annually. For minor hairline cracks, you’ll need a specialized fiberglass crack repair kit containing epoxy or gelcoat. Clean the area thoroughly, apply the repair material according to manufacturer instructions, and sand smooth once cured. For larger cracks, it’s best to contact a professional pool repair service.