


You can repair your damaged fiberglass pool by following seven key steps: assess the damage, gather proper tools and safety gear, drain the pool to below the damaged area, clean and sand the surface, apply fiberglass repair materials, match and apply gel coat, and test the repair. You’ll need specific materials like resins, sanders, and protective equipment. With careful attention to detail and proper technique, you’ll restore your pool’s integrity and save thousands in professional fees. Let’s break down each essential step. When you repair fiberglass pool damage, work in a well-ventilated area and allow proper curing time. A careful approach ensures long-lasting results and preserves your pool’s appearance.
Assessing Pool Damage and Safety Precautions
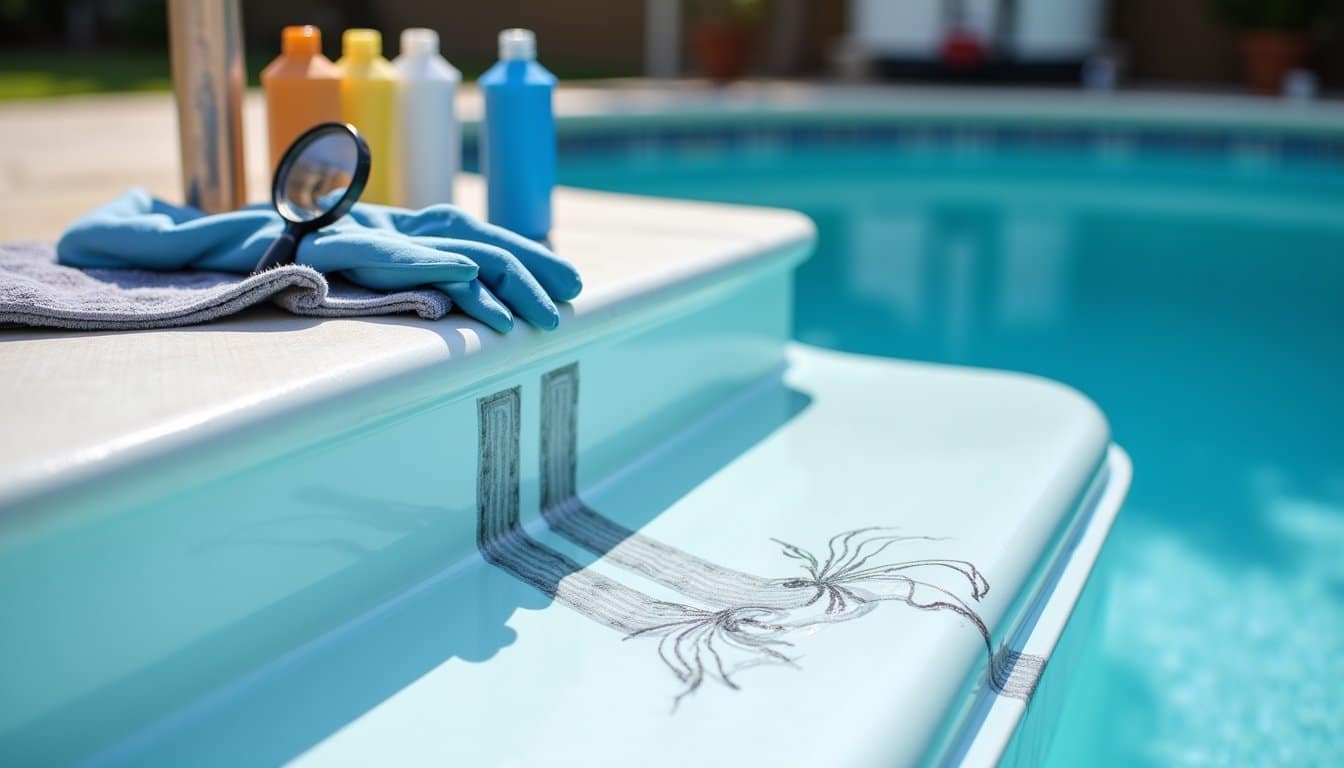
Before beginning any fiberglass pool repairs, you’ll need to conduct a thorough damage assessment while following essential safety protocols. Start by inspecting the pool’s surface for spider cracks, chips, and blistering, paying special attention to high-stress areas like steps and corners. Poor installation or impacts can lead to structural weakness over time. Use a magnifying lens for detailed examination and document all damage locations. Since improper chemical balance can cause significant surface deterioration, inspect carefully for any discoloration or gel coat damage. Maintaining your pool with bi-weekly checks of water chemistry helps prevent future surface issues.
For a proper safety assessment, you’ll need to drain the pool to 6 inches below damaged areas using submersible pumps. Don’t forget to secure the area with non-slip mats and covers to prevent accidents. Check for structural issues like ground settling or wall bulging, and monitor nearby landscaping for potential root damage. If you find cracks wider than 1/8 inch, it’s best to consult a professional. Always wear protective gear and guarantee proper ventilation when handling chemicals during your inspection.
Essential Tools and Materials Checklist
To complete a professional fiberglass pool repair, you’ll need a thorough set of specialized tools and materials organized into five essential categories: surface preparation tools, resin supplies, application equipment, safety gear, and miscellaneous materials.
Your surface prep tools should include sandpaper, a grinder, putty knife, wire brush, and emery cloth keep these clean for ideal repair techniques. Stock up on essential resins: polyester for general fixes, vinyl ester for chemical resistance, and epoxy for strength, along with matching gelcoat and hardener. Keep graduated measuring cups handy to ensure exact measurements when mixing resins. Don’t forget application tools like brushes, rollers, and squeegees for precise material distribution. Prioritize safety with goggles, gloves, and a dust mask. Round out your toolkit with drop cloths, mold release agents, fiberglass reinforcement, and proper tool maintenance supplies to guarantee lasting repairs. Using marine-grade materials will ensure the highest quality and durability for your pool repairs.
Draining and Preparing the Pool Surface
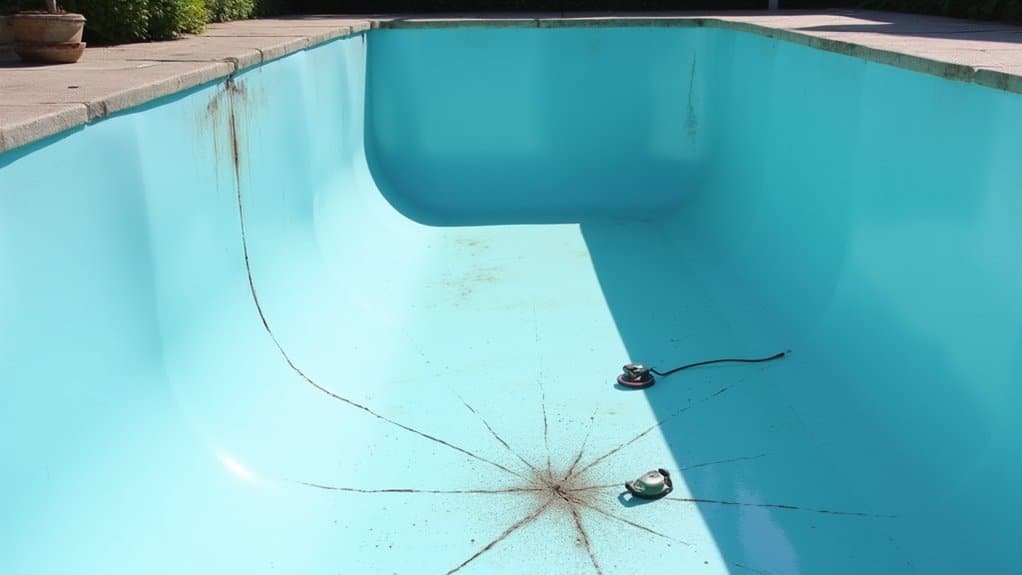
With your tools and materials ready, proper pool drainage marks the start of any successful fiberglass repair project. Begin by turning off all pool equipment and placing a submersible pump at the deepest point. You’ll want to drain only to the level of the damage; there’s no need to empty the pool completely. Local regulations must be reviewed before starting any drainage process. Using proper safety equipment during preparation is essential. Weekly maintenance could have prevented extensive damage requiring repairs.
As you implement drainage techniques, monitor the water table and consider installing hydrostatic plugs to manage groundwater pressure. Once you’ve reached the desired water level, conduct a thorough surface inspection. You’ll need to guarantee the repair area is completely dry and clean it with acetone or fiberglass cleaner. Test for any additional cracks or leaks in the surrounding area, and remove any algae or stains that could affect the repair’s adhesion.
Cleaning and Sanding the Damaged Area
You’ll need essential tools like an orbital sander, various grits of sandpaper (80-240), protective gear including goggles and a respiratory mask, and cleaning solvents such as acetone. Begin by sanding the damaged area with coarse-grit paper (80-120) to remove rough spots, working in a 2-3 inch radius around the affected zone. This preparation is especially important for repairing surface scratches in the fiberglass material. Progress to finer grits (220-240) for a smooth finish, making sure to feather the edges outward and thoroughly clean the surface with acetone between sandings.
Surface Preparation Tools Needed
The proper tools make cleaning and sanding a damaged fiberglass pool area considerably easier and safer. Your surface preparation toolkit should include both cleaning and abrasive materials. For cleaning, you’ll need acetone, fiberglass cleaner, and sturdy brushes. Using soft bristle brushes helps protect sensitive fiberglass surfaces during cleaning. The abrasive tools essential for proper surface preparation include various grits of sandpaper, a utility knife for removing loose material, and a buffer or grinder for larger areas. Using proper protective gear is critical just like professional pool installers require during construction site work. Don’t skip on protective gear during tool selection wear gloves, a dust mask, and safety glasses. A telescoping pole with brush attachments will help you access hard-to-reach areas during surface preparation. For applying cleaning agents and removing debris, you’ll want several application tools: a plastic spreader, putty knife, and paintbrush. Complete your toolkit with debris removal equipment like nylon brushes, skimmers, and a manual vacuum to keep the work area clean throughout the repair process.
Proper Sanding Techniques
Proper sanding technique forms the foundation of any successful fiberglass pool repair. Start with 60-80 grit sandpaper on your orbital sander, working in small 12-18 inch sections using overlapping circular motions. You’ll need to maintain even pressure throughout the process. Regular inspections of the sanded area help identify any missed spots or inconsistencies that could affect repair quality.
Progress to finer 120-150 grit paper for surface smoothing, and don’t forget to feather the edges outward to blend with surrounding areas. When working around cracks or blisters, maintain rounded edges rather than sharp corners. For gel coat areas, use wet sanding techniques to reduce dust and improve adhesion. Improper sanding can lead to spider cracks developing from excess pressure during the repair process.
Remember to wear proper safety equipment including goggles, gloves, and an N95 mask. Between grit changes, vacuum or rinse the workspace to prevent cross-contamination, and wipe surfaces with acetone to remove any oils or debris.
Applying Fiberglass Repair Materials
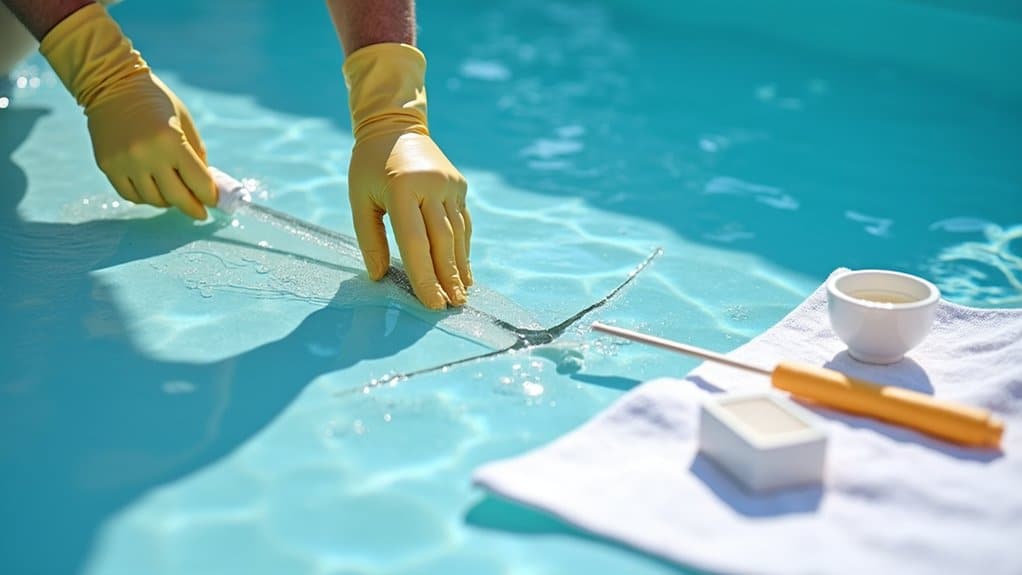
When you’re ready to begin repairs, you’ll need to carefully mix the resin and hardener according to your kit’s exact specifications to guarantee proper curing. Next, you’ll apply the mixed resin solution evenly across the damaged area using a spreader or brush, making sure to fully saturate the surface. You’ll then layer the fiberglass cloth or matting onto the wet resin, overlapping each piece by 1-2 inches while pressing out any air bubbles to create a strong, seamless repair. Based on extensive user discussions, working with a vinyl liner pool may require different repair techniques and materials. While DIY repairs are possible for minor issues, addressing significant structural damage requires professional expertise for optimal results.
Mixing Resin Solutions Properly
Successfully mixing resin solutions requires careful attention to safety protocols and precise measurements. Before you begin, put on protective gear including gloves, a respirator, and goggles. You’ll need to work in a well-ventilated area to avoid inhaling harmful fumes.
| Resin Type | Mixing Ratio | Consistency Guide |
|---|---|---|
| Epoxy | 100:50 | Ketchup-like for vertical |
| Polyester | 100:60 | Mayonnaise-like for general |
| UV Resin | 2:1 | Peanut butter for horizontal |
| Custom Blend | Variable | Based on application |
Use a digital scale for accurate measurements, especially when working with different resin types. Don’t mix less than 50 grams to maintain proper ratios. Monitor the temperature, as it affects curing times. Test your mixture’s consistency with a small batch before full application. Clean your tools frequently with acetone to prevent residue buildup.
Layering Application Techniques
The layering process for fiberglass pool repairs demands a systematic approach to verify lasting structural integrity. You’ll need to start by applying a bond coat as your foundation, using a putty knife for even distribution. Maintain consistent layer thickness of 1/8 inch while embedding fiberglass cloth into damp resin for proper reinforcement.
Your application techniques should focus on working in small, manageable sections of about 10cm. Use crisscross layering patterns to achieve multidirectional strength, and don’t forget to check for air bubbles with ribbed rollers during each application. Cut your fiberglass cloth slightly larger than the repair area, and allow each layer to cure for 24 hours before adding the next. These reinforcement strategies verify your repair bonds correctly and maintains structural integrity over time.
Gel Coat Application and Color Matching
Proper gel coat application and precise color matching stand as critical steps in achieving professional-quality fiberglass pool repairs. You’ll need to test your color matches on small, inconspicuous areas before proceeding with the full application. Create a color card and verify matches in natural light to guarantee accuracy.
| Step | Surface Prep | Application | Temperature |
|---|---|---|---|
| 1 | Clean & sand | Mix gel coat | 60-90°F ideal |
| 2 | Remove debris | Apply 1st coat | Check humidity |
| 3 | Check edges | Layer 4-5 times | Monitor cure |
| 4 | Gauge depth | Polish finish | Final inspect |
Apply your gel coat in thin layers of 5 mils each, waiting 15-20 minutes between coats. You’ll want to maintain a total thickness of 20-25 mils for maximum durability. For the best results, use proper spraying techniques when covering larger areas to avoid brush marks and guarantee even coverage.
Testing and Maintaining the Repaired Area
Maintaining your fiberglass pool’s repaired areas requires five essential monitoring practices: water chemistry control, structural stability checks, leak detection, surface inspections, and preventive maintenance routines.
Test your water chemistry weekly, keeping pH between 7.2-7.8, alkalinity at 80-120 ppm, and calcium hardness at 200-400 ppm. You’ll need to monitor chlorine levels at 1-3 ppm to protect repair bonds. Check structural integrity by examining for ground movement and performing stress tests near repair sites. For leak detection, use the bucket test and dye methods to identify potential issues. Inspect surfaces twice weekly with a magnifying glass, focusing on high-traffic areas and repair zones. Don’t forget preventive maintenance clean weekly, maintain consistent water levels, and schedule annual professional inspections to guarantee your repairs last.
Frequently Asked Questions
How Long Should I Wait Before Swimming After Completing Pool Repairs?
You’ll need to wait different periods depending on your pool repair type. For minor repairs like small cracks or gel coat fixes, wait at least 24 hours before safe swimming. However, major structural or fiberglass repairs require 3-7 days to cure fully. Always check that chemicals are balanced (pH 7.2-7.8, chlorine 1-3 ppm) before entering. Don’t rush the pool repair timing proper curing prevents damage and guarantees your safety.
Can I Repair My Fiberglass Pool in Cold or Rainy Weather?
While cold weather repairs are possible and can even be beneficial due to lower humidity and better curing conditions, you shouldn’t attempt pool repairs during rainy conditions. You’ll need completely dry surfaces for proper material adhesion. For best results, choose a clear, cold day with temperatures above freezing. Make certain there’s no precipitation forecast for at least 24-48 hours after your repair work to allow proper curing time.
What Causes Fiberglass Pools to Develop Cracks and Blisters Over Time?
Your fiberglass pool can develop cracks and blisters due to several key factors. Poor manufacturing quality, including thin fiberglass layers and inferior resins, weakens your pool’s structure from the start. Environmental stressors like ground movement, soil erosion, and temperature changes create ongoing pressure. Improper installation with inadequate backfill or unstable base preparation also leads to structural issues. Without proper pool maintenance, these problems worsen over time, making early detection and repair techniques essential.
Will DIY Repairs Affect My Pool’s Warranty Coverage?
Yes, DIY repairs will likely affect your warranty coverage. You’ll face significant warranty limitations if you don’t follow manufacturer-approved repair methods or use unauthorized materials. Before attempting any repairs, check your warranty terms carefully most require professional contractors for structural issues. If you proceed with DIY fixes, maintain detailed repair documentation, including photos and materials used, but understand that self-repairs typically void both structural and surface warranties.
How Often Should Fiberglass Pools Typically Need Structural Repairs?
Your fiberglass pool’s repair frequency is relatively low compared to other pool types, thanks to its superior structural integrity. You’ll typically need structural repairs every 10+ years, though this varies based on environmental conditions. While you’ll want annual inspections, major structural work isn’t common unless you’re dealing with unstable soil or extreme temperatures. The pool’s non-porous surface and resistance to cracking contribute to its low maintenance requirements.