


Start by confirming you’ve got a real leak, not evaporation. Run a bucket test: match a filled bucket’s level to your waterline, shut off all equipment, then compare drops after 24 to 48 hours. If the pool loses more, you’re leaking. Next, inspect the liner’s seams and corners, then dye-test suspected spots with the pump off. Watch for dye pulling into the breach, and mark it immediately. Here’s exactly how each step works.
Key Takeaways
- Confirm a real leak with the bucket test, comparing pool and bucket water loss over 24 to 48 hours.
- Inspect the vinyl liner visually and by touch, focusing on seams and corners where failures most often occur.
- Search methodically instead of randomly, testing high-frequency spots like seams and skimmers first.
- Perform a dye test with the pump off, releasing dye 1 to 2 inches from suspected spots.
- Watch 5 to 10 minutes for dye pull, then mark confirmed leaks immediately with waterproof tape.
How do you find a leak in a pool liner
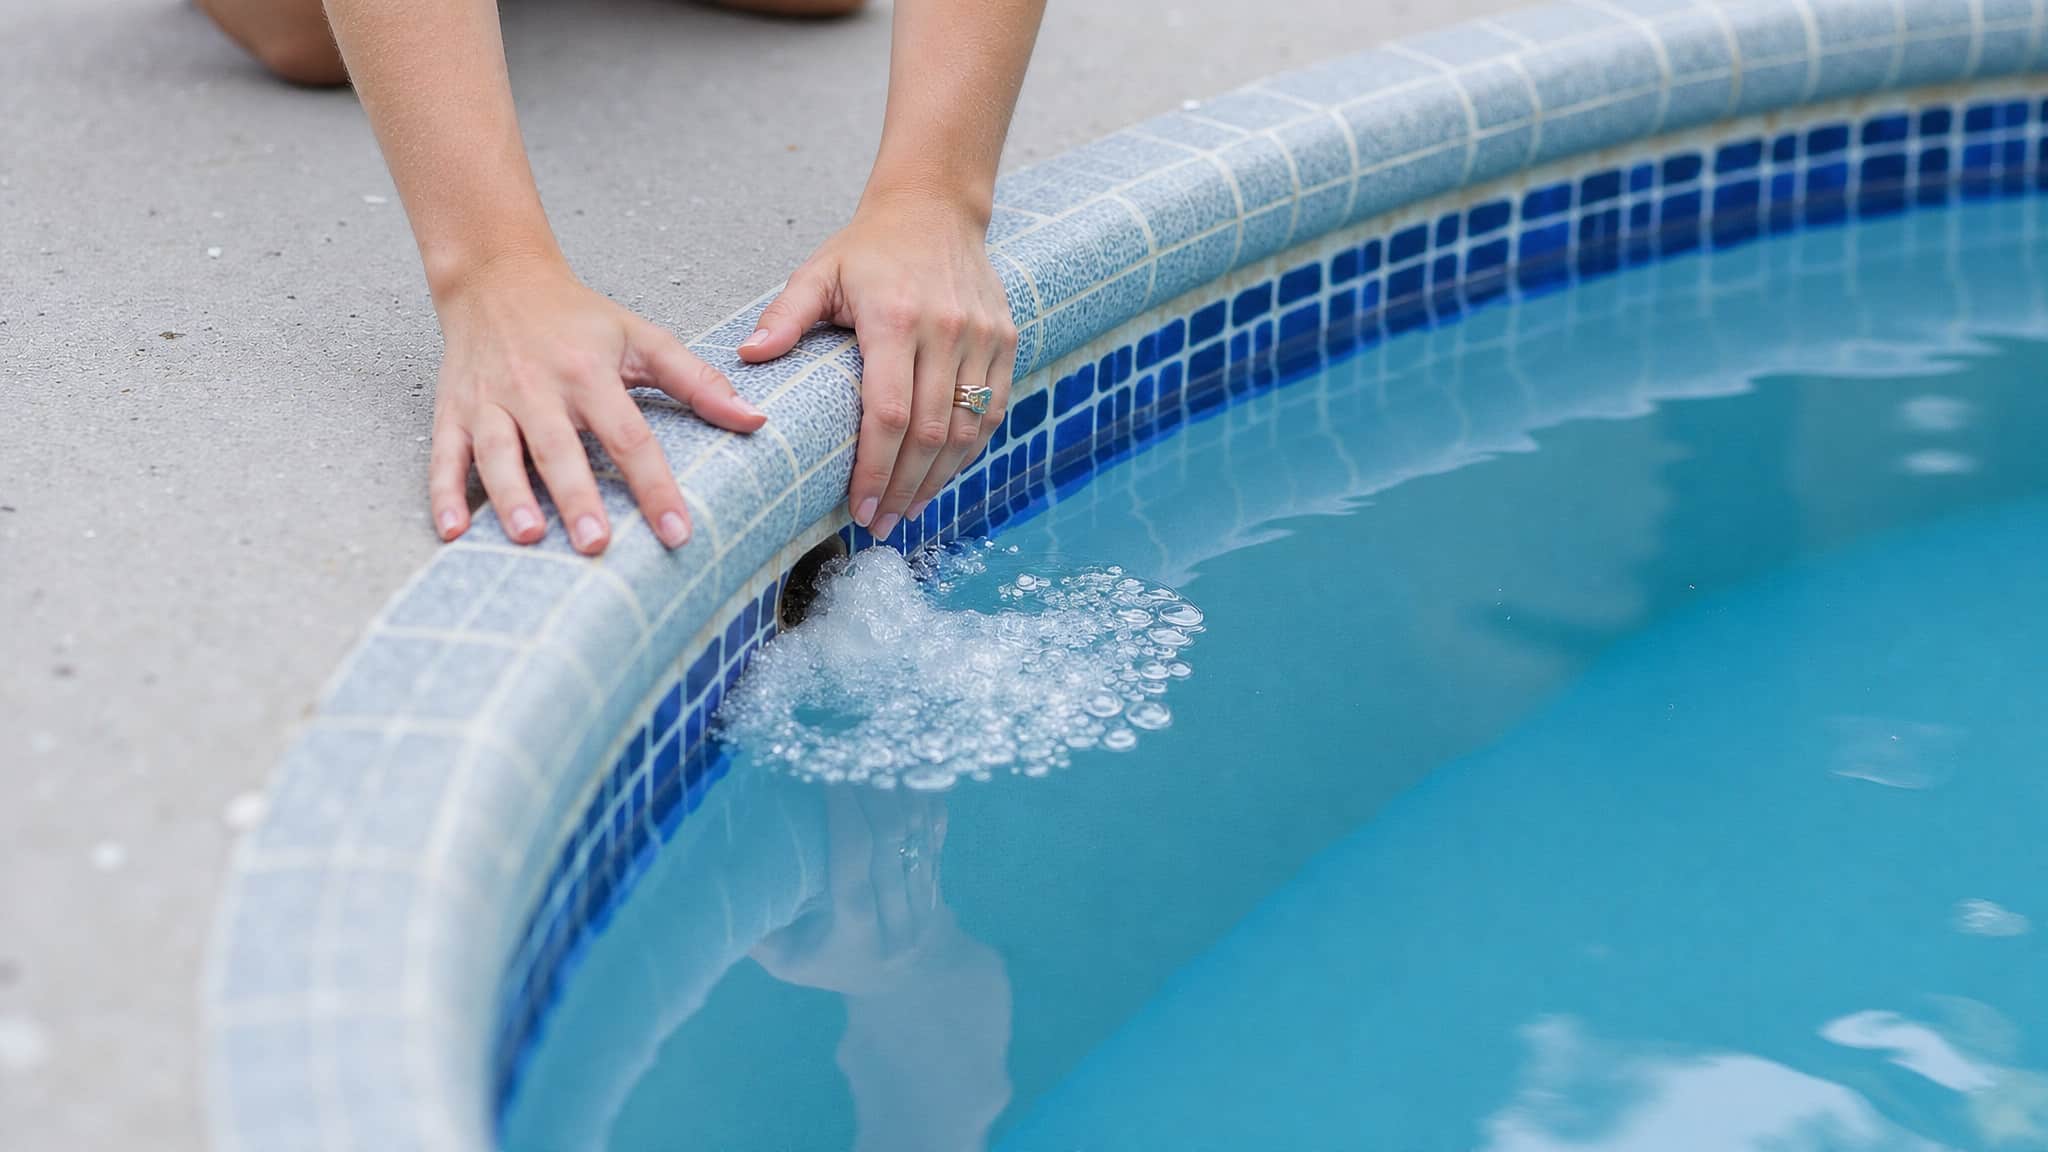
Find a leak in a pool liner by running a few methodical tests that pinpoint it fast. Start by confirming whether you’re dealing with actual water loss or just evaporation. Use the bucket test: match a filled bucket’s level to your pool’s waterline, shut off all equipment, and compare drops after 24 to 48 hours. If your pool loses more, you’ve got a leak. After locating the leak, your next step is to address any visible issues and decide on repair methods. You may need to remove wrinkles from a pool liner to ensure a smooth and effective seal.
Next, inspect the vinyl liner visually and by touch. Walk the perimeter, use goggles, and check seams, corners, and skimmers, the highest-frequency failure points.
Then run a dye test. Shut off the pump, place dye 1 to 2 inches from suspected spots, and watch for 5 to 10 minutes. Dye pulled into the liner marks your leak. Tape it immediately.
What are the signs your pool liner is leaking
Your pool liner is leaking if the water level drops more than 1/4 inch daily, which signals a leak, not just evaporation. Look for damp or soggy ground around the perimeter, which points to water escaping through a puncture below the waterline. Check for wet spots near the equipment pad, unexplained algae growth, or air bubbles at the returns. A liner that shifts, wrinkles, or feels soft underfoot often hides a puncture beneath. Notice if you’re adding water more frequently than usual or if your chemical balance keeps drifting. These early indicators help you confirm a suspected leak, letting you target your inspection before committing to bucket tests or dye diagnostics.
How do you narrow down where the leak is
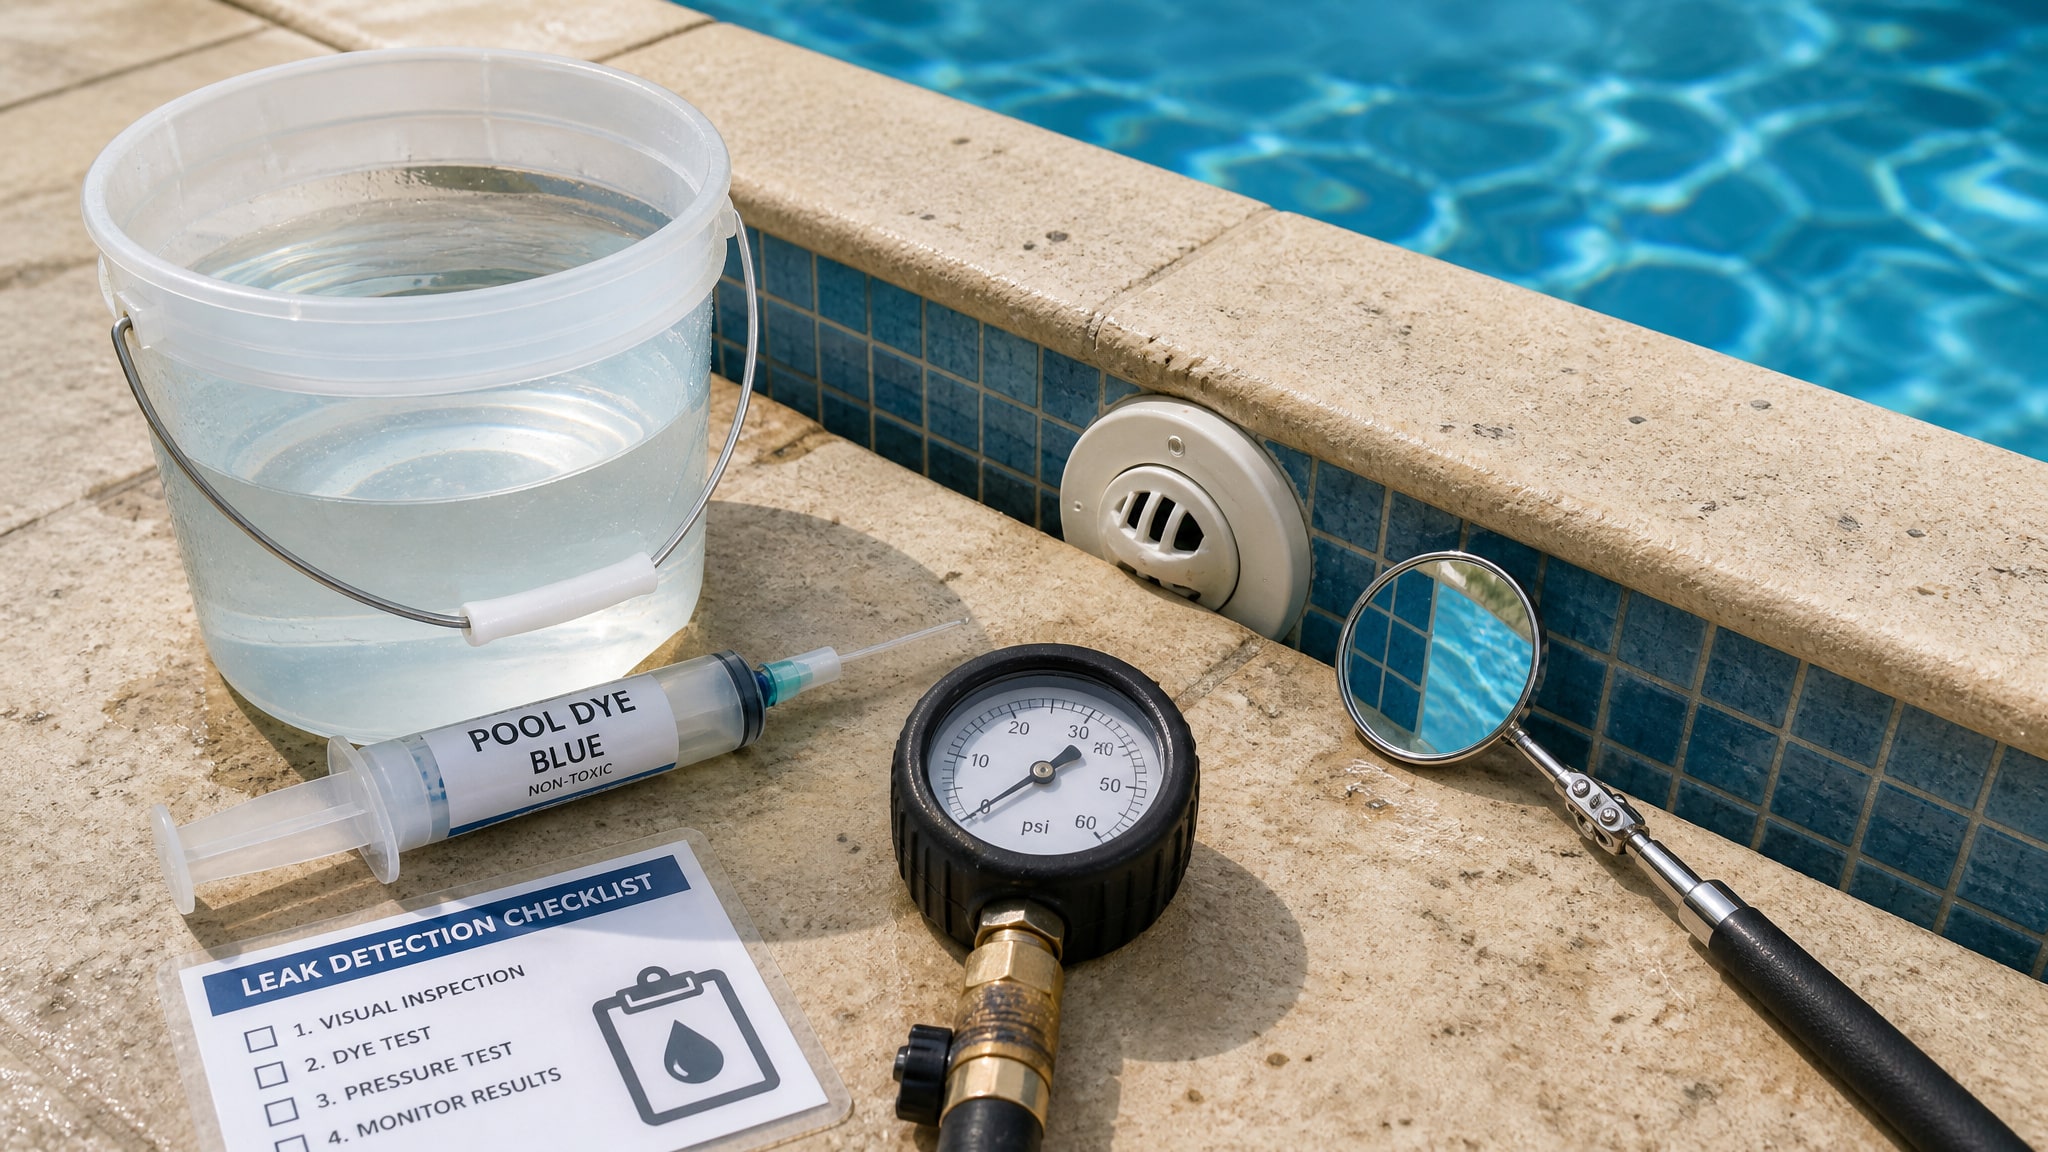
Narrow down a leak by confirming you’re dealing with an actual leak, not evaporation, so you don’t waste time hunting for a puncture. Run the bucket test: match a water-filled bucket to your pool’s waterline, shut off all equipment, and compare losses after 24 to 48 hours. If the pool drops more than the bucket, you’ve got a leak.
Next, work methodically instead of spot-checking randomly. Turn off your pump so the water stays still, then release dye near suspected areas and watch where it gets drawn in.
- Cloudy dye streaming into a hairline seam crack
- A soft, squishy patch beneath your fingertips on the floor
- Dark punctures hiding under settled debris
- Dye vanishing into a skimmer’s gasket edge
Test high-frequency spots, seams and skimmers, first.
How does the dye test pinpoint the leak
The dye test pinpoints the leak by exploiting the leak’s own suction: water escaping through a defect pulls surrounding water, and any dye you introduce, with it. First, shut off the pump and any water features so the water stays as still as possible. Movement disperses the dye and hides the pull. Release dye 1 to 2 inches from suspected spots like seams, corners, skimmers, returns, gaskets, and light niches. Watch for 5 to 10 minutes. When dye streams toward and gets drawn into the liner or fitting, you’ve found your leak point. Test the most likely areas first, then move to returns, eyeballs, light niches, gaskets, floor punctures, and main drains. Mark each confirmed spot immediately with waterproof tape so you don’t lose the location or enlarge the defect.
How do the common detection methods compare
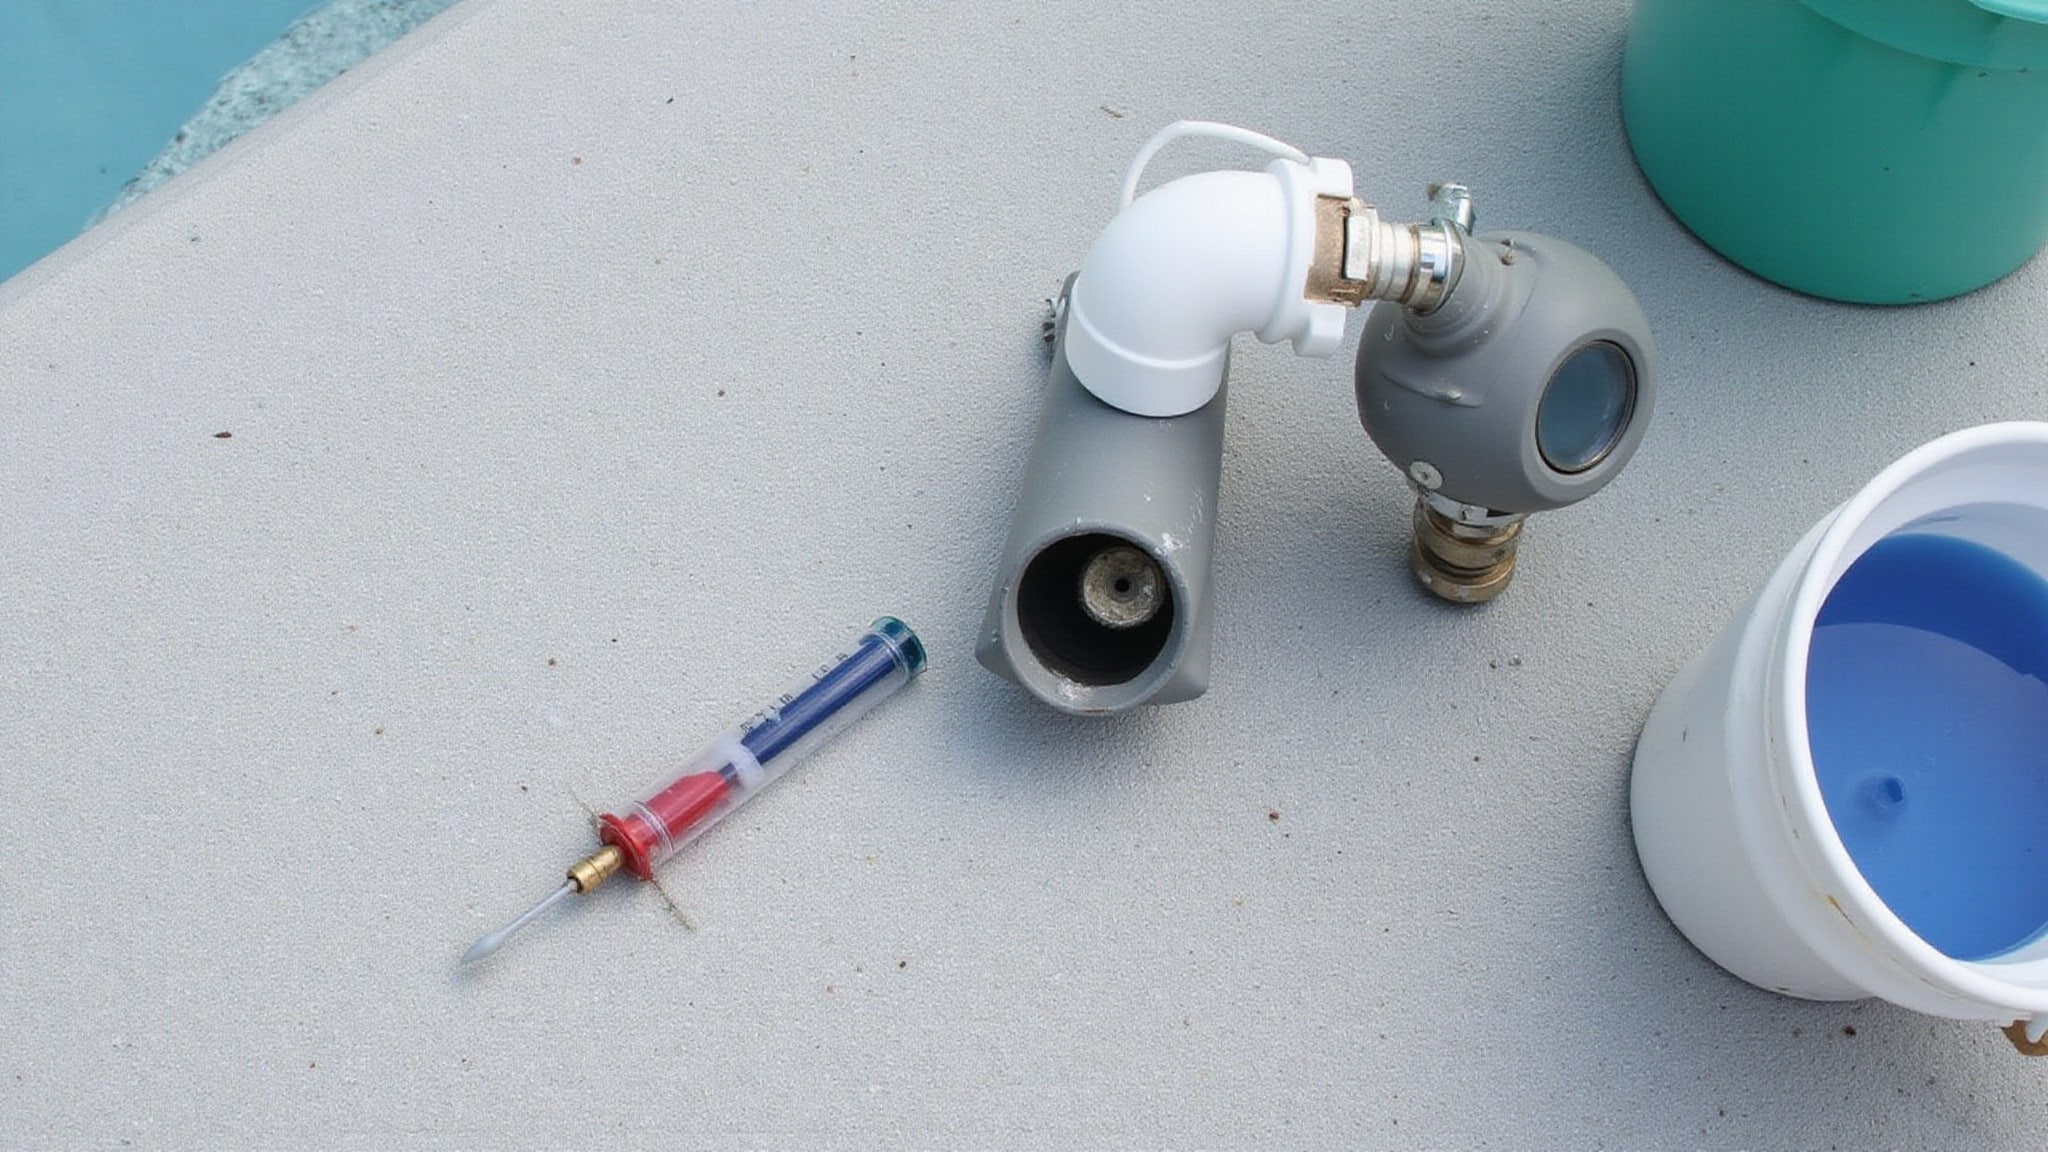
Common detection methods compare best by failure mode, so match the tool to the symptom you’re chasing.
| Method | Best For |
|---|---|
| Bucket test | Confirming leak vs. evaporation |
| Visual/touch inspection | Spotting tears, bulges, soft spots |
| Dye test | Pinpointing exact liner or fitting leaks |
| Pressure test | Isolating hidden plumbing-side leaks |
Start broad, then narrow. The bucket test tells you whether a leak exists at all. Visual inspection flags obvious damage fast. The dye test confirms and locates specific breaches near seams, skimmers, and returns. When the liner checks out clean, a pressure test isolates plumbing problems you can’t see. Sequence these methods, and you’ll diagnose efficiently.
How do you confirm the leak before patching it
Confirm the leak with a dye test that pinpoints the exact breach. Shut off the pump and every water feature so the water stays perfectly still. Then release dye one to two inches from each suspected spot and watch for five to ten minutes. When dye gets drawn into the liner or fitting, you’ve located your breach.
- Dye streaming sideways into a hairline seam crack
- A faint plume vanishing into a skimmer corner
- Color pulling toward a light niche gasket
- Dye settling motionless where the liner stays intact
Mark the confirmed spot immediately with waterproof tape. Test high-frequency areas first, seams and skimmers, then work outward to returns, eyeballs, gaskets, floor punctures, and main drains for full verification.
Conclusion: Tracking Down a Pool Liner Leak
Finding a liner leak takes a bit of detective work, from watching the water-loss rate to the dye test and checking fittings and seams. Catching a leak early prevents water waste, a soggy yard, and damage to the pool base. Small punctures can often be patched, while widespread or seam leaks may call for a new liner. A careful search, or professional leak detection, pinpoints the problem so you can fix it before it grows.
Call Today and Solve Pool Liner Issues Fast
From wrinkles to underwater leaks, pool liner issues get resolved fastest with the right team. At Pool Doctor of the Palm Beaches in Boca Raton, FL, our skilled team delivers dependable Pool Renovation & Remodeling built around lasting quality and quick service. Call +1 (561) 586-2815 today and let us handle the work.
Frequently Asked Questions
How Much Does Professional Pool Leak Detection Typically Cost?
Leak detection is usually a moderate service fee that varies by region, pool type, and how hard the leak is to find. It is often money well spent, since pinpointing the leak avoids guesswork and unnecessary repairs. A professional can locate the source precisely and quote any repair once the leak is found.
Can I Swim in My Pool While It’s Leaking?
A small liner leak is usually safe to swim with in the short term, since it is a water-loss issue rather than a health hazard. That said, ongoing leaks waste water and can undermine the pool base and equipment, so it is best to fix them promptly. Address a leak before it worsens.
How Long Does a Vinyl Liner Patch Usually Last?
A well-applied patch on a clean, flat part of the liner can last for years, sometimes as long as the liner. Patches on seams, fittings, or high-stress areas tend to last less. The size of the tear and how carefully the patch is applied both affect how long it holds.
When Should I Replace the Liner Instead of Patching It?
Patching makes sense for small, isolated punctures on an otherwise good liner. Replace the liner when it is old, faded, brittle, or leaking in multiple spots or at seams, since patches on a worn liner tend to fail. If you are patching often, a new liner is the more cost-effective long-term fix.
What Causes Pool Liner Leaks in the First Place?
Common causes include punctures from toys or tools, wear and brittleness as the liner ages, poor water chemistry, and stress at seams and fittings. Ground movement or a rough pool base can also cause leaks. Balancing the water, protecting the liner, and prompt repairs help prevent leaks from forming.