

To resurface a pool, you’ll drain it with a submersible pump, then strip the failing finish down to a sound substrate using tools matched to your material. Repair cracks with hydraulic cement, reinforce larger fissures with fiberglass mesh and epoxy, then clean and apply a bonding agent. Trowel on the new coating in even coats, cure it, refill slowly, and balance chemistry. Each phase carries details that make or break the result.
Key Takeaways
- Drain the pool with a submersible pump, then inspect the shell, tile, and fittings for cracks, leaks, and failing plaster.
- Strip old finish with tools matched to the substrate, pressure wash, and repair cracks with hydraulic cement or fiberglass mesh.
- Clean the surface with TSP and muriatic acid, neutralize the acid, then apply a primer or bonding agent.
- Trowel on the new coating in even coats and cure it according to product-specific requirements.
- Refill slowly with a diffuser, run filtration for 72 hours, balance chemistry, and wait 7 to 14 days before swimming.
How do you resurface a pool from start to finish
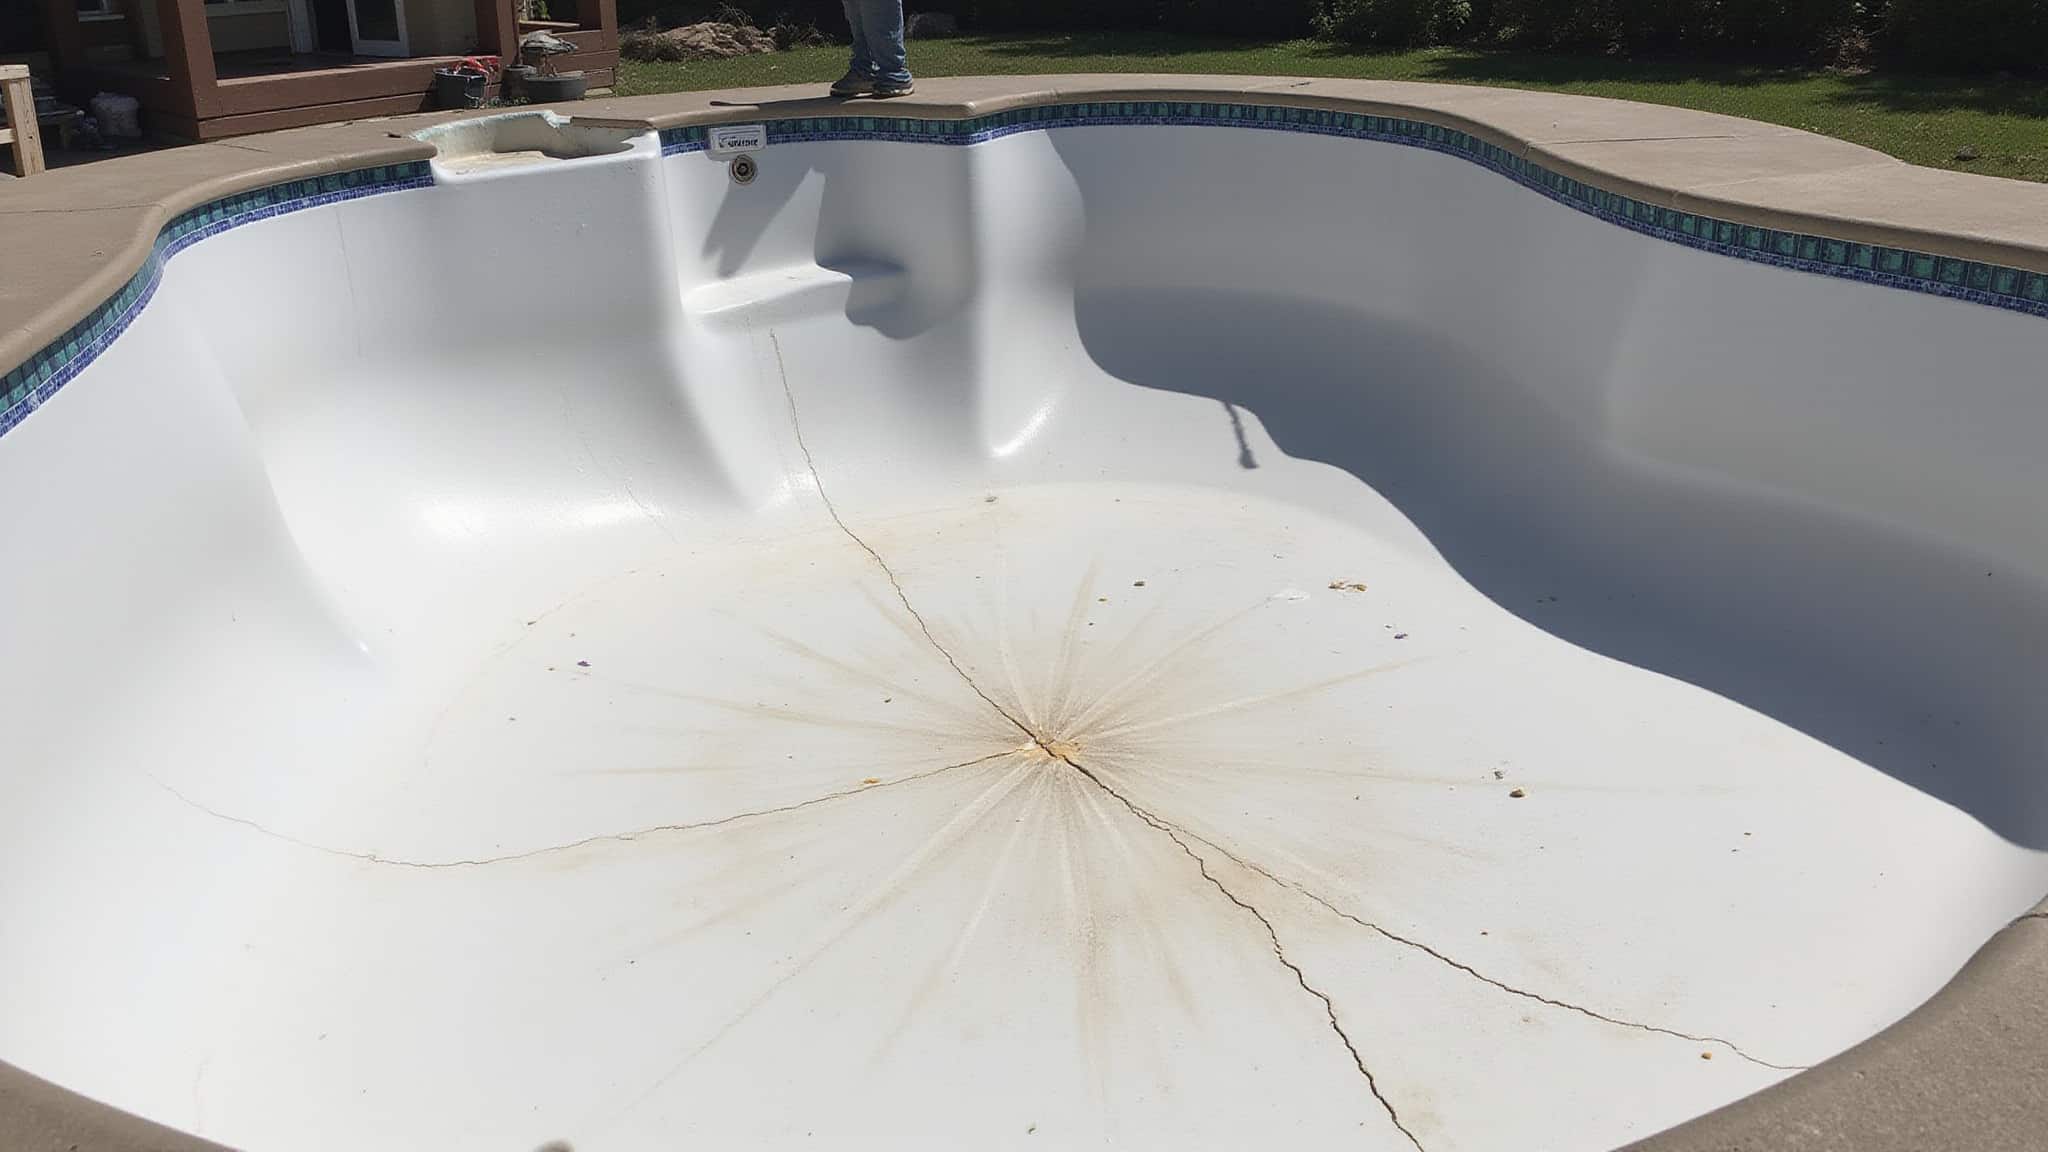
Resurface a pool by running a full sequence from draining and prep through repair, finish installation, curing, refill, and water balancing. Start by confirming your finish type, since application varies across pool plaster, aggregate, and tile. Turn off equipment, then drain with a submersible pump positioned at the deepest point, expect 12 to 24 hours. Inspect the shell, strip failing coatings, and pressure wash at 3000+ PSI. Repair hairline cracks with hydraulic cement, V-cut larger fissures, and reinforce damaged sections with fiberglass mesh embedded in epoxy. Apply a primer or bonding agent, it’s not optional, then trowel the new finish in even coats. Cure, refill slowly through a diffuser, run filtration continuously, and balance pH, alkalinity, and sanitizer before swimming. Resurfacing rewards patience.
What does it mean to resurface a pool
Resurfacing a pool is a full sequence that starts with draining the pool and ends with balanced water. It isn’t a single coating step. You’re stripping the old finish down to a sound substrate, repairing the shell, then installing new material and letting it cure before refill.
The finish you’re replacing might be plaster, aggregate, tile, or a gelcoat layer, and each dictates the removal method and application technique. You’re not just renewing appearance; you’re restoring the watertight barrier that protects the structure underneath.
Expect the process to span weeks, not hours. When you resurface, you’re rebuilding the interior surface from bare shell to swim-ready, addressing every defect along the way. How long to resurface a pool is a common question among homeowners. It’s important to understand that patience is key during this process.
How do you drain and prep the surface beforehand
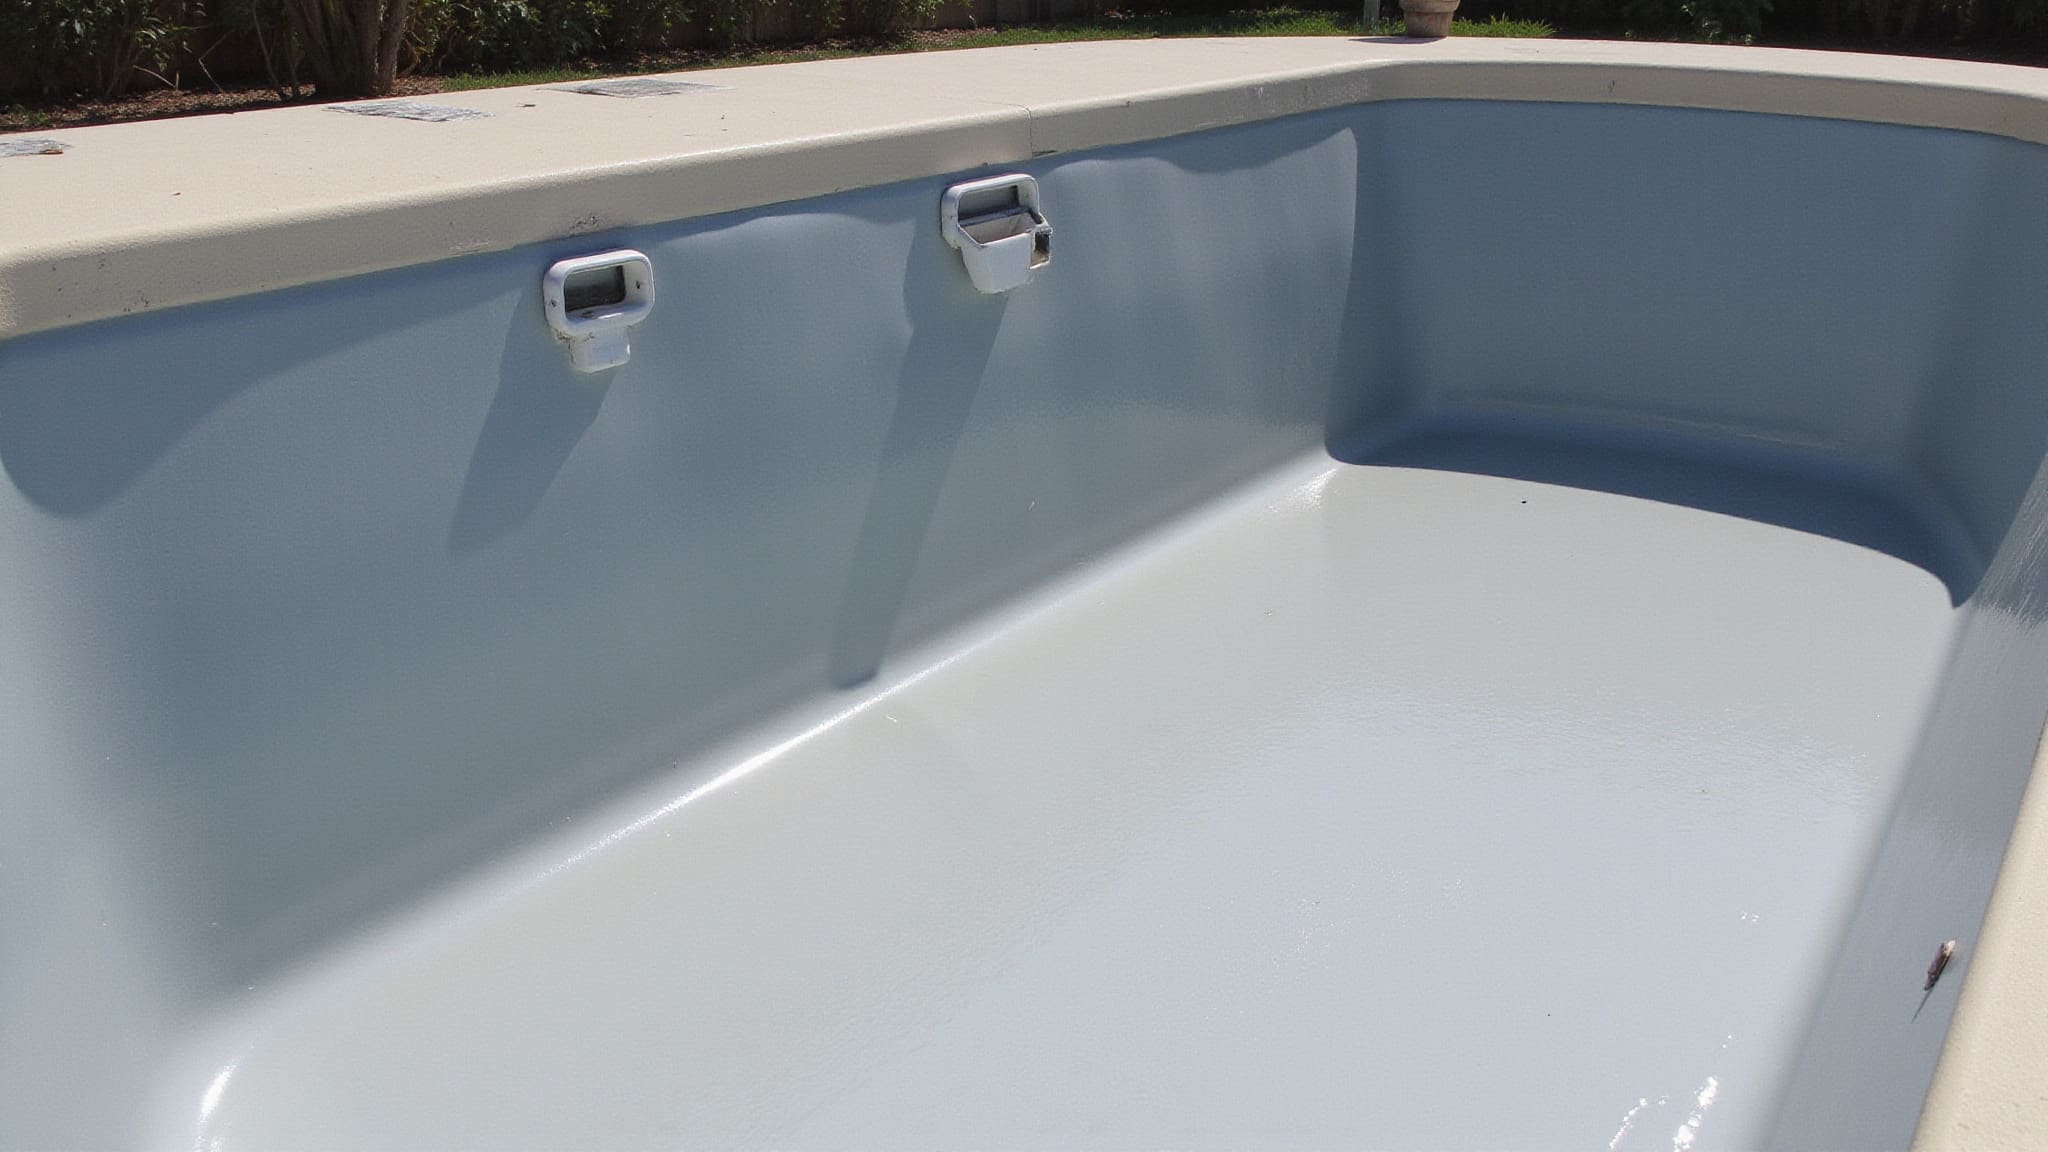
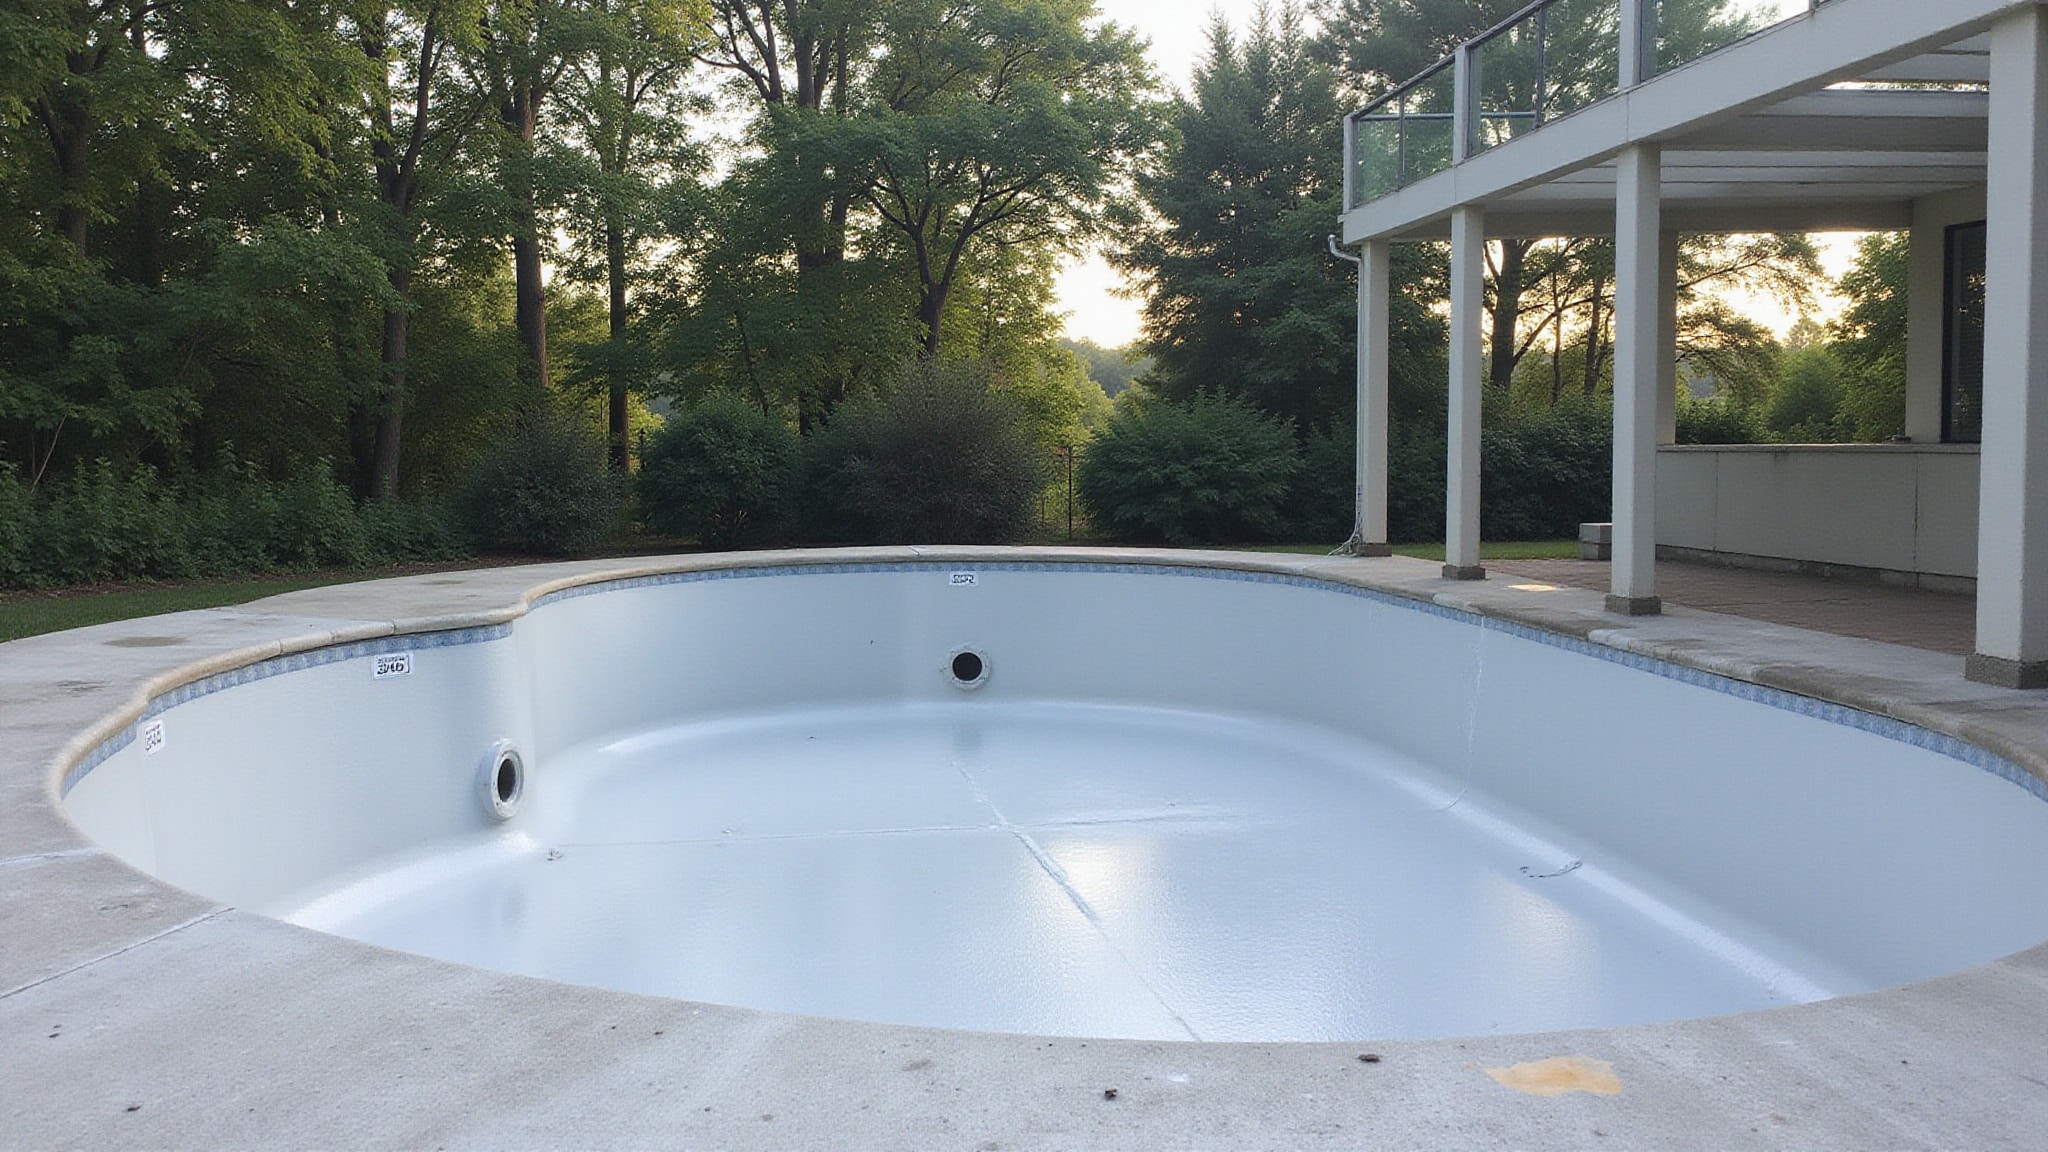
Drain your pool by setting a submersible pump at the deepest point and directing discharge away from your foundation to avoid structural damage. Kill the power to your pool equipment and secure the system to eliminate electrical and mechanical hazards. Check your local disposal rules before pumping any water out. Draining usually runs 12 to 24 hours, depending on size, plumbing, and discharge limits.
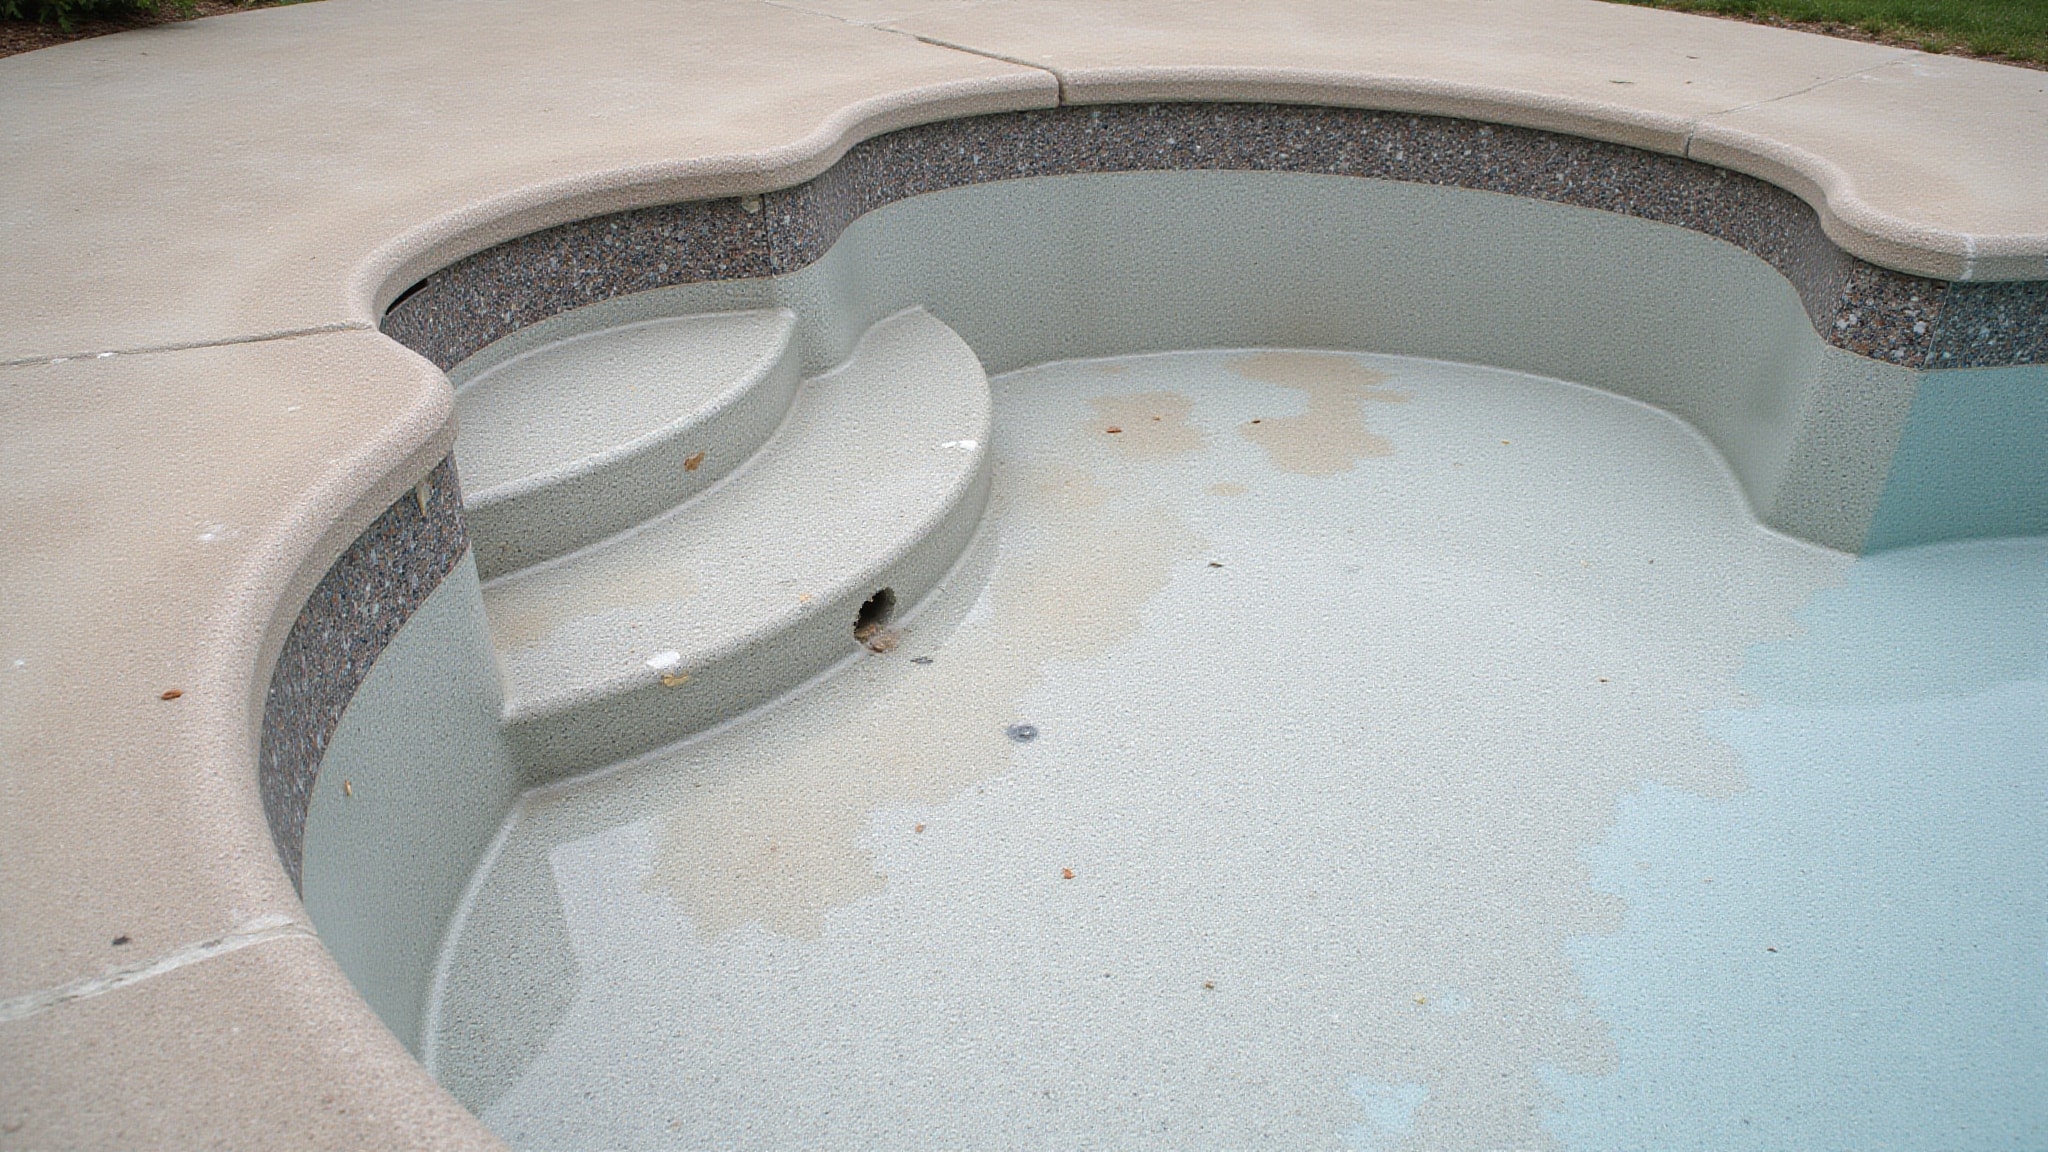
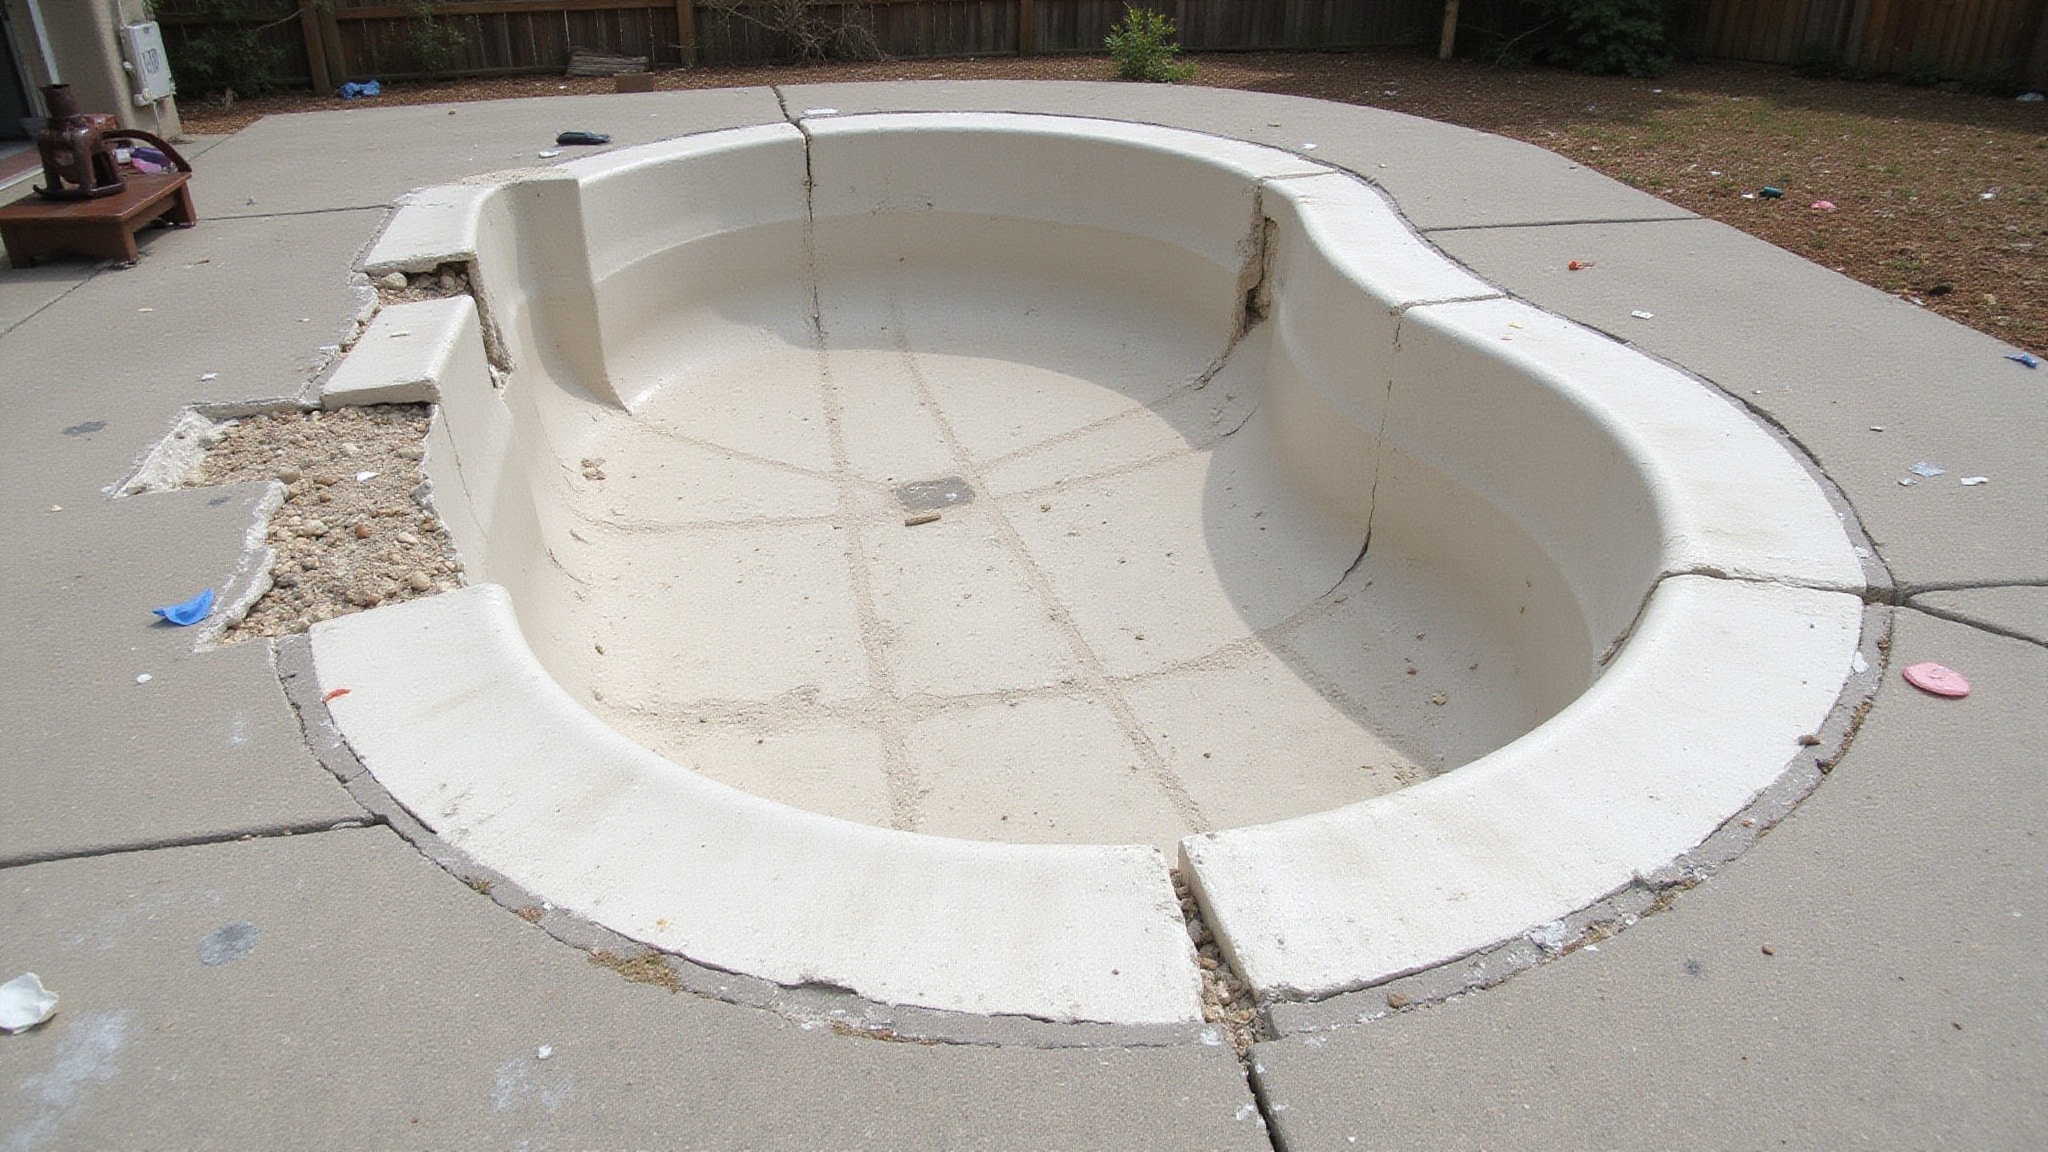
Inspect the shell, tile band, fittings, spillways, and surrounding deck for cracks, leaks, loose plaster, flaking coatings, and chalky residue once it’s empty. Strip failing material using a jackhammer, chisel, pick, diamond grinding disc, or hydro blasting, matched to your finish and substrate. Keep the surface damp while chipping to control dust, then pressure wash at 3000+ PSI.
Which surface material should you choose
Choose your surface material based on your budget, timeline, and durability expectations, because the application method changes with the material you pick. Your three common options, plaster, aggregate, and tile, each demand different tools, prep, and curing windows. Plaster troweling differs sharply from setting tile or exposing pebble aggregate, so match your choice to these factors.
| Material | Application Method | Notes |
|---|---|---|
| Plaster | Troweled in even coats | Consistent trowel angle matters |
| Aggregate | Pebble spread, then exposed | Durable, textured finish |
| Tile | Set individually, grouted | Labor-intensive, precise |
| All types | Primer/bonding agent first | Sealer isn’t optional |
| All types | Product-specific curing | Follow manufacturer instructions |
Choose deliberately, since your selection dictates every downstream step from bonding through final water balancing.
How is the new coating applied and cured
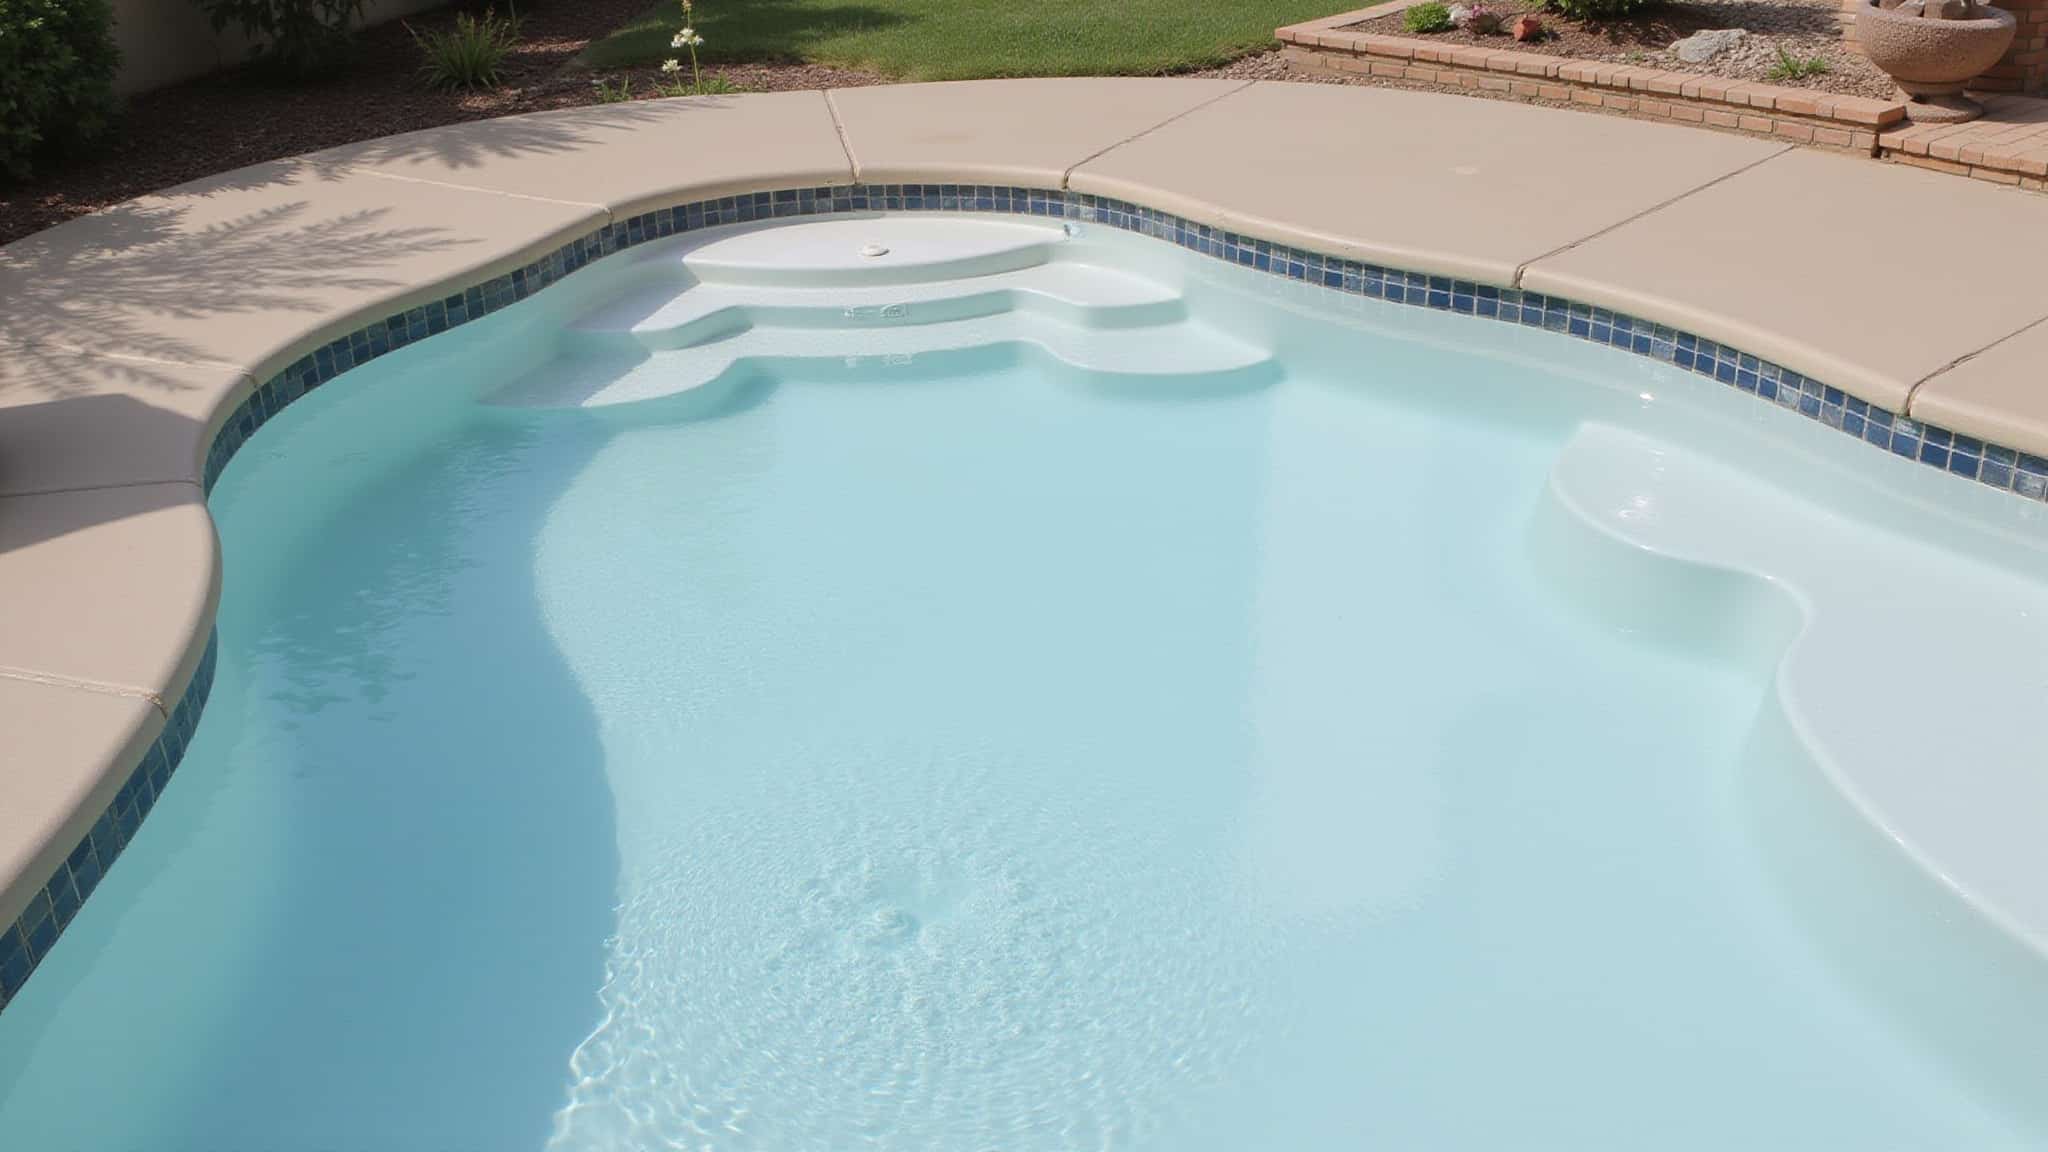
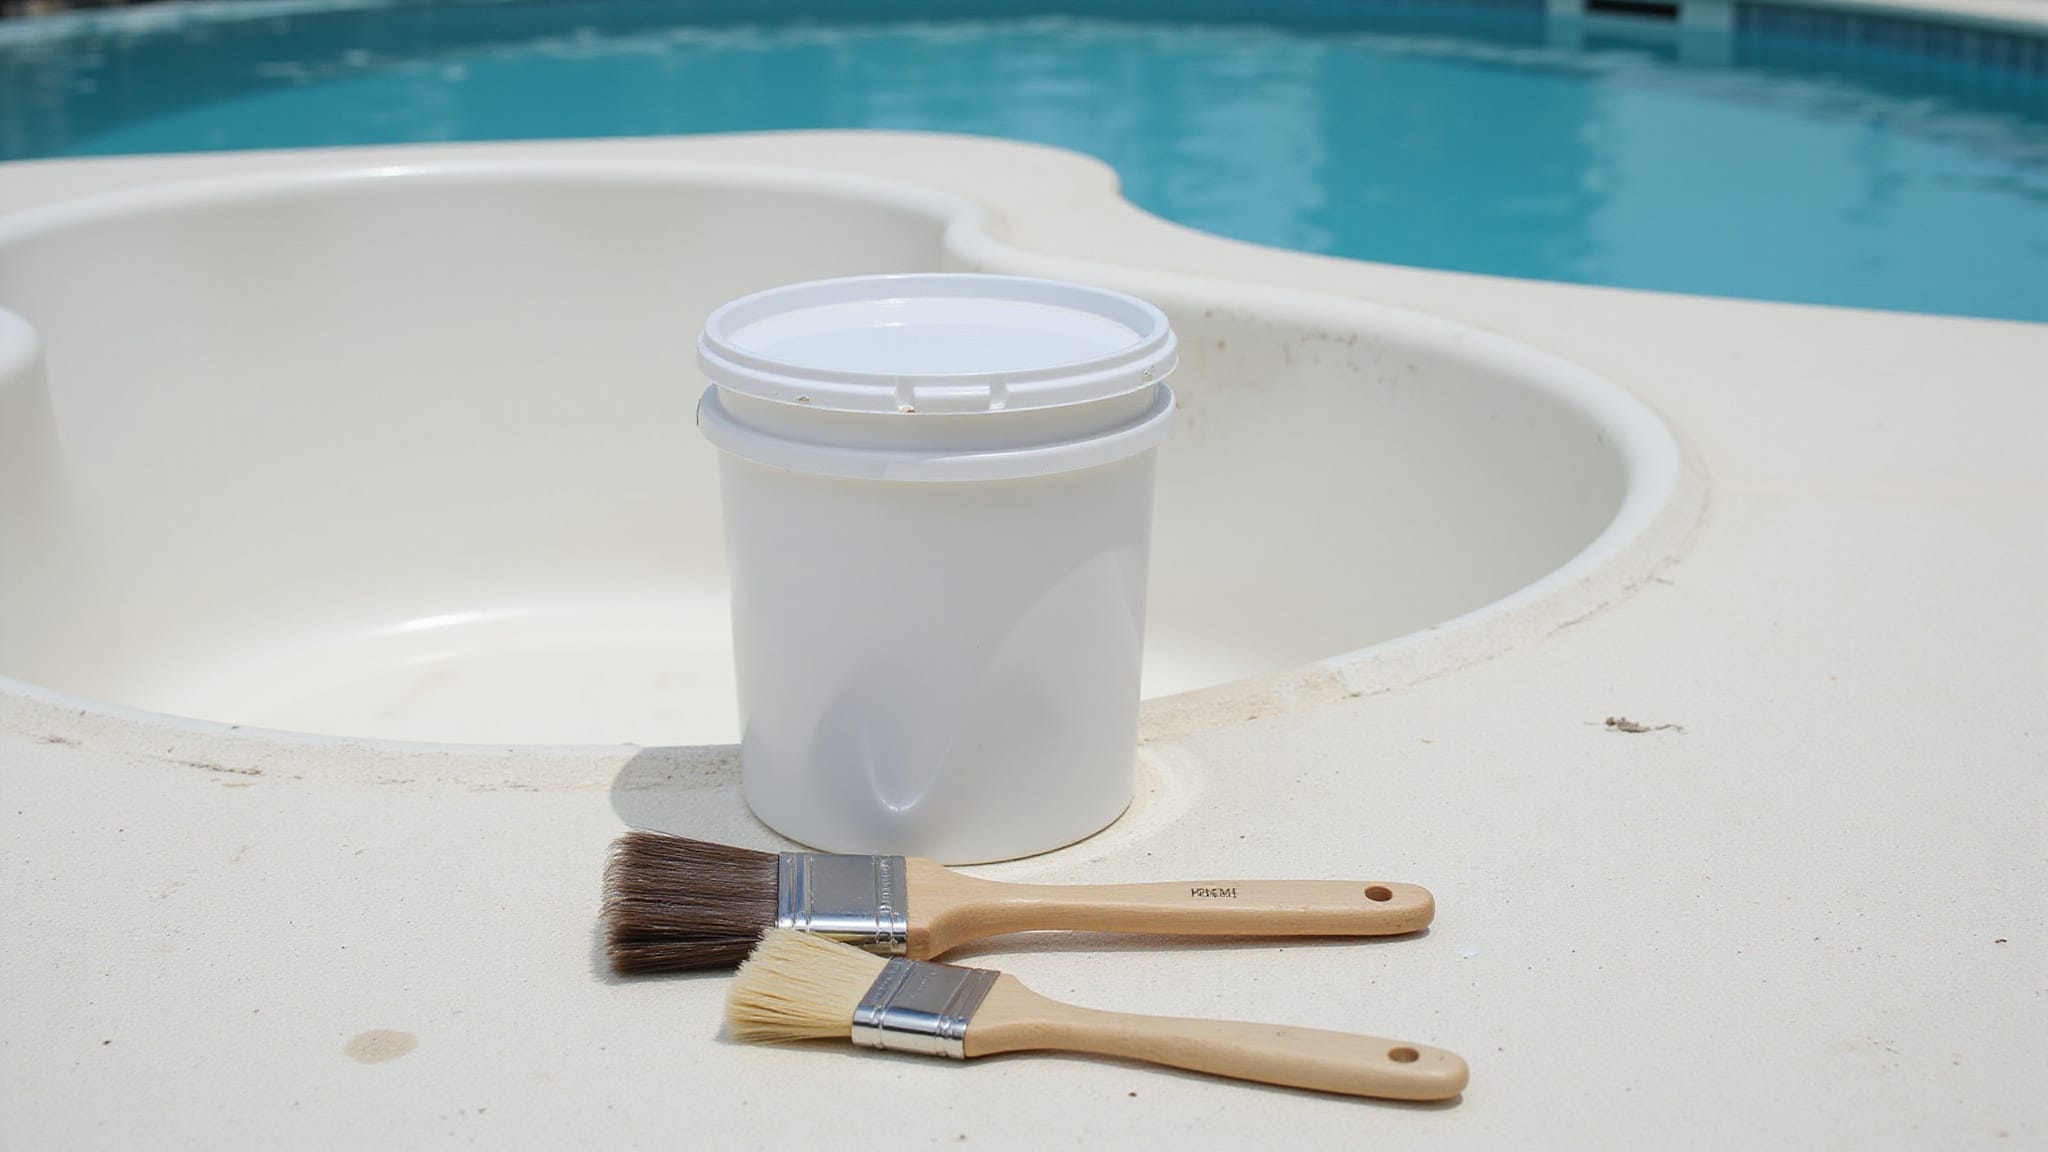
The new coating is applied by spreading it in even coats, working section by section and keeping a consistent trowel angle so thickness stays uniform across the shell. First, prep the shell for bonding. Clean the surface with TSP and muriatic acid to strip mineral deposits and residue, then neutralize the acid before you move on. Don’t skip the primer or bonding agent, it’s not optional if you want the new finish to hold.
Curing comes next, and it’s material-specific. Some finishes need 24 to 48 hours, while others follow longer manufacturer windows. Give the surface the full cure it demands before refilling. Rushing this step undermines everything you’ve done, so follow the product instructions precisely and don’t cut corners.
How do you refill and balance the water afterward
Refill slowly using a garden hose fitted with a diffuser attachment to protect the fresh finish from gouging or channeling. Maintain continuous water flow throughout the fill, and don’t stop until the level reaches the middle of the skimmer opening. Interrupting the flow can leave a ring or streak on new plaster, so keep it steady.
Once the pool’s full, run filtration continuously for the first 72 hours, then brush the walls and floor daily during the first week to remove plaster dust and prevent scaling.
Balance the chemistry by monitoring pH, alkalinity, and sanitizer levels, adjusting as needed to protect the finish. Don’t rush this stage. Wait 7 to 14 days before swimming to let the surface stabilize completely.
How do you find a qualified resurfacing contractor
A qualified resurfacing contractor specializes in your specific finish type, since plaster, aggregate, and tile each demand different application methods and skill sets. Ask for references from recent projects using the same material, and inspect completed work if possible. Confirm the contractor understands the full sequence, draining, prep, crack repair, priming, installation, curing, refill, and water balancing, rather than treating resurfacing as a single coating step. Request a written timeline; realistic estimates run 7 to 10 days of active work and 3 to 5 weeks from drain to swimming. Verify licensing, insurance, and familiarity with local water disposal rules before draining begins. A qualified contractor specifies primer or bonding agent as mandatory, details cure windows, and explains chemistry targets for pH, alkalinity, and sanitizer.
Conclusion: Resurfacing Step by Step
Resurfacing a pool moves through a clear order: drain, remove the old finish, prep and repair the shell, apply the new surface, then refill and balance carefully. Each step sets up the next, and the curing weeks afterward finish the job. Understanding the sequence helps you follow the work and know what a good result should look like from start to finish.
Give Your Pool a Beautiful New Life
Resurfacing or replastering your pool transforms the entire look and extends its life for many years to come. At Pool Doctor of the Palm Beaches in Palm Beach Gardens, FL, our experienced team provides trusted Pool Renovation & Remodeling with expert craftsmanship and premium materials. Call +1 (561) 586-2815 today and plan your pool’s transformation.
Frequently Asked Questions
How Much Does It Cost to Resurface a Pool?
Most resurfacing projects run between 4,000 and 10,000 dollars, shaped by pool size, the finish selected, and any shell repairs needed first. Plain plaster is cheapest, while quartz and pebble finishes cost more but last longer. A few local quotes will give you the most accurate figure for your pool.
How Often Should You Resurface Your Pool?
Plaster finishes typically call for resurfacing every 10 to 15 years, with premium options lasting longer. Water chemistry and maintenance nudge that range in either direction. The better guide is the surface itself: rough spots, stains, and thin patches signal it is time before the calendar does.
Can You Resurface a Pool Yourself or Hire a Professional?
This job leans strongly toward a professional. The material sets fast and needs an even, continuous application that is hard to achieve without a trained crew. DIY attempts commonly leave rough or streaked areas you cannot undo, so hiring it out generally produces a smoother, longer-lasting surface.
What Are Signs Your Pool Needs Resurfacing?
Look for rough or flaking plaster, spreading stains, exposed aggregate, chips, and hairline cracks. A surface that feels like sandpaper or a pool that keeps losing water points to a finish that has broken down. Spotting these early lets you plan the work instead of reacting to a leak.
Does Resurfacing a Pool Add Value to Your Home?
A fresh surface can help, especially in warm markets where the pool is a selling point. Clean, updated plaster signals a well-kept pool to buyers, while a rough or stained finish reads as neglect. The bigger win is often avoiding a lost sale, since a tired-looking pool can turn buyers off entirely.