

To patch a pool liner underwater that holds, start by cleaning the liner around the leak with a non-abrasive pad and rubbing alcohol. Cut a rounded vinyl patch at least two inches larger than the hole, then apply HH-66 cement to the sticky side. Fold it loosely into a “taco” shape, adhesive inward, and submerge. Unfold it over the damage and press firmly from the center outward. The details below make every step easier. Locating a pool liner leak can sometimes be challenging if the damage is subtle. It’s important to regularly inspect the liner for any signs of wear and tear to prevent leaks.
Key Takeaways
- Use HH-66 vinyl cement rated for underwater bonding, and cut a rounded patch at least two inches larger than the hole.
- Clean the liner with a non-abrasive pad, then wipe with rubbing alcohol to remove sunscreen, dirt, and residue.
- Fold the adhesive-coated patch loosely into a “taco” shape so the surfaces don’t bond prematurely during descent.
- Press firmly from the center outward for one to two minutes, driving trapped air toward the rounded edges.
- Weight floor patches with a plastic-wrapped brick during curing and confirm adhesive covers the full perimeter.
How do you patch a pool liner underwater
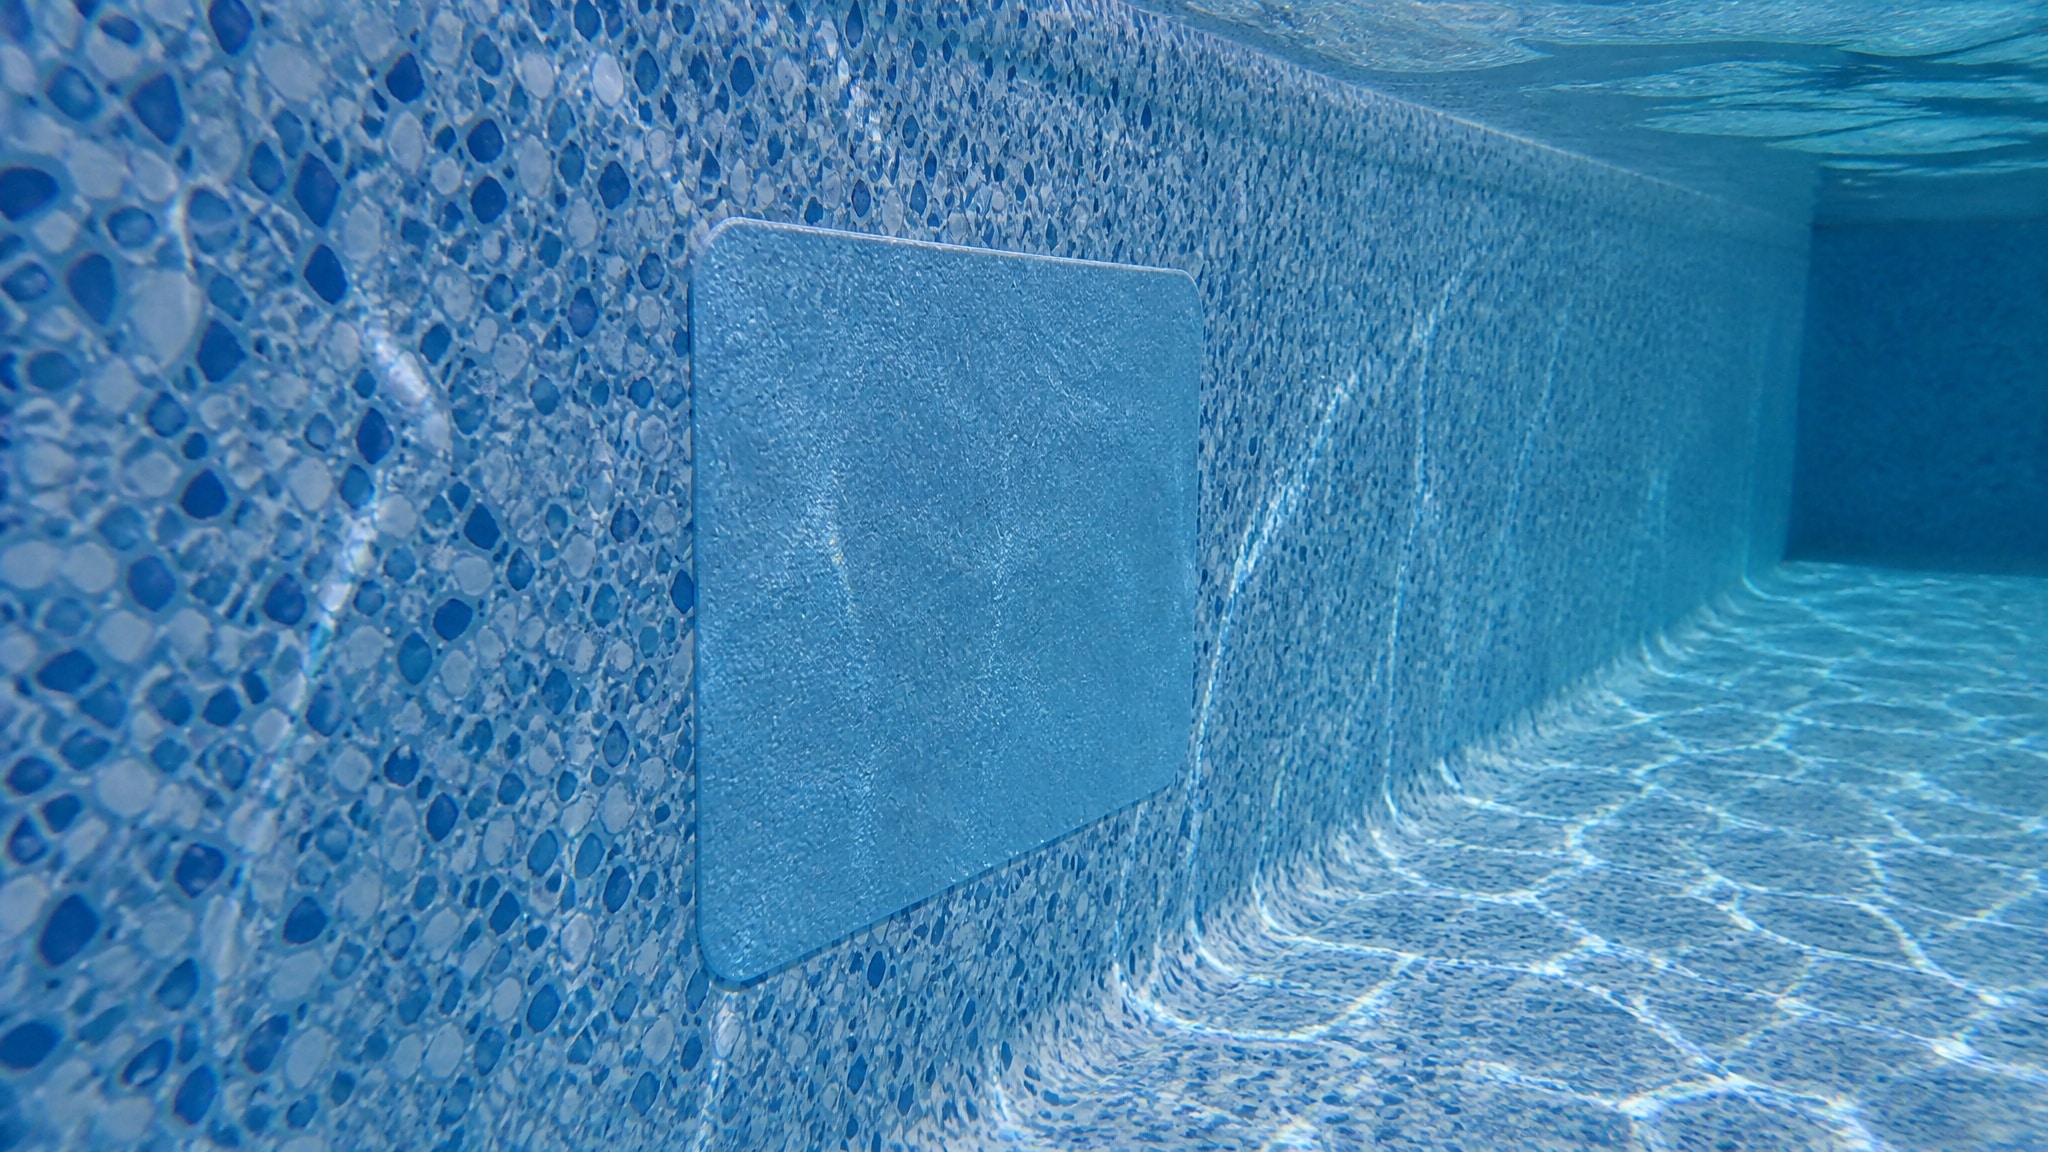
Patch a pool liner underwater by bonding a properly prepared vinyl patch directly to the damaged area without draining the pool. Start by cleaning the liner around the leak with a non-abrasive scouring pad, removing algae, dirt, and residue so the waterproof adhesive can bond. Cut a rounded vinyl patch at least two inches larger in diameter than the hole. Apply HH-66 vinyl cement to the patch, then fold it loosely into a “taco” shape with the adhesive side inward. Submerge it, position it over the damage, and unfold it carefully. Press firmly from the center outward, working out air bubbles and applying even pressure across the entire surface. Hold the underwater repair in place for one to two minutes.
What materials do you need for the job
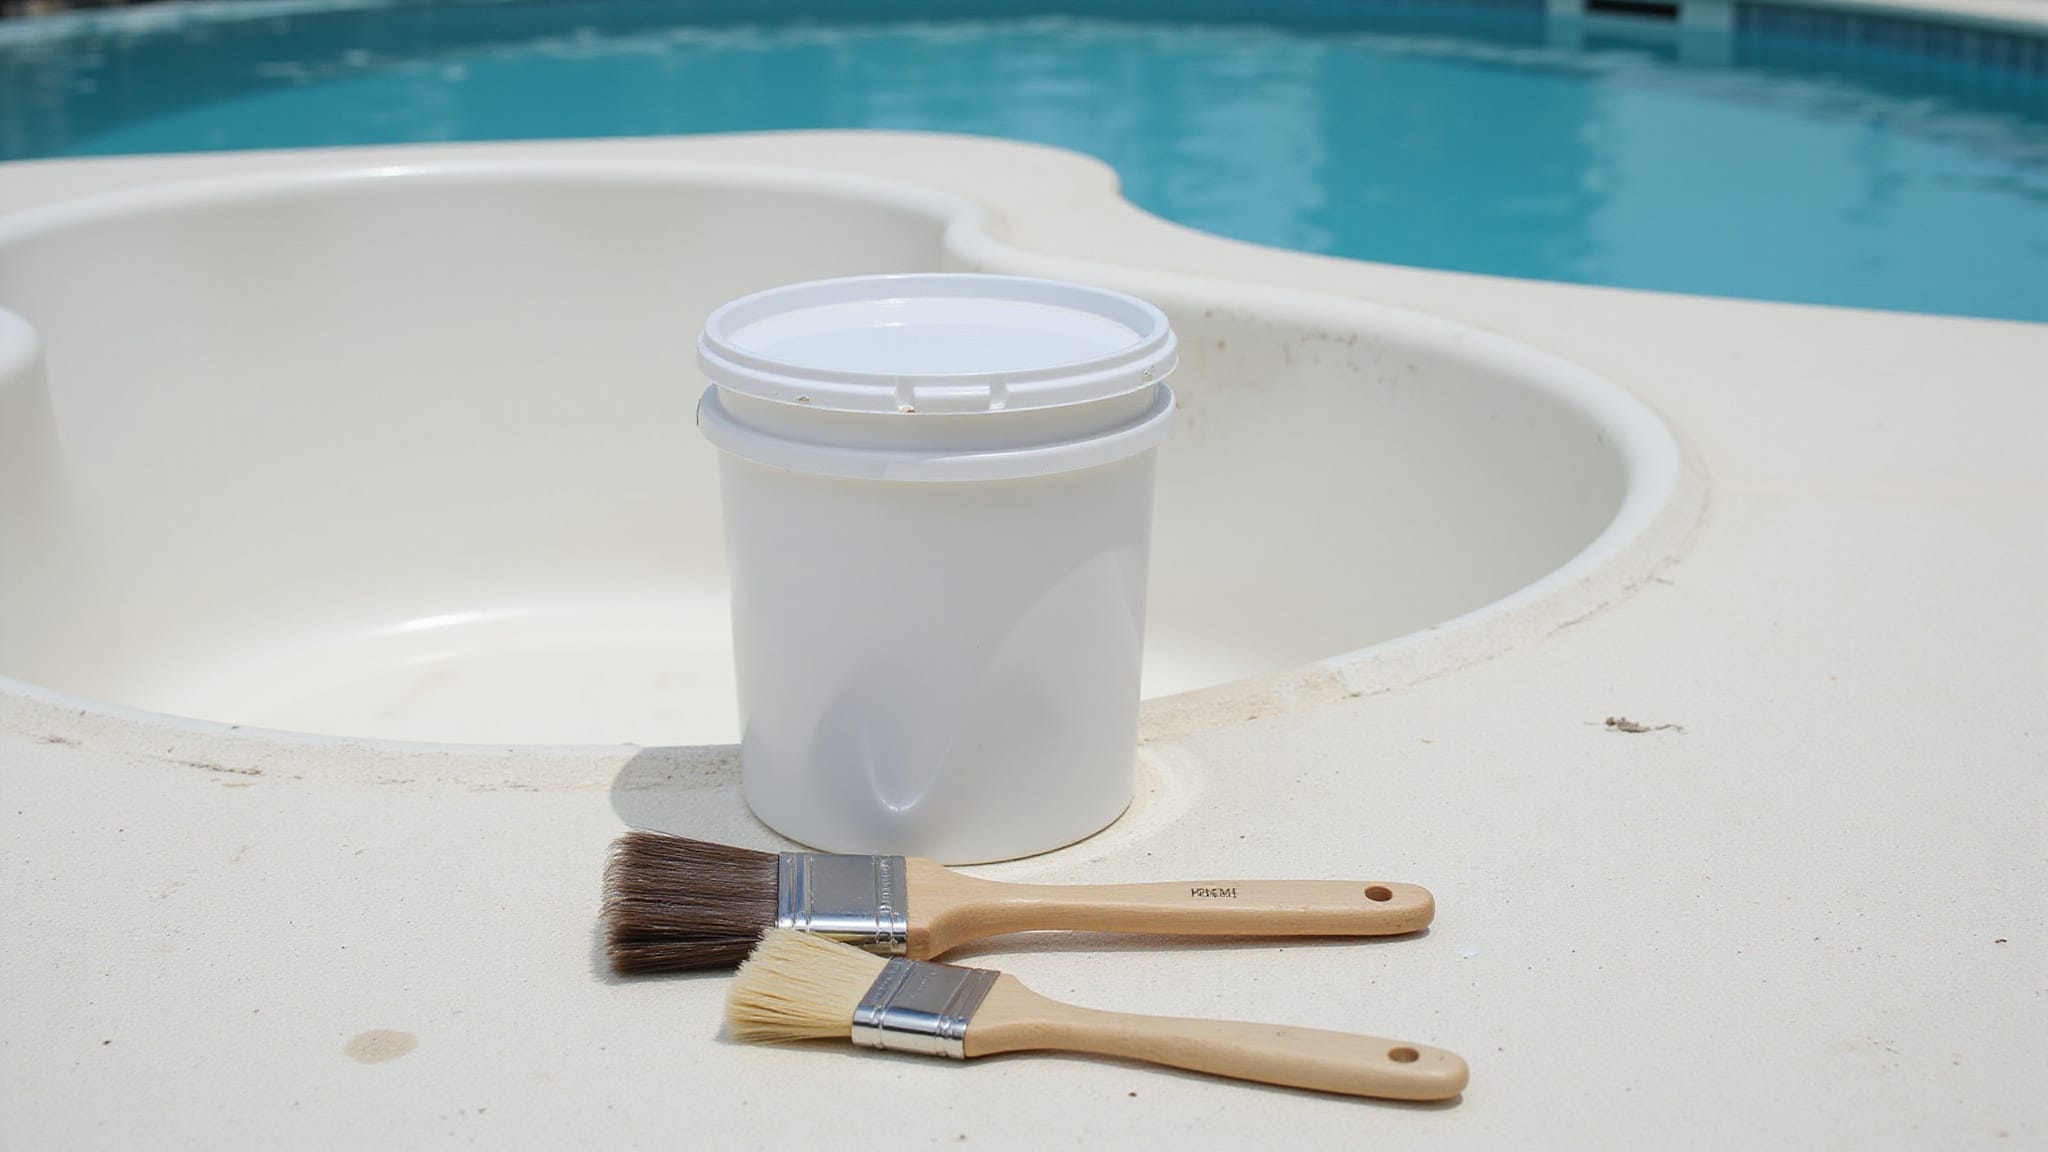
For an underwater repair, you need supplies rated for wet application, because standard adhesives won’t bond beneath the surface. Assemble everything within reach so you’re not surfacing mid-repair to grab a forgotten item.
Gather every wet-rated supply within reach first, so a forgotten item never forces you to surface mid-repair.
- Vinyl pool liner patch material, cut rounded and at least 2 inches larger in diameter than the hole
- HH-66 vinyl cement, specifically rated for underwater liner bonding
- A non-abrasive scouring pad or soft sponge for cleaning the liner surface
- Rubbing alcohol to remove sunscreen, dirt, and residue before applying adhesive
- A plastic-wrapped brick or pool cleaner head to weight floor patches during curing
With these staged, you’re ready to prep the surface and shape your patch.
How do you prep and cut the patch to size
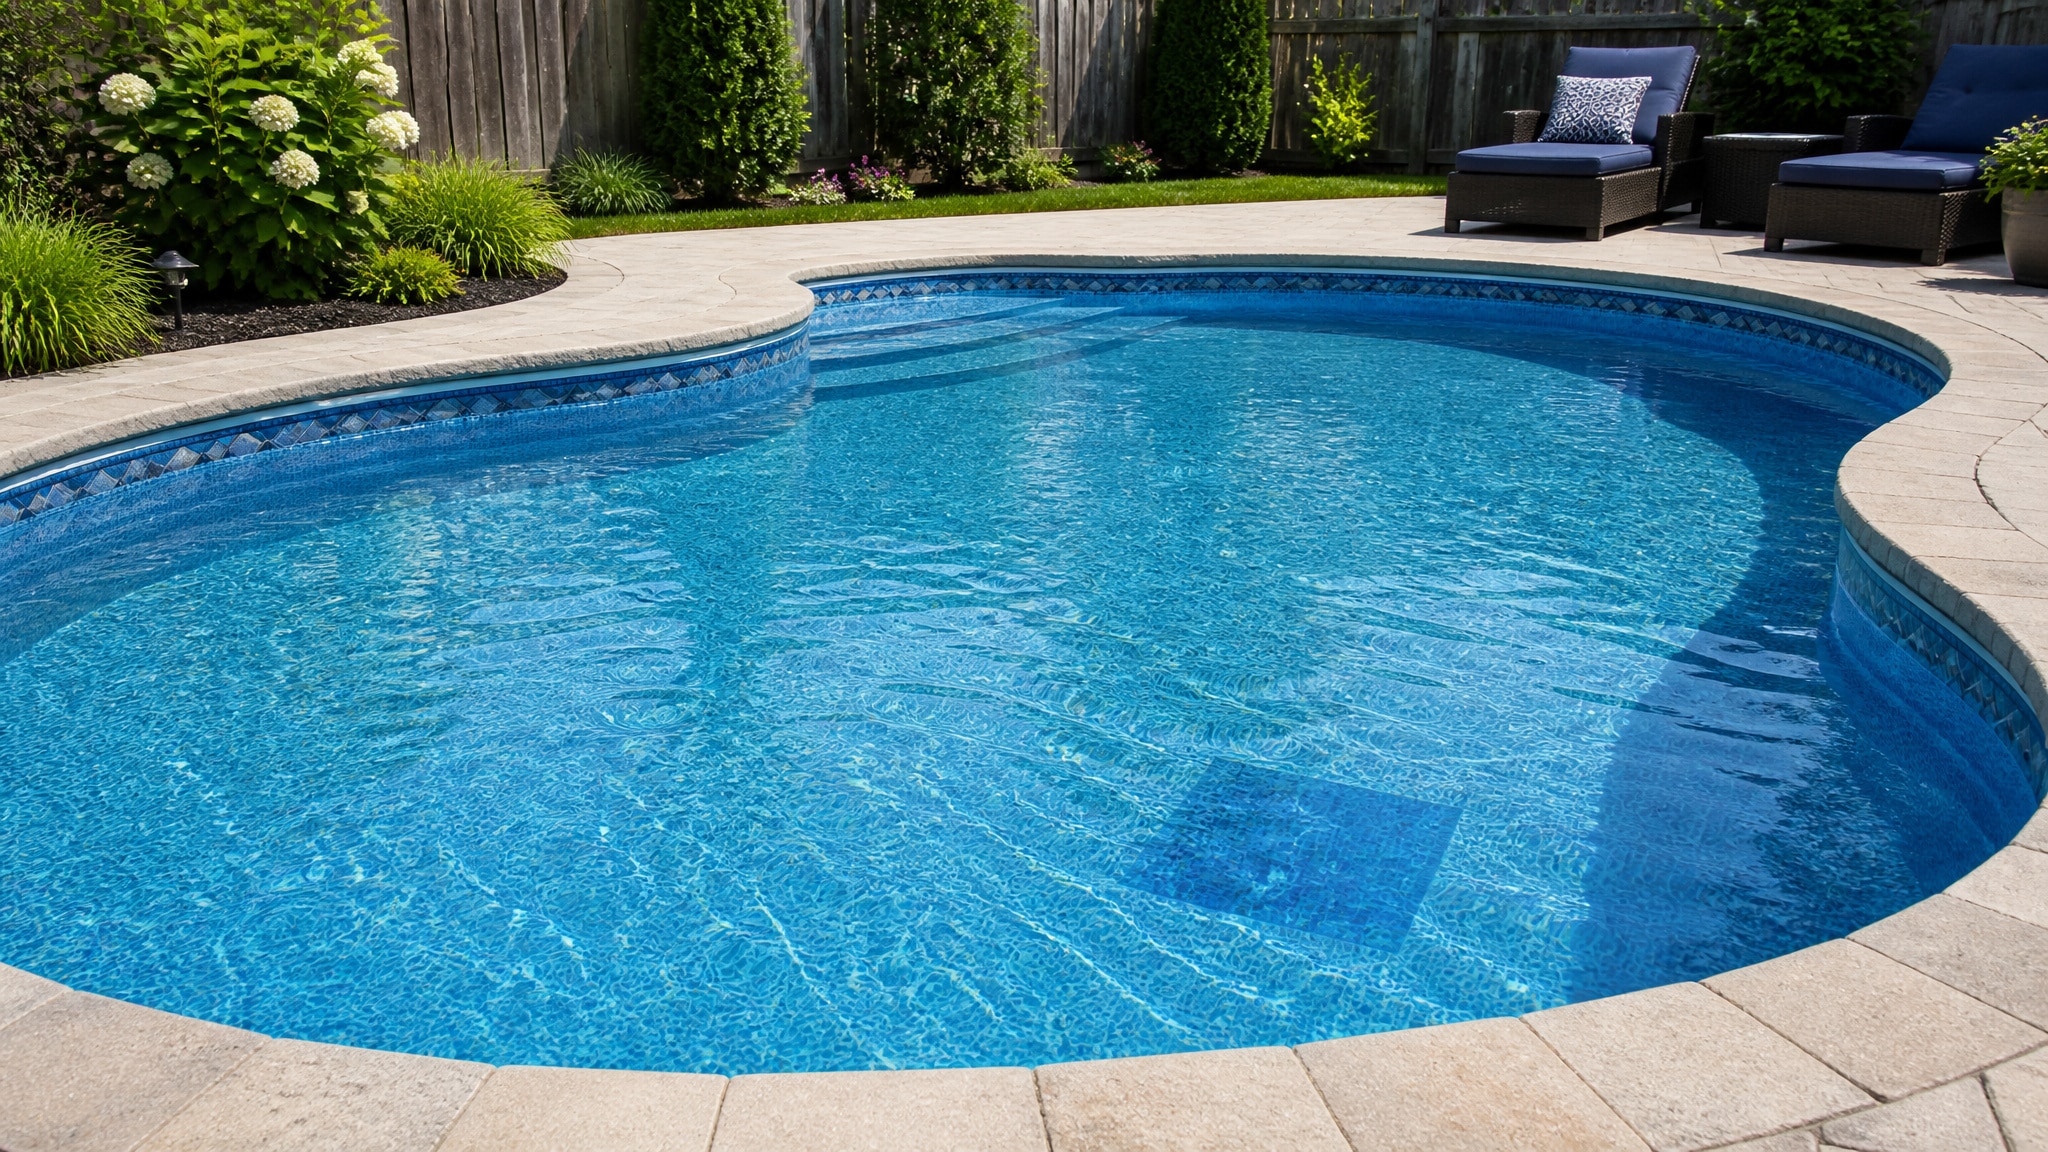
Prep and cut the patch by measuring the hole’s diameter, then cutting your vinyl patch at least 2 inches larger across, or, for high-stress tears, up to five times the hole’s diameter. Shape the patch into a circle or oval, eliminating any corners that could catch water flow and lift. Sharp corners peel first, so you round every edge.
Clean the liner area thoroughly. Wipe away debris, algae, sunscreen, and residue using a non-abrasive scouring pad or soft cloth. Follow with rubbing alcohol to strip lingering film so the adhesive bonds cleanly. Since you’re working underwater, skip drying, that step’s only for above-water repairs. If you’re dealing with a stubborn situation, you might wonder how to get wrinkles out of a pool liner. A gentle tugging motion while the liner is still wet can help smooth out minor imperfections.
Cut cleanly, keep edges smooth, and size the patch to fully cover the damage.
How do you apply it so it holds underwater
Apply adhesive to the sticky side of your cut patch, then fold the patch loosely in half into a “taco” shape, adhesive inward. Keep the fold loose so the adhesive surfaces don’t bond prematurely during your descent. Carry it down, position it over the damaged area, then unfold it carefully against the liner.
- Center the patch directly over the hole before releasing the fold
- Press firmly from the center outward, driving trapped air toward the edges
- Work out air bubbles with steady, even pressure across the surface
- Use a slight back-and-forth seating motion to set the adhesive
- Confirm adhesive reaches the full perimeter for complete edge coverage
Hold firm pressure for one to two minutes.
How do underwater patch kits compare
You choose between adhesive-based patches and peel-and-stick kits by matching the kit to the repair conditions. Adhesive-based patches use vinyl cement like HH-66, which bonds underwater when you apply glue to the patch before submerging. Peel-and-stick kits skip separate adhesive but follow a different sequence and may hold less reliably under sustained submersion.
| Adhesive-Based | Peel-and-Stick |
|---|---|
| Requires HH-66 vinyl cement | Pre-applied adhesive backing |
| Apply glue before submerging | Position directly, no glue step |
| Stronger edge and perimeter seal | Faster, simpler application |
For lasting holds, adhesive-based patches give you better edge coverage and perimeter bonding, which resists curling. Peel-and-stick works for quick fixes. You size both at least two inches larger than the hole.
When should you replace the liner instead
Replace the liner instead of patching when damage spreads across multiple points or the material degrades. Patches solve isolated leaks, but they can’t fix a liner that’s failing across multiple points. When damage spreads or the material degrades, patching becomes a losing effort. You’re better off replacing the liner when you observe structural or widespread failure rather than localized punctures.
Replace the liner instead of patching when you notice:
- Multiple leaks appearing across different sections, indicating material fatigue rather than isolated damage
- Brittle or stretched vinyl that tears easily and won’t hold adhesive at patch edges
- Faded, wrinkled, or shrinking liner that’s pulled away from walls or corners
- Recurring patch failures where repairs curl, lift, or leak within weeks
- Large tears exceeding what overlapping patches can reasonably seal
Assess condition before committing to repairs.
Conclusion: Making an Underwater Liner Patch That Holds
An underwater patch is a quick, effective way to fix a small leak in a vinyl liner without draining the pool. The keys are using a proper underwater vinyl patch kit with wet-set adhesive, cleaning the area well, and pressing out air so the patch bonds fully. Done carefully, these patches can last a long time. For leaks near seams, fittings, or larger tears, a professional repair or liner replacement may be the better fix.
Get Expert Help With Your Pool Liner
Whether you’re patching, replacing, or installing a new liner, expert help makes every job stress-free. At Pool Doctor of the Palm Beaches in Kings Point, FL, our experienced team provides trusted Pool Renovation & Remodeling with expert liner work and premium materials. Call +1 (561) 586-2815 today and get your pool back in perfect shape.
Frequently Asked Questions
Can I Swim in the Pool Right After Patching It Underwater?
Underwater vinyl adhesives are made to bond while submerged, and many set within a short time, but it is best to give the patch a few hours to cure fully before swimming. Following the kit’s instructions ensures a strong bond. Waiting a little while lets the patch hold reliably before the water gets disturbed.
Will Chlorine or Pool Chemicals Weaken the Patch Adhesive Over Time?
Quality underwater patch kits are designed to hold up to pool chemicals, so a properly applied patch resists chlorine and normal water balance. Very high chlorine or badly unbalanced water can stress any repair over time. Keeping the water balanced helps the patch, and the liner, last longer.
How Long Can an Underwater Vinyl Patch Realistically Last?
A well-applied patch on a clean, flat area of the liner can last for years, sometimes as long as the liner itself. Its longevity depends on the size of the tear, the surface, and how well it was applied. Patches on high-stress spots or near seams tend to last less, so those may need a more permanent fix.
Does Water Temperature Affect How Well the Adhesive Bonds?
It can. Most underwater adhesives bond best within a moderate temperature range, and very cold water can slow or weaken the set. Warmer water within the recommended range helps the patch adhere. Check the kit’s guidance, since following its temperature recommendations gives the strongest, most reliable bond.
Can I Patch a Leak Near the Liner Seam or Fitting?
You can try, but seams and fittings are high-stress, uneven areas where patches are harder to seal and more likely to fail. A patch there may only be temporary. For leaks at seams, skimmers, returns, or other fittings, a professional repair or replacing the liner is usually the more dependable solution.