

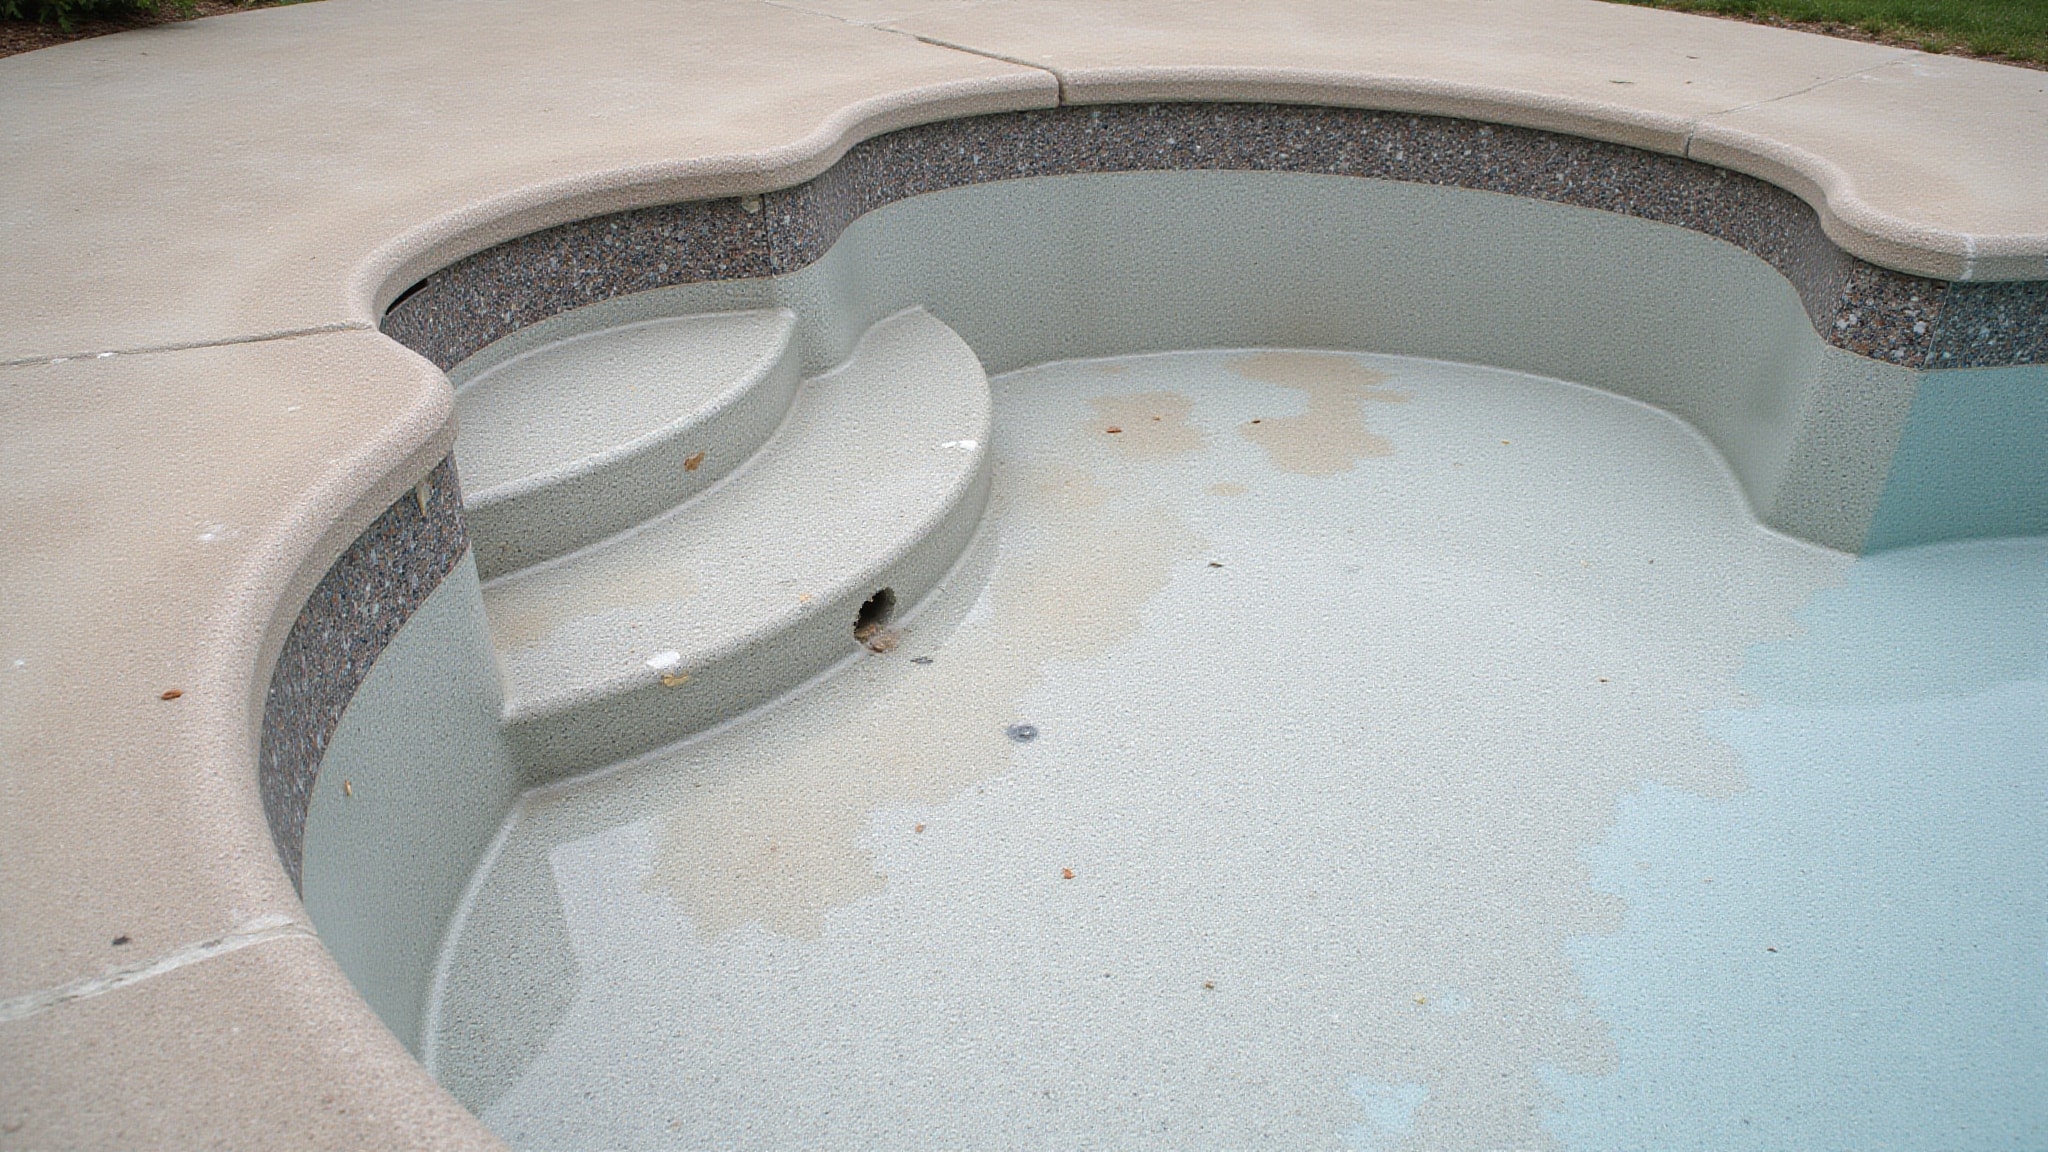
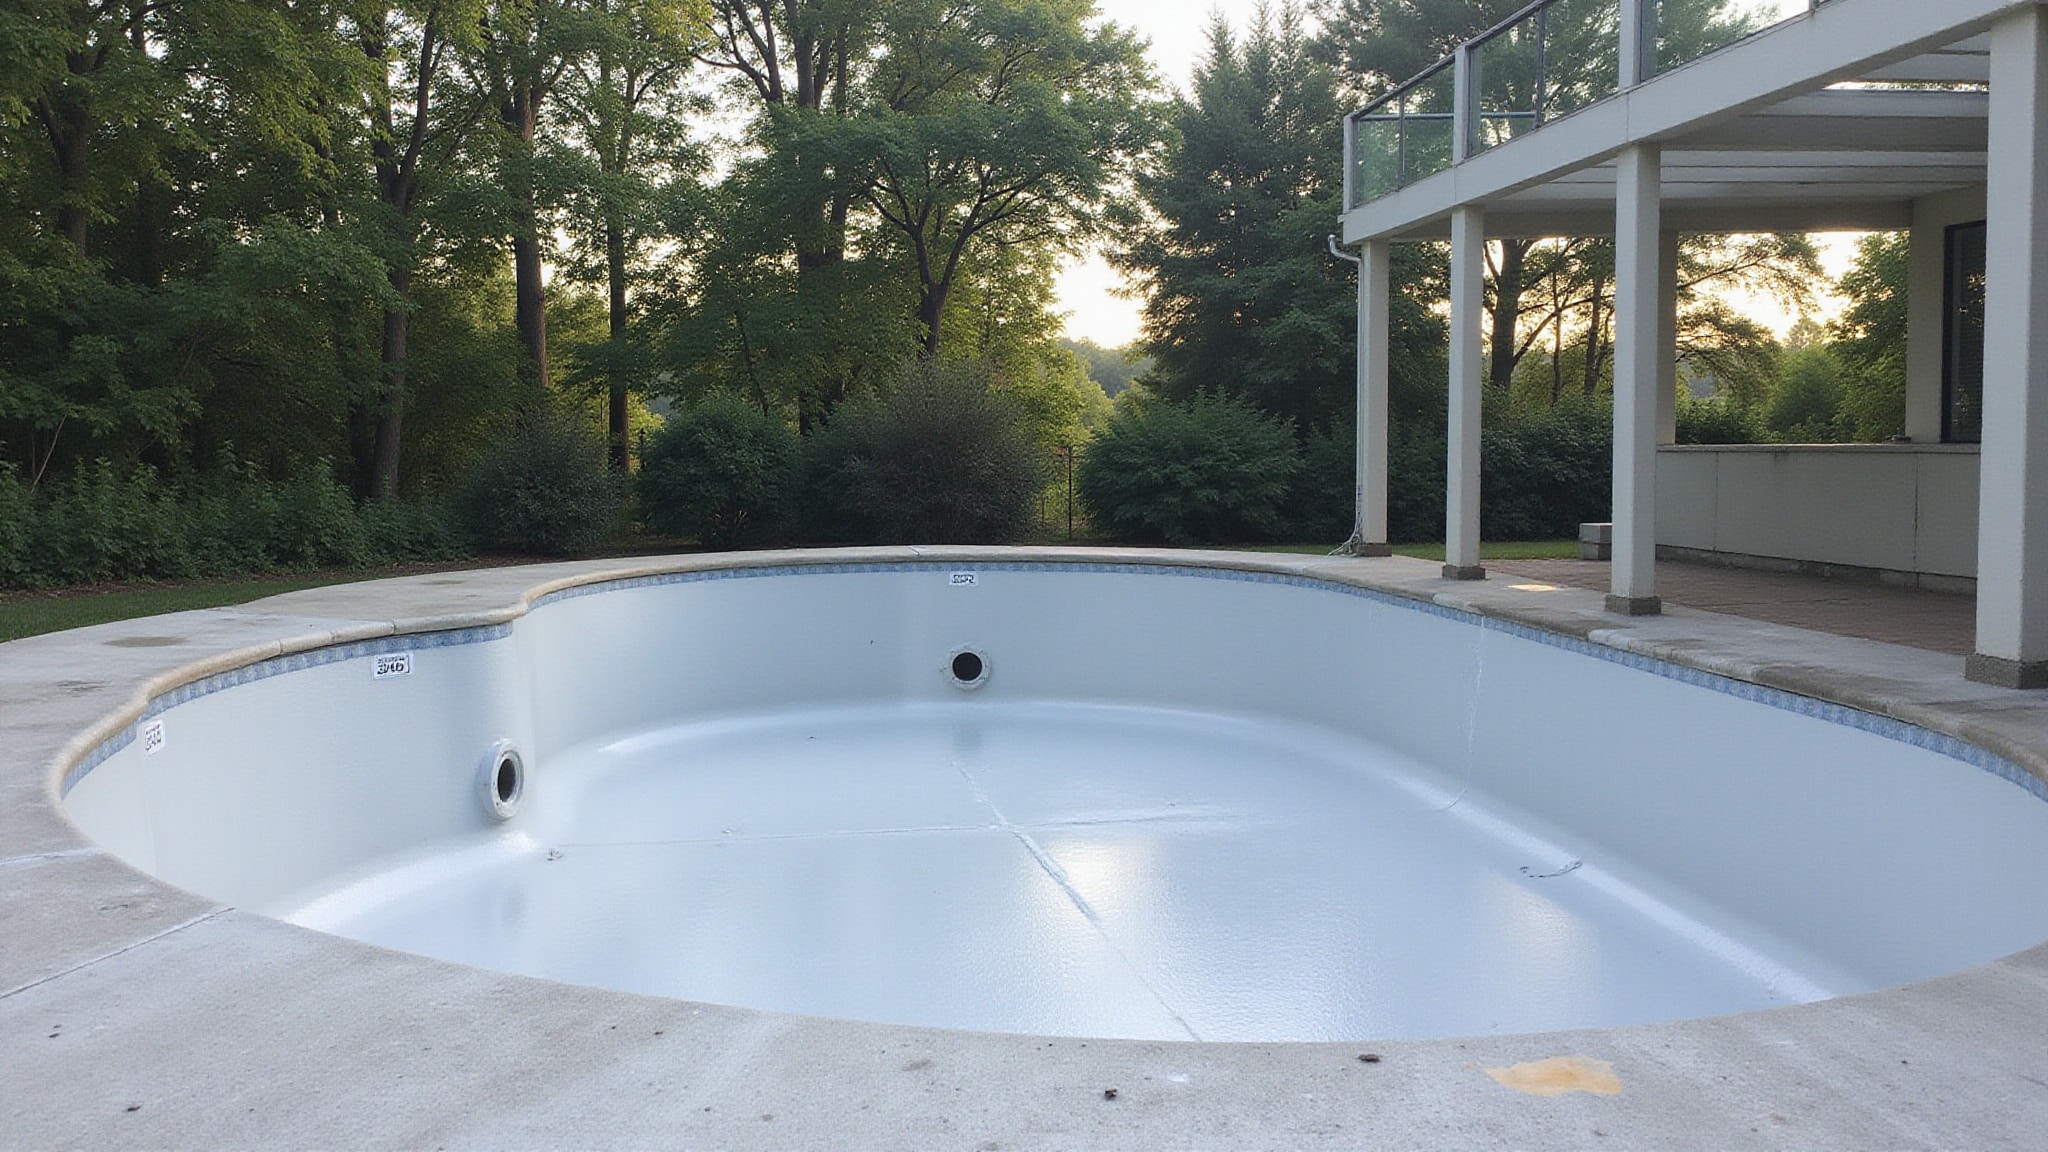
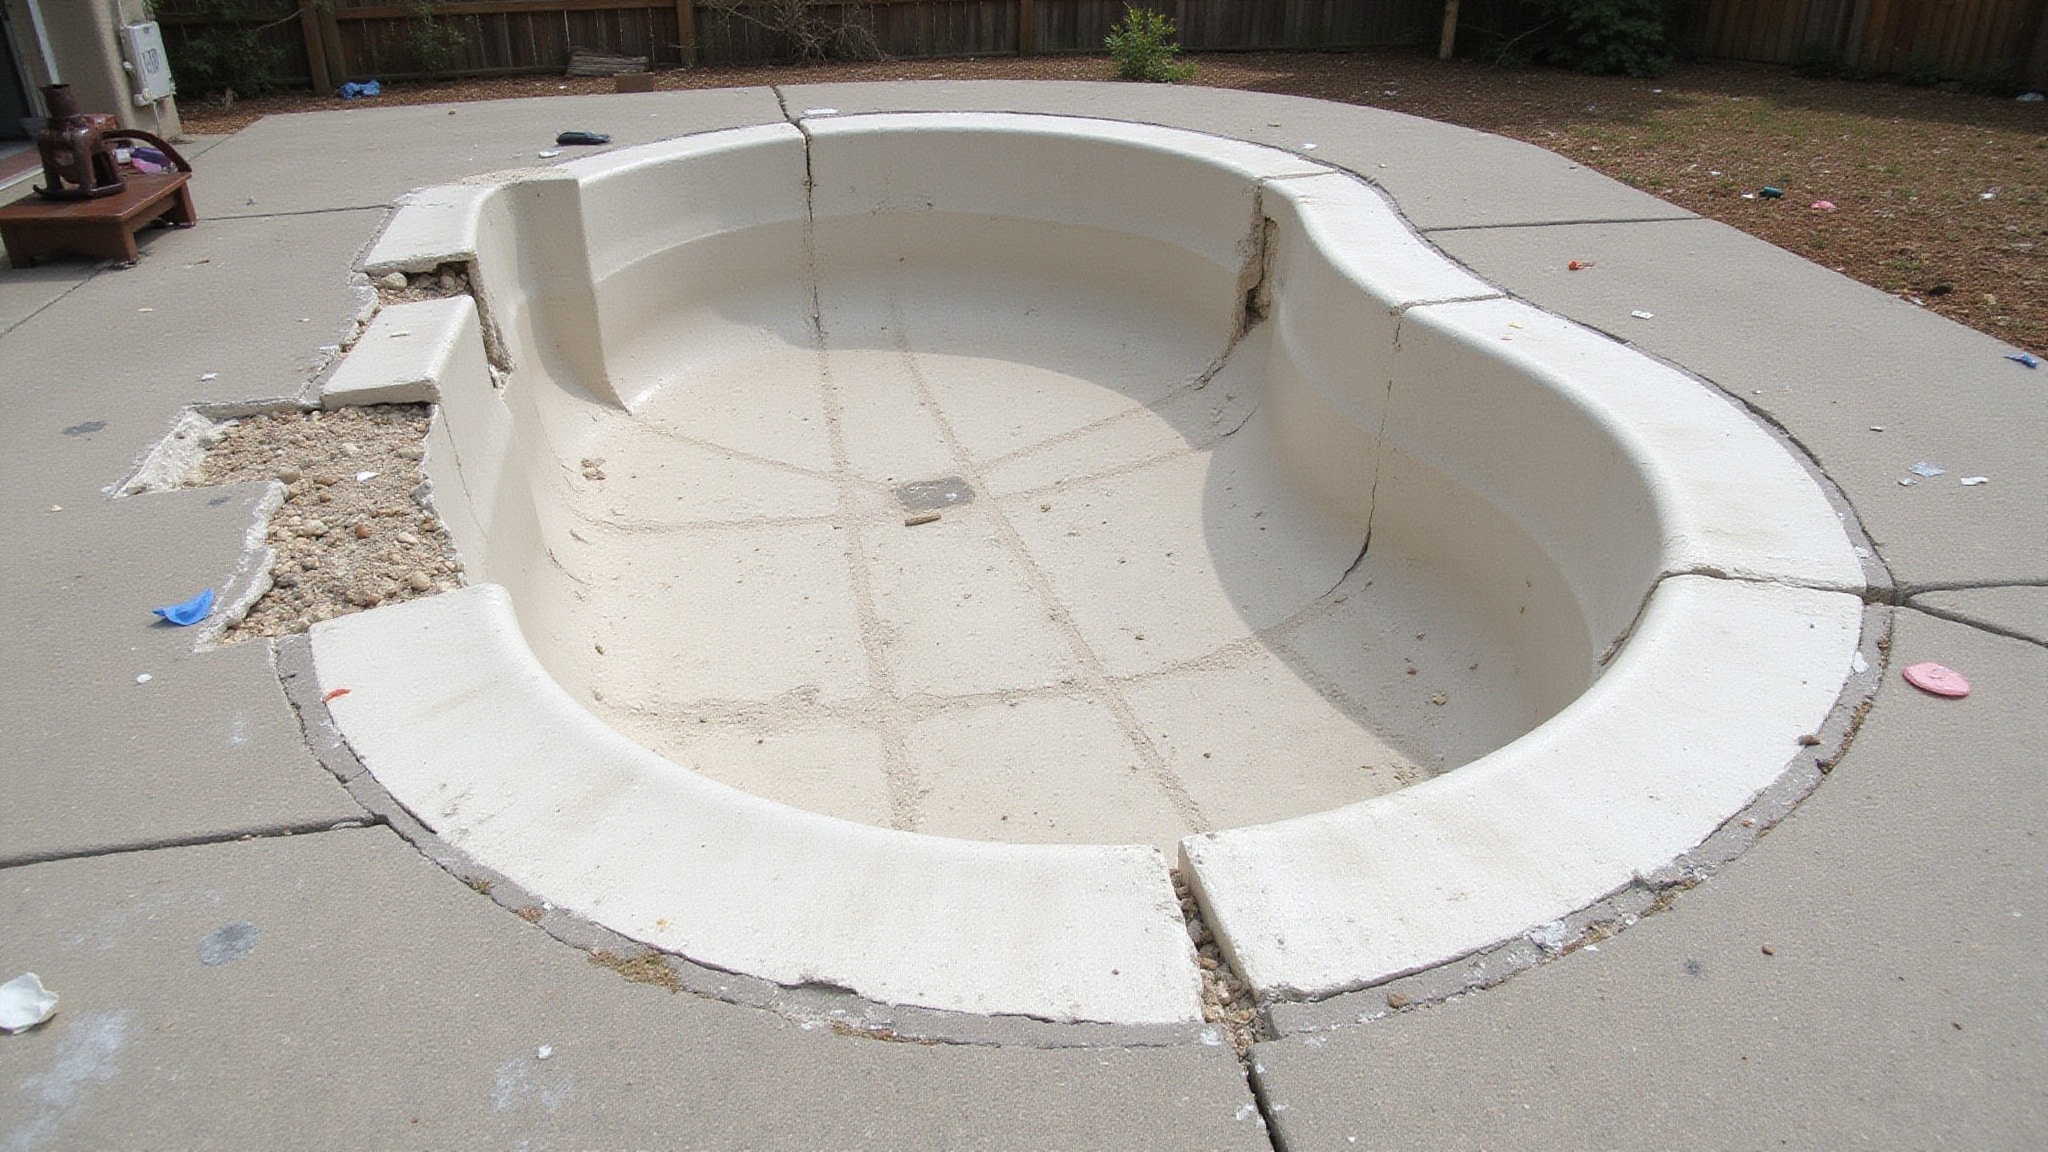
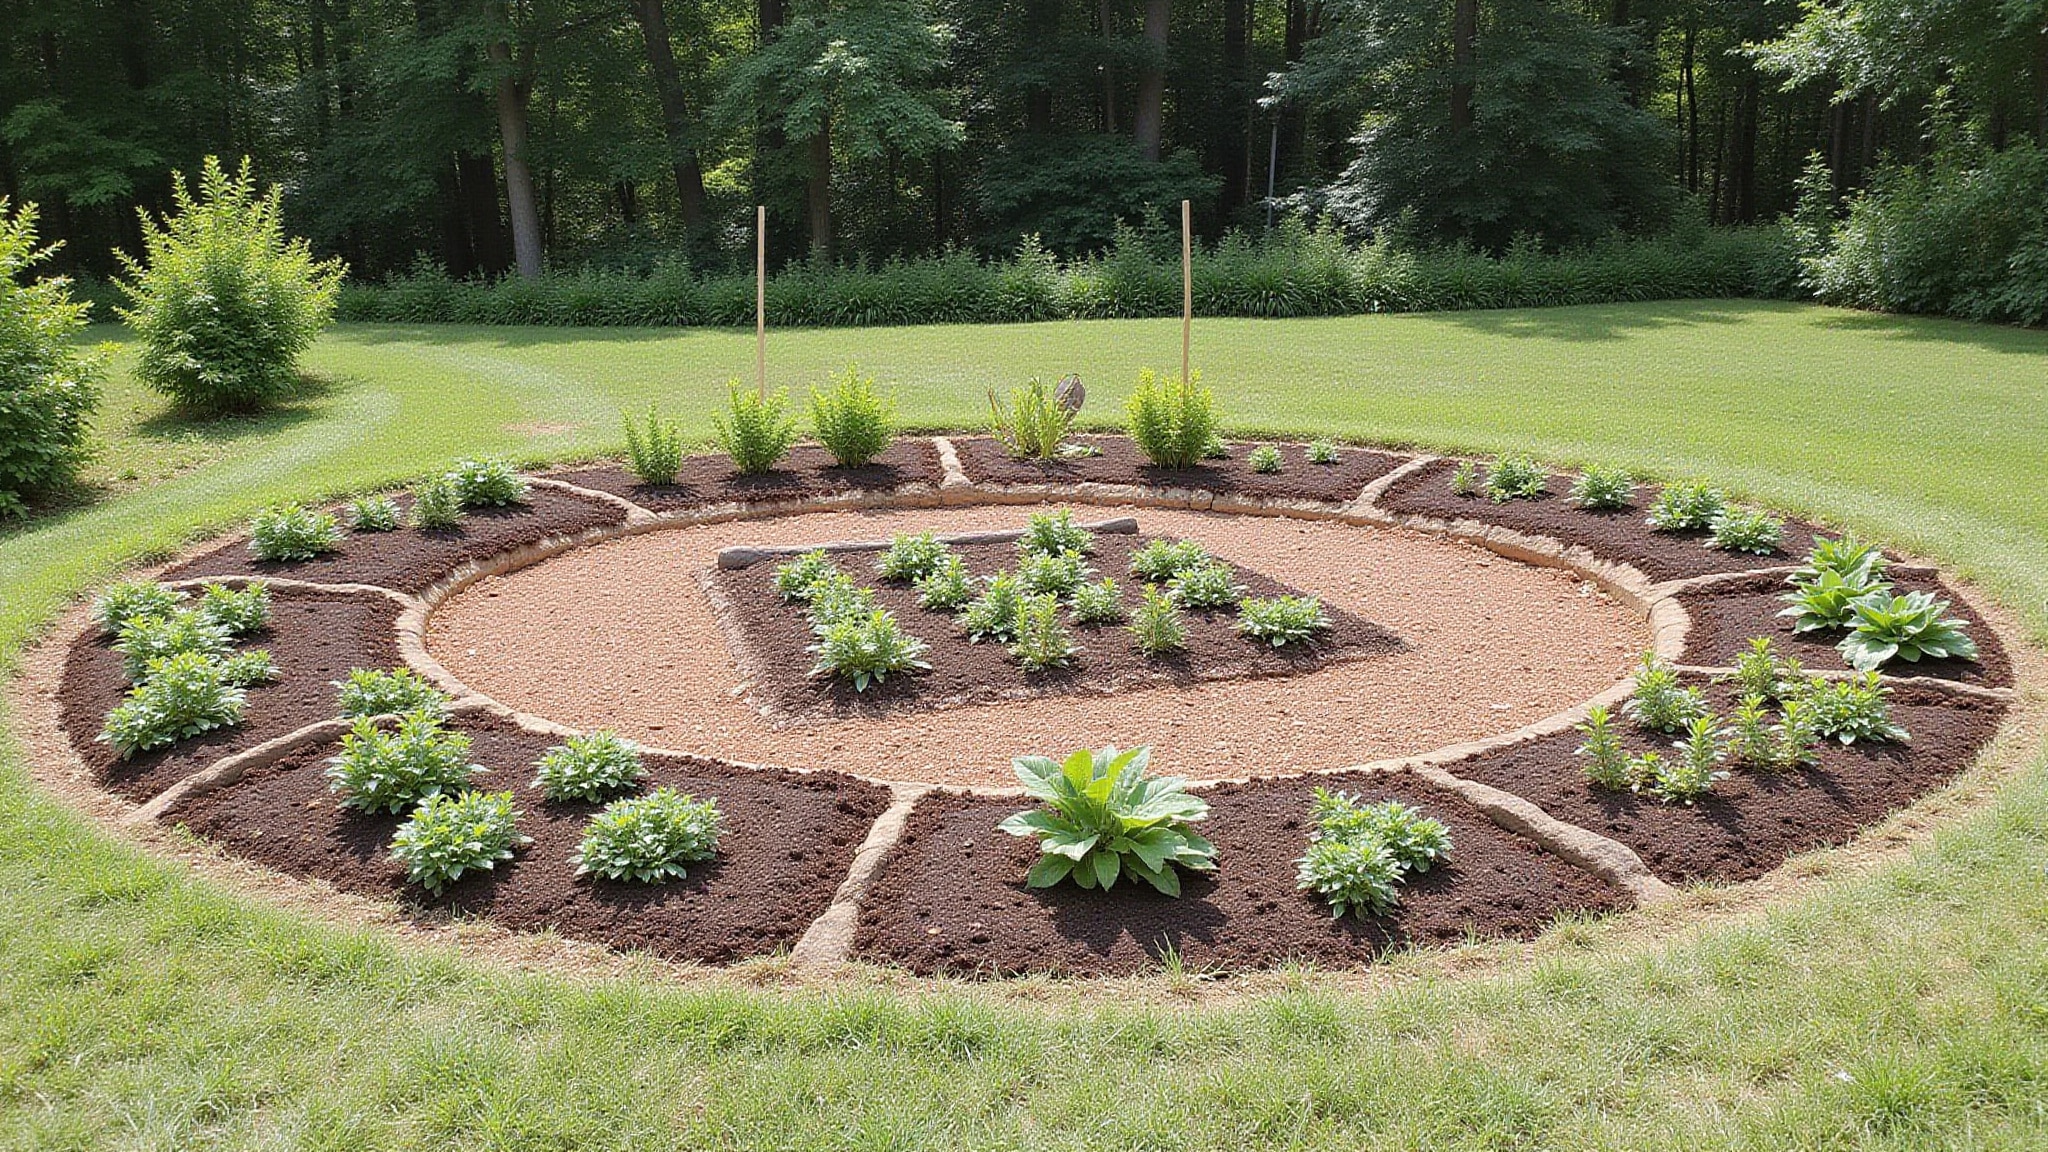
Start with a level floor, since uneven ground forces the liner to bridge dips and fold into ridges. Spread a 2-inch mason sand base, rake it evenly, then hand tamp it. Form a 6-inch by 6-inch cove around the perimeter. Position the liner on a warm day, center it, and smooth wrinkles from the center outward. Add water slowly, starting with just 1/2 inch. There’s more to master below.
Key Takeaways
- Level the ground and spread a 2-inch mason sand base to prevent bridging over dips and high spots.
- Form a 6-inch by 6-inch cove around the inside perimeter to support the wall-to-floor seam.
- Install on a warm day so the vinyl stays flexible and easier to smooth.
- Center the liner, align the wall seam, and smooth wrinkles from the center outward toward the edges.
- Add water slowly starting with just 1/2 to 4 inches, stopping immediately to fix any new wrinkles.
How do you install an above ground pool liner without wrinkles
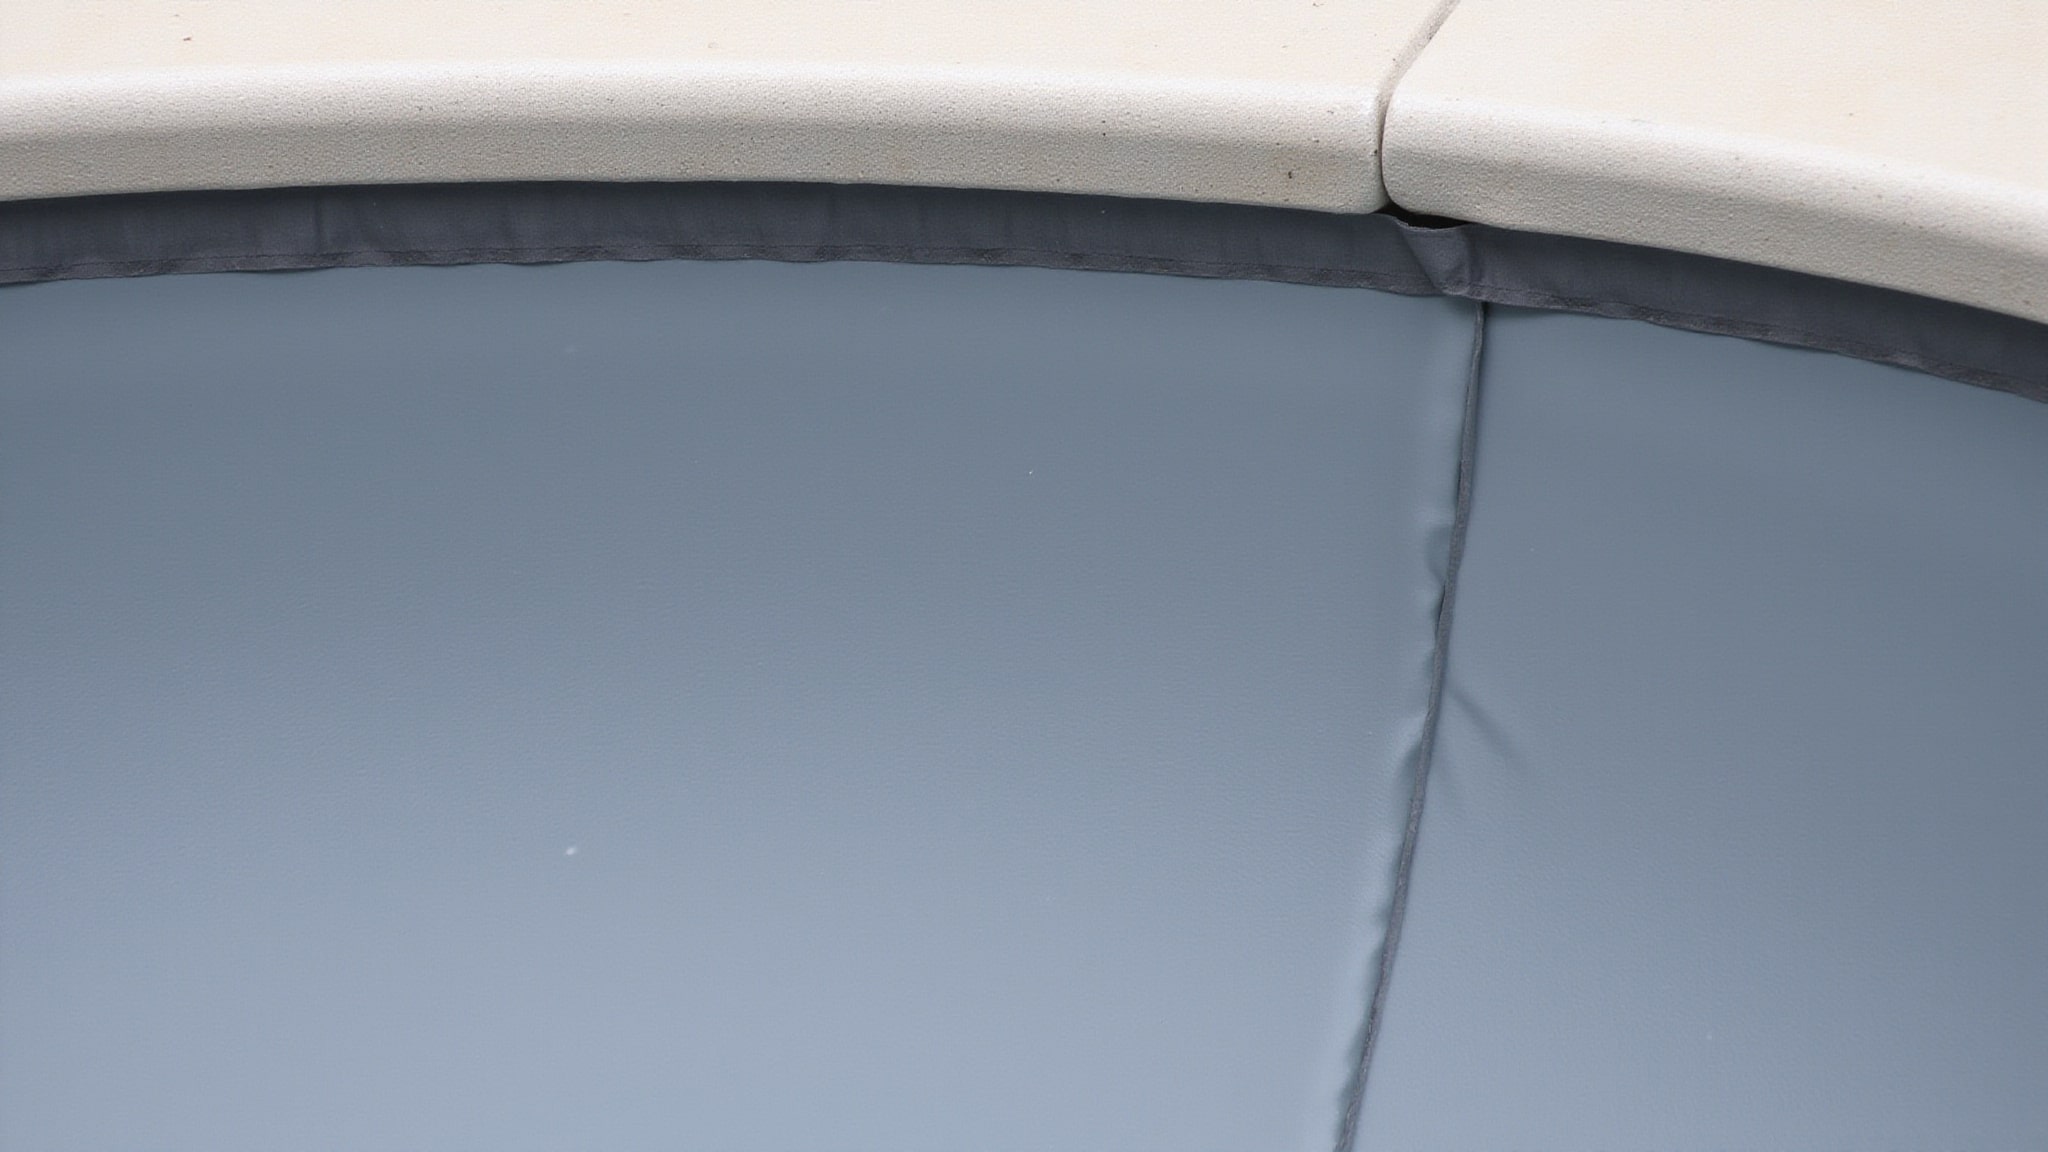
Install an above ground pool liner without wrinkles by preparing a level floor with a 2-inch sand base and a 6-inch by 6-inch cove around the perimeter. Wrinkles form when the liner bridges dips, traps air, or gets forced into position while cold and stiff. Position the liner on a warm day, centering the floor seam and aligning the wall seam. Secure a beaded liner into the wall track, or drape an overlap liner loosely over the top rail. Work wrinkles from the center outward using your hands, feet, or a broom. Then place a wet/dry vacuum behind the liner to seat it tight against the wall and cove before adding water slowly.
What causes wrinkles in the first place
Wrinkles start with an uneven floor. When you skip proper preparation, dips and high spots force the liner to bridge, creating slack that folds into ridges. An improperly formed cove pulls the wall-to-floor seam out of alignment, adding excess material where it can’t lie flat.
Cold vinyl causes trouble too. Stiff material resists smoothing, so any fold you force into position stays put. Installing on a cool day increases this risk substantially.
Adding water too early traps wrinkles permanently. Once weight settles on the floor, you can’t reposition trapped folds. Poor centering compounds the problem, leaving surplus material bunched in one area instead of distributed evenly toward the walls.
How do you prep the pool before installing the liner
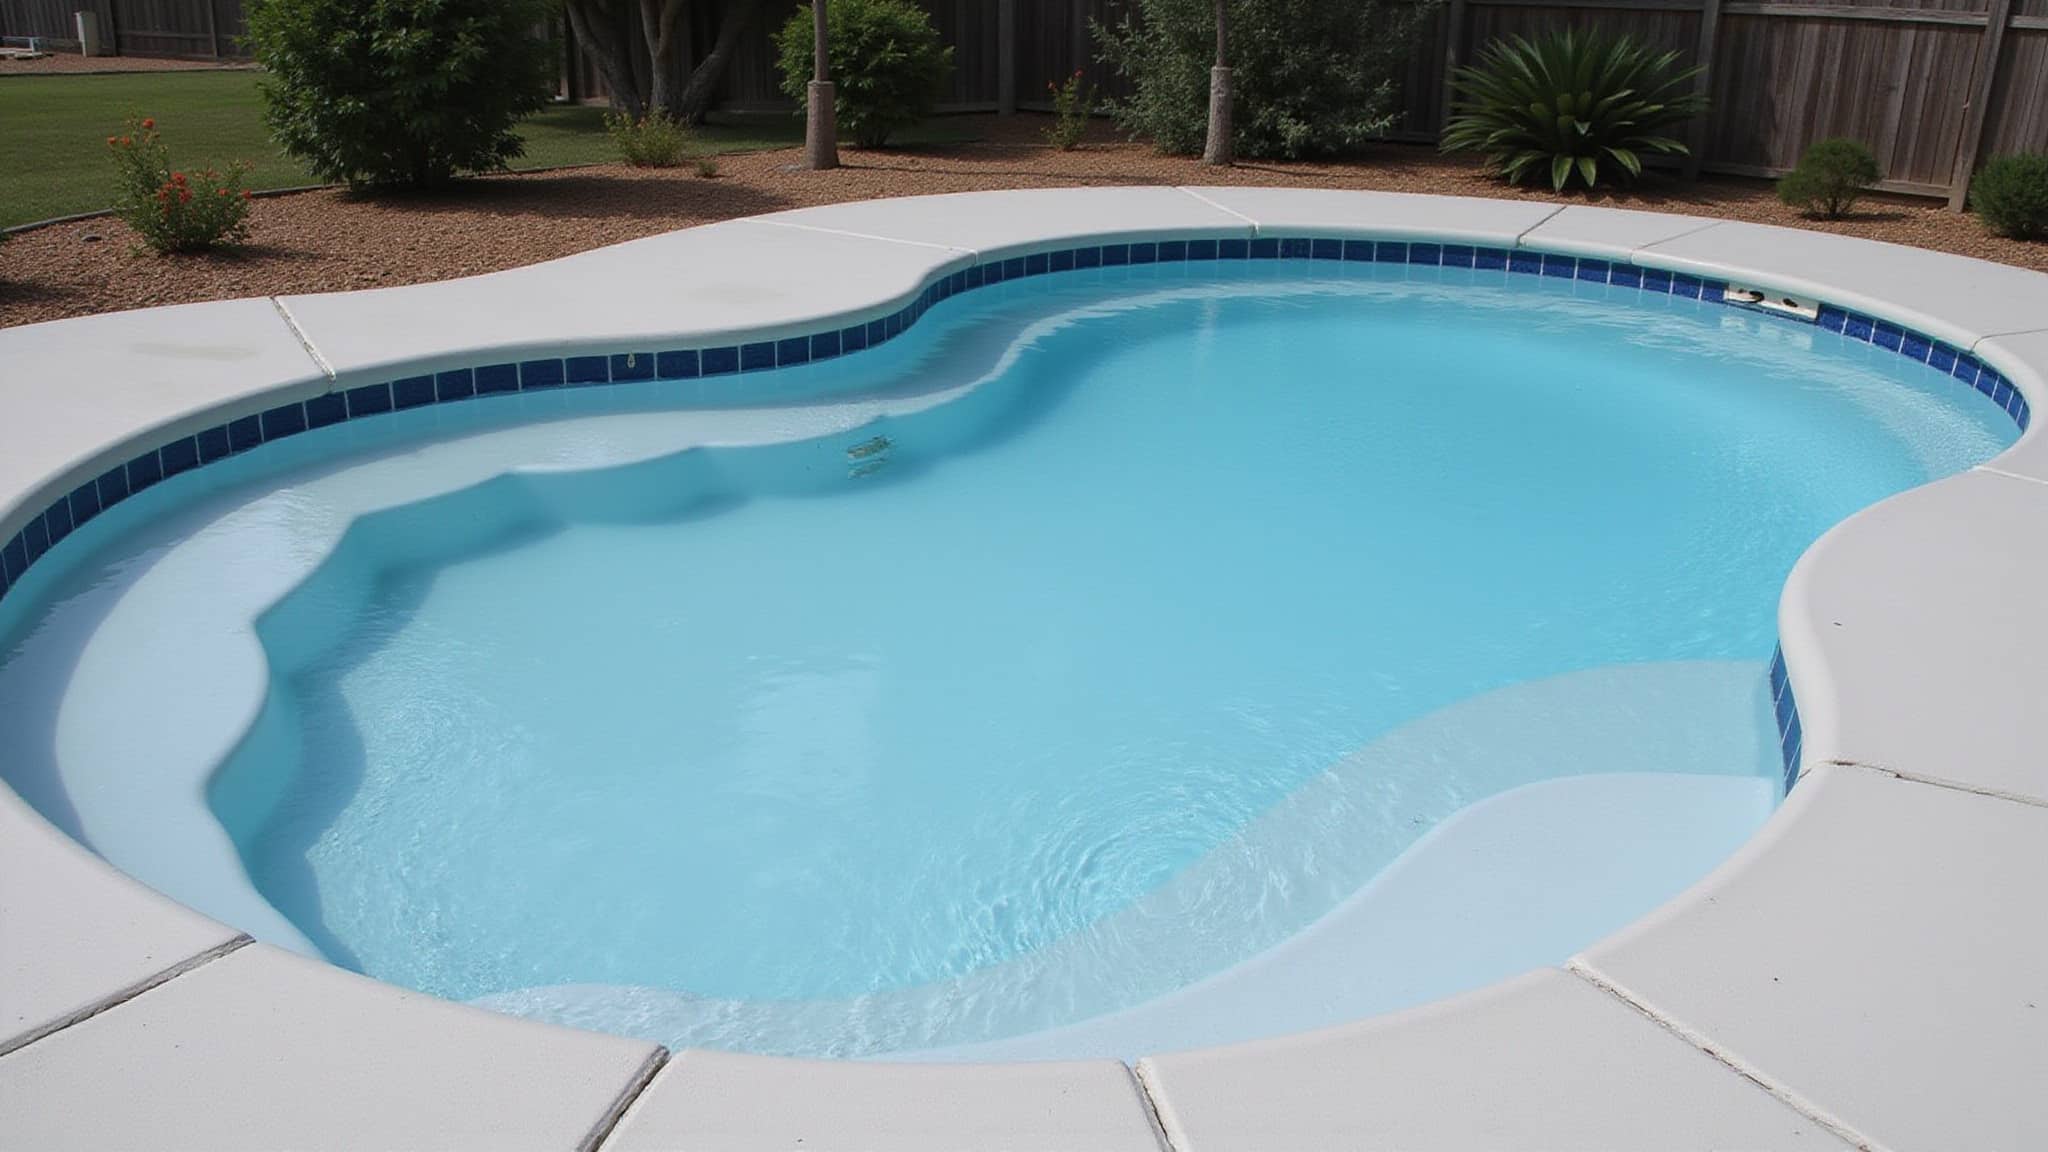
Prep the pool by clearing the pool area of grass, roots, rocks, sticks, and clumps that could puncture or distort the liner. Level the floor carefully so the liner won’t bridge dips or high spots. After you’ve cleared and leveled the ground, spread a 2-inch layer of mason sand across the bottom inside the wall to create a smoother base. Rake the sand evenly, then hand tamp it to compact the surface. Finally, form a 6-inch by 6-inch cove around the inside perimeter so the liner changes over smoothly from floor to wall. This cove supports the wall-floor seam and prevents strain during installation. Prepping methodically like this eliminates the surface irregularities that trap wrinkles later.
How do you position and smooth it during install
Position the liner by getting the wall seam straight and properly oriented before you secure anything. Center the floor portion in the middle of the pool so seams run evenly, and keep the wall-to-floor seam resting on the cove. Leave overlap liners loose on the wall rather than pulling them tight, and use helpers or clips to hold the liner while you check alignment.
Smooth the vinyl by working from the center outward to push wrinkles toward the walls. Use your hands, feet, or a soft push broom to smooth the vinyl gently. Move surplus material gradually toward the edges instead of trapping it in the center. Confirm the floor wrinkles are gone, then make final adjustments while the liner’s still loose and movable.
How do you remove wrinkles as the pool fills
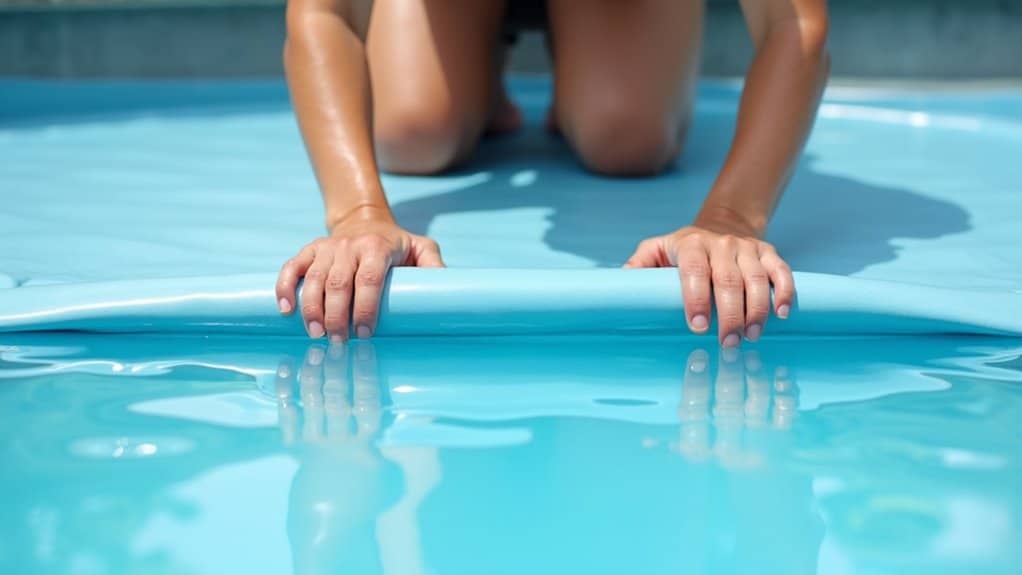
Remove wrinkles as the pool fills by securing the flat surface with shallow water while the liner stays movable. Start filling with only about 1/2 inch to 2 to 4 inches of water, then smooth the bottom again once that first layer is in place. This shallow water anchors the floor while the liner stays movable enough for adjustment. How to replace an above ground pool liner is essential knowledge for any pool owner. Proper installation can extend the life of your pool and ensure a comfortable swimming experience.
Watch the walls and floor closely. If new wrinkles begin forming, stop filling immediately. Reposition the liner before additional water weight locks those wrinkles in place, since correction gets harder as depth increases.
After the bottom sits flat and stable, continue filling gradually. Monitor alignment along the walls and floor throughout, catching shifts early. This methodical, stop-and-check approach ensures the liner seats cleanly without trapped wrinkles.
How do you keep it wrinkle free over time
Keep your liner wrinkle-free over time by maintaining a properly prepared floor and correct initial positioning, the same fundamentals that seated it cleanly. Ongoing maintenance protects that flat foundation. Monitor water chemistry, since imbalanced levels degrade vinyl and cause it to loosen or stretch unevenly. Maintain a stable water level to prevent the liner from shifting against the wall and cove.
| Maintenance Factor | Wrinkle-Prevention Action |
|---|---|
| Water chemistry | Balance pH and sanitizer weekly |
| Water level | Keep consistent to avoid liner movement |
| Ground base | Check for erosion or settling annually |
| Cove integrity | Inspect perimeter for washout |
| Draining | Avoid full drain unless necessary |
Never fully drain the pool casually, because an unweighted liner contracts and rarely reseats without new wrinkles.
Conclusion: Installing an Above Ground Liner Wrinkle-Free
A wrinkle-free liner installation comes down to good prep, the right size and type of liner, and working in warm weather so the vinyl stays flexible. Smoothing the liner as the pool fills and seating it evenly are what prevent creases. Taking your time pays off in a clean look and a longer-lasting liner. With careful measuring and patience, you can install an above ground liner that looks smooth and holds water well.
Call Today and Solve Pool Liner Issues Fast
From wrinkles to underwater leaks, pool liner issues get resolved fastest with the right team. At Pool Doctor of the Palm Beaches in Boca Raton, FL, our skilled team delivers dependable Pool Renovation & Remodeling built around lasting quality and quick service. Call +1 (561) 586-2815 today and let us handle the work.
Frequently Asked Questions
How Much Does It Cost to Replace an Above Ground Pool Liner?
Cost depends on the pool’s size, the liner’s thickness and pattern, and whether you hire help, so it ranges accordingly. Doing it yourself saves on labor. Getting a quote for your pool size, plus any base or wall repairs, gives the clearest budget. A quality liner is worth a bit more for the longer life.
How Long Does an Above Ground Pool Liner Typically Last?
Most above ground liners last around 6 to 12 years, depending on thickness, water chemistry, sun exposure, and care. Balanced water and gentle handling help a liner reach the longer end of that range. Fading, cracking, or leaks are the signs it is time to replace it.
What Thickness of Vinyl Liner Should I Choose for My Pool?
Thicker liners resist punctures and wear better and last longer, which suits busy pools or homes with pets, while thinner liners cost less upfront. Thickness is usually given in mil or gauge. Balancing how much the pool is used against your budget helps you pick the right one for durability.
Can I Install a Pool Liner by Myself or Need Help?
Installing an above ground liner is doable as a DIY project, but having a helper makes it much easier, especially for smoothing and seating the liner as the pool fills. Warm weather and careful measuring help. For a tricky fit or a large pool, or if you want a guaranteed smooth result, a professional is worth considering.
What Is the Difference Between Overlap, Beaded, and Unibead Liners?
Overlap liners drape over the pool wall and are held by coping strips, making them budget-friendly but a bit less refined. Beaded liners snap into a track at the top of the wall for a clean look and easy replacement. Unibead liners can be used either way, offering flexibility. The right choice depends on your pool and preference.