

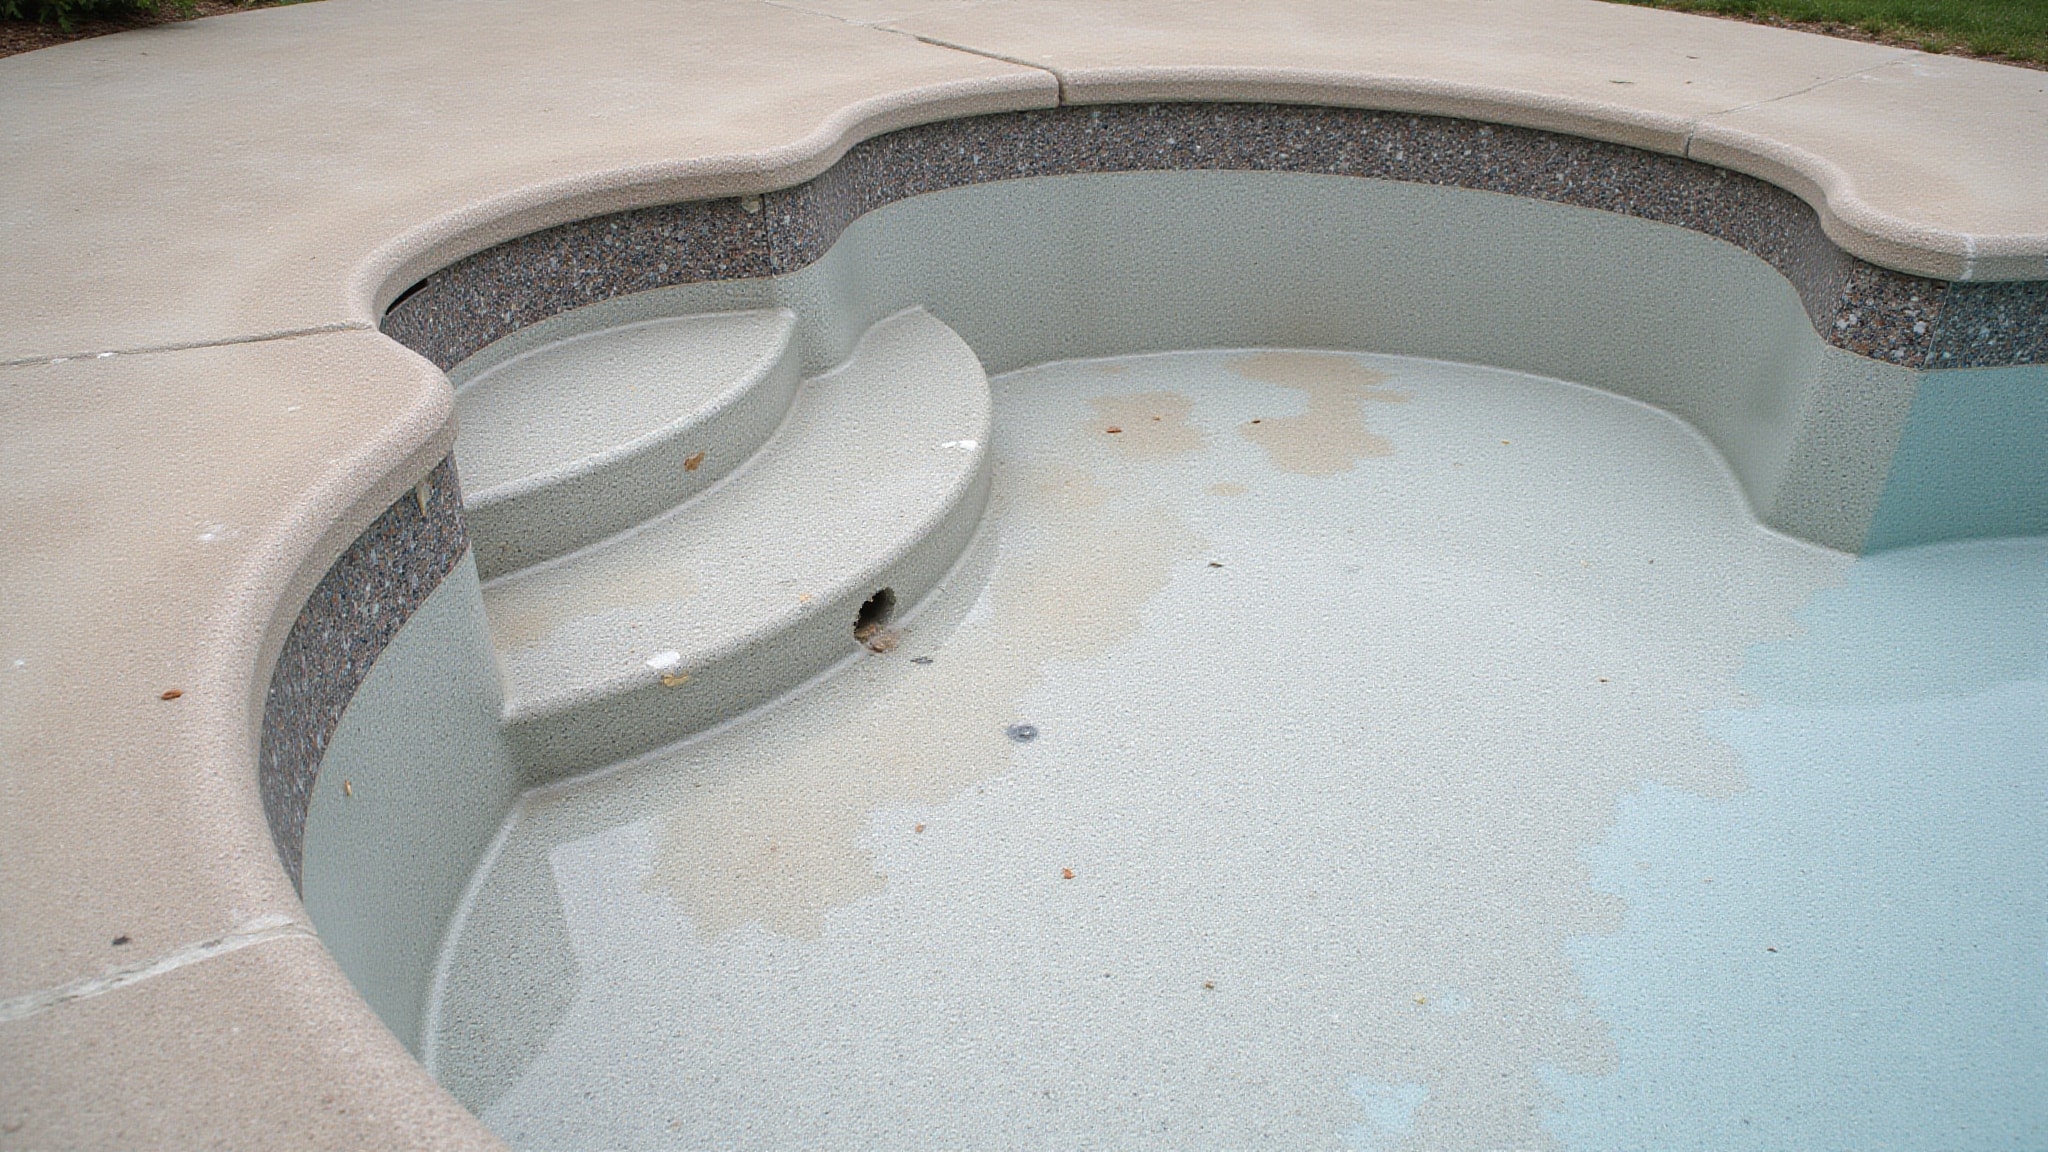
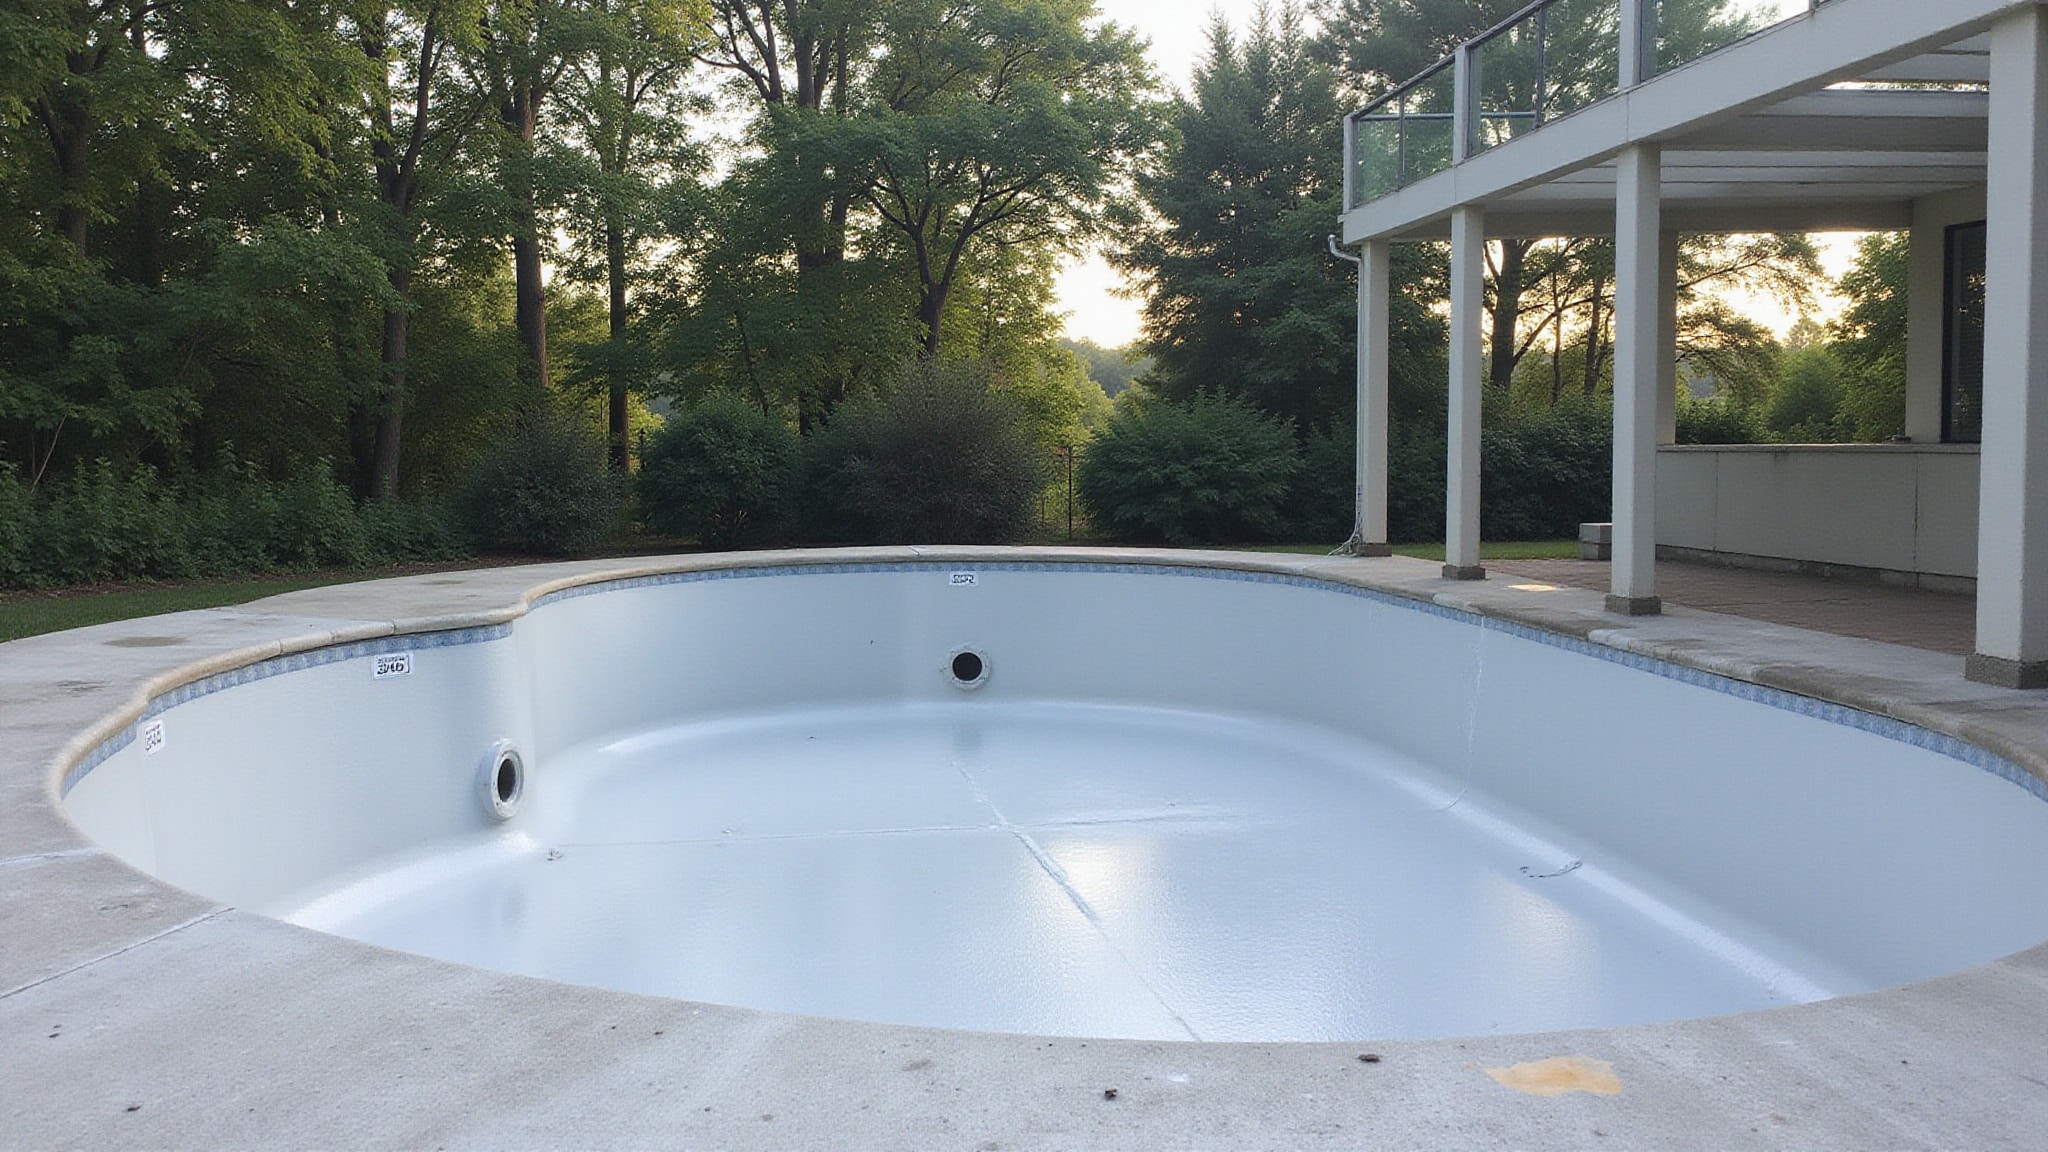
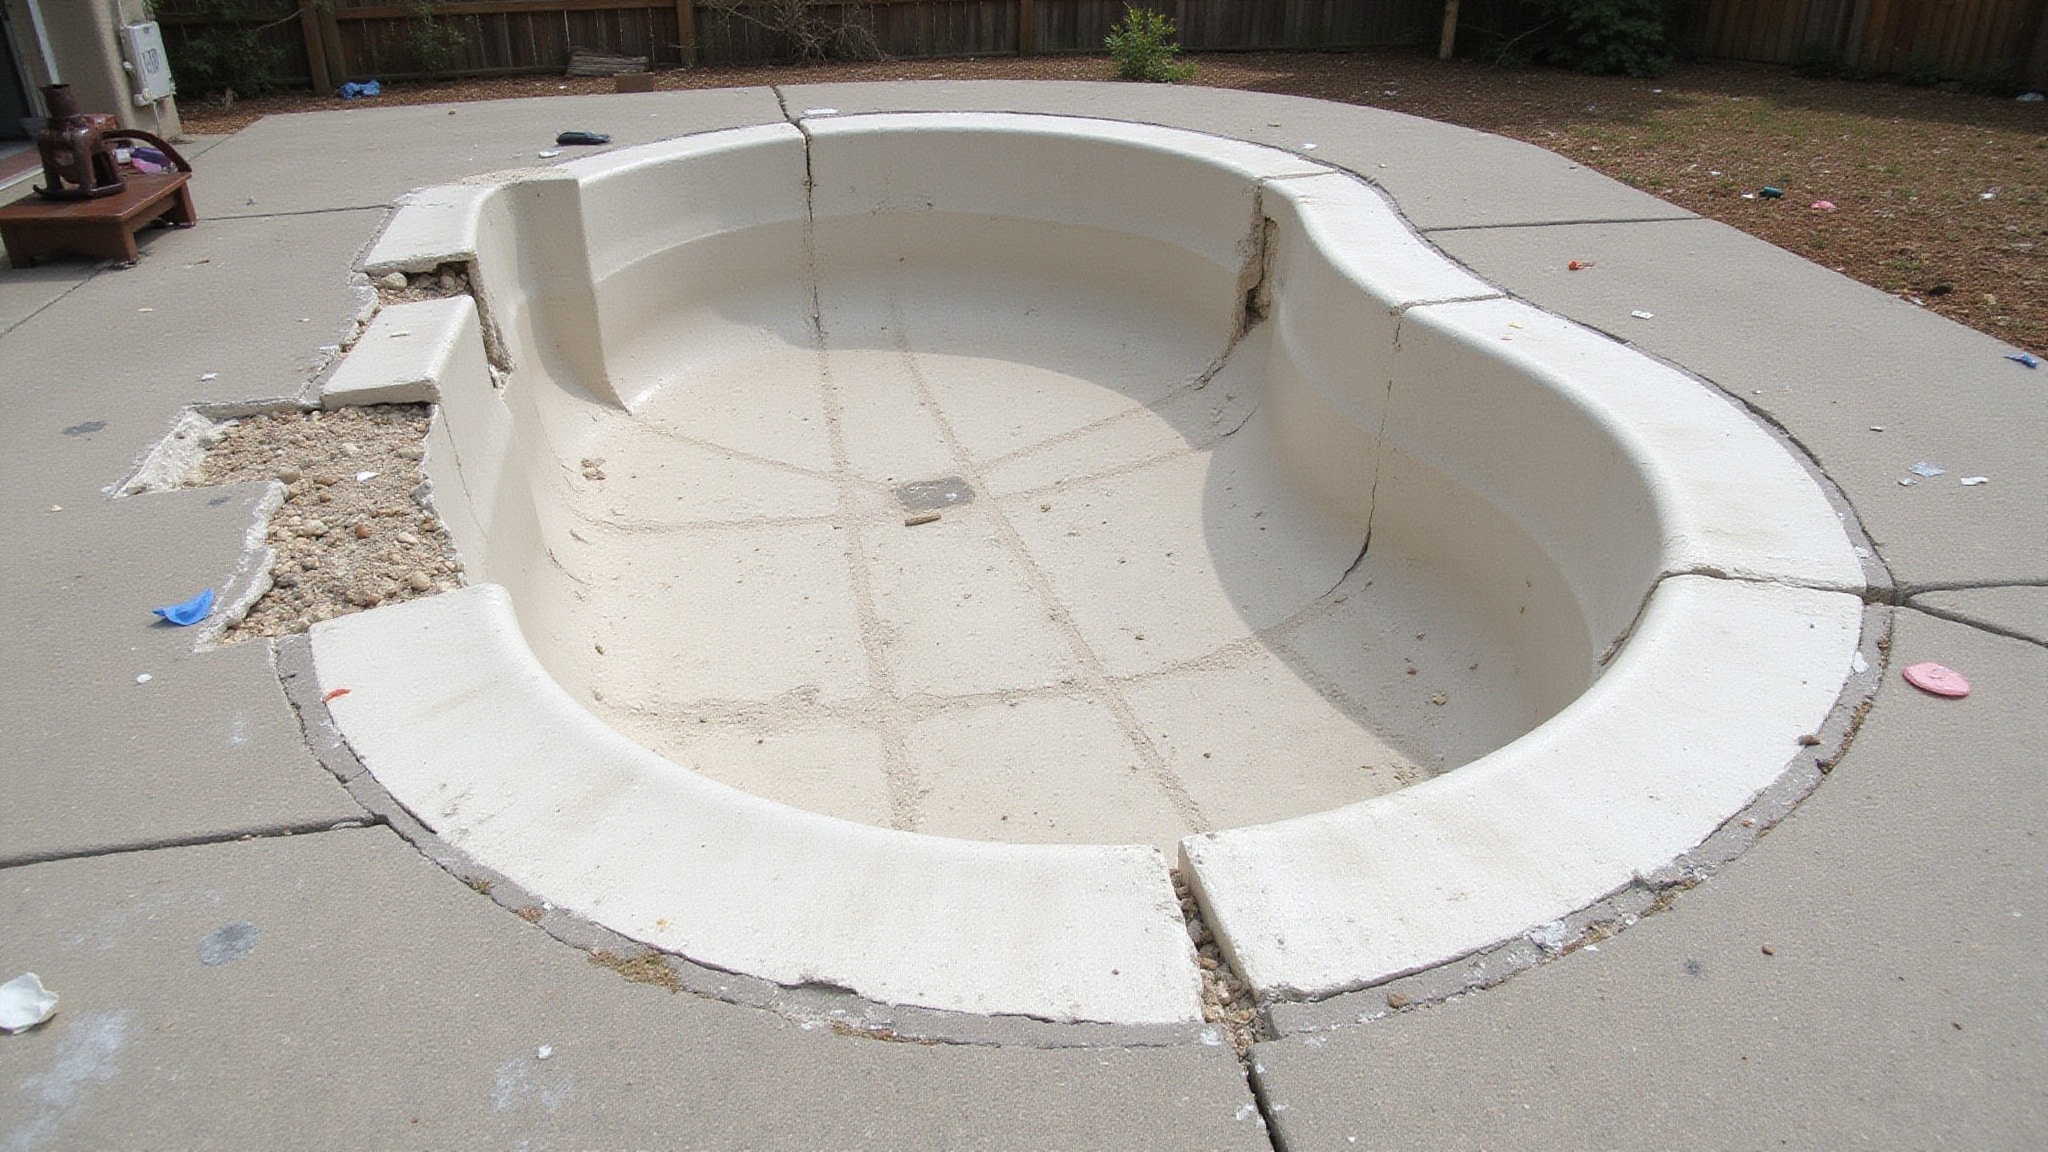
You can replace your above ground pool liner in a weekend if you work in order. First, drain the pool completely with a submersible pump, then clear residual water with a wet-dry vacuum. Disconnect ladders, faceplates, and returns to free the old liner, cutting it into sections for disposal. Inspect and level the base, then lay and smooth your new liner from the center out. Below, you’ll find every step and cost detail. How to install an above ground pool liner requires attention to detail to ensure a perfect fit. After placing the liner, be sure to check for any wrinkles and smooth them out carefully.
Key Takeaways
- Confirm replacement is needed by checking for persistent leaks, cracked vinyl, slipping beads, fading, or wrinkles that won’t smooth out.
- Gather all tools first, including a submersible pump, wet-dry vacuum, utility knife, sand, and replacement gaskets, faceplates, and drain covers.
- Drain the pool completely, remove residual water, and disconnect ladders, faceplates, returns, and hardware blocking liner removal.
- Inspect and prepare the base by clearing debris, leveling low spots with sand, and rebuilding the cove where floor meets wall.
- Install the new liner on a warm day, seat the bead evenly, add water gradually, and smooth wrinkles from the center outward.
How do you replace an above ground pool liner
Replace an above ground pool liner by draining the pool completely with a submersible pump, then remove residual water using a wet-dry vacuum. Disconnect ladders, faceplates, and returns, then pull the old liner free. Cut it into sections for easier disposal. Inspect the base for debris, level low spots with sand, and rebuild the cove where the floor meets the wall. Position the new liner on a warm day, seating a beaded liner’s bead evenly into the wall track. Add 1/2 inch to 6 inches of water, then smooth wrinkles from the center outward. Reattach hardware, finish filling, and rebalance chemistry to pH 7.2 to 7.6 and alkalinity 80 to 120 ppm.
When does the liner need replacing
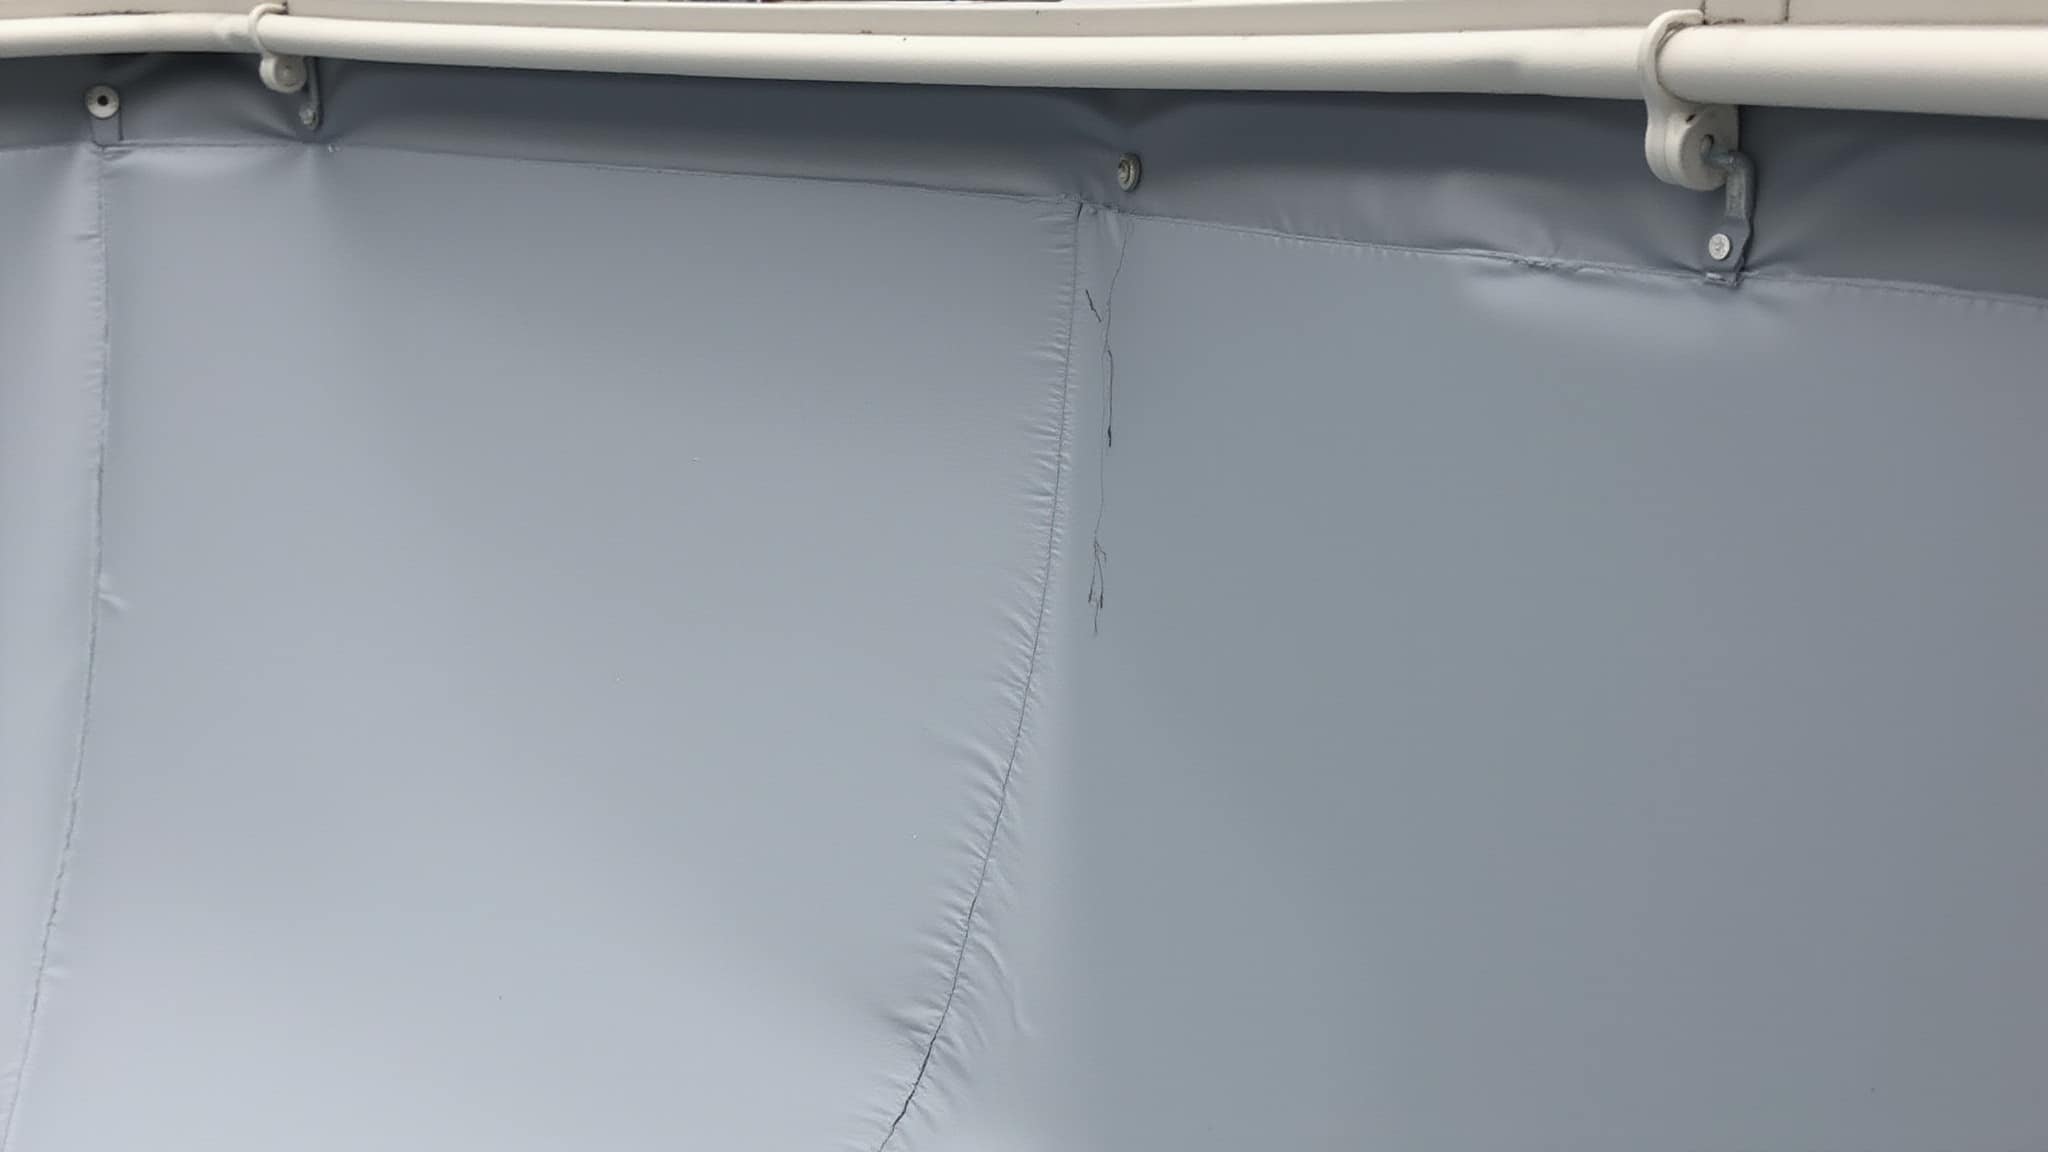
Your liner needs replacing when you notice persistent leaks, dropping water levels, and cracking or brittle vinyl that no longer holds flexibility. Inspect the bead and track for slipping, which signals the liner won’t seat properly during installation. Check for fading, staining, and stretched sections that indicate age-related failure. Note wrinkles that won’t smooth out, even after you run a shop vacuum behind the liner to seat it tightly. Look for tears near steps, returns, and skimmer openings where stress concentrates. If patching no longer holds or the liner separates from the wall, plan a full replacement. Acting early protects the pool base and simplifies the upcoming installation, reducing safety risks and water damage.
What tools and materials should you gather first
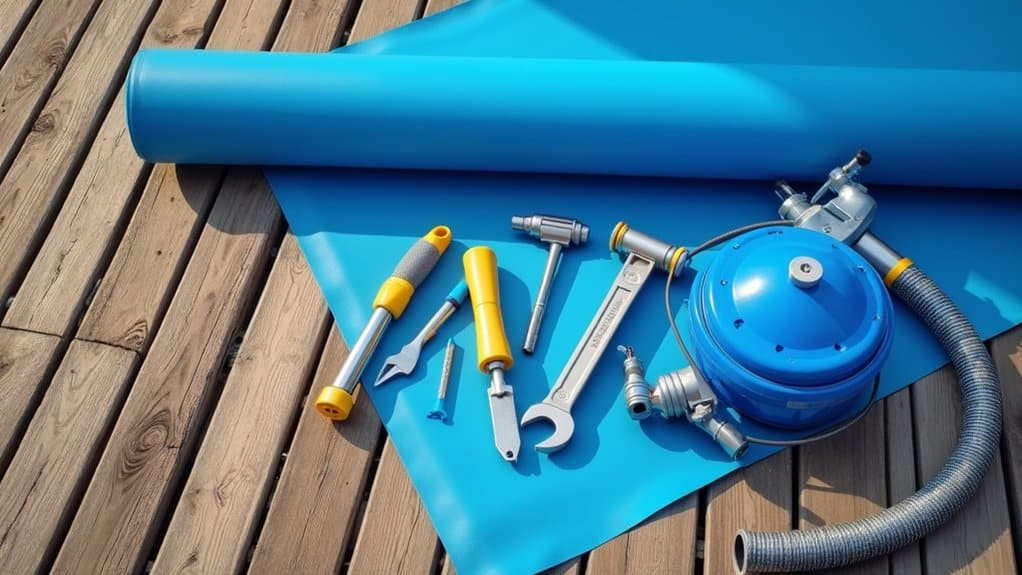
Gather every tool and material you’ll need to finish the swap without interruptions. Start with a sump pump, submersible pump, or garden hose for draining, plus a wet-dry vacuum to clear residual water. Keep a utility knife ready to cut the old liner into manageable sections. For base prep, stock sand or sifted earth to re-level low spots, a broom for debris, and a liner pad for added protection. Have a shop vacuum on hand to pull trapped air during the first fill. Prepare replacement gaskets, faceplates, and drain covers, along with the correct fittings for reassembly. Finally, set aside water-testing supplies to rebalance chemistry afterward. Assembling everything first keeps the process safe, efficient, and uninterrupted.
How do you drain and remove the old one
Drain the pool completely to remove the old liner. Use a sump pump, submersible pump, or garden-hose siphon to remove the bulk of the water, directing discharge away from the pool to prevent flooding or washback. Siphoning runs slower than pump-assisted draining, so plan accordingly. Once the main volume’s gone, clear remaining water with a wet-dry vacuum, mop, or manual pooling. Full drainage gives you safe access to the wall and floor surfaces.
- Disconnect ladders, steps, faceplates, returns, and plumbing attachments that block liner removal.
- For overlap-style pools, remove top rails or supporting hardware trapping the liner.
- For beaded liners, pull the bead from the top track instead of forcing it.
- Cut the liner into manageable sections with a utility knife.
- Handle disassembly carefully to protect tracks, walls, and connectors.
How do you install and smooth the new liner
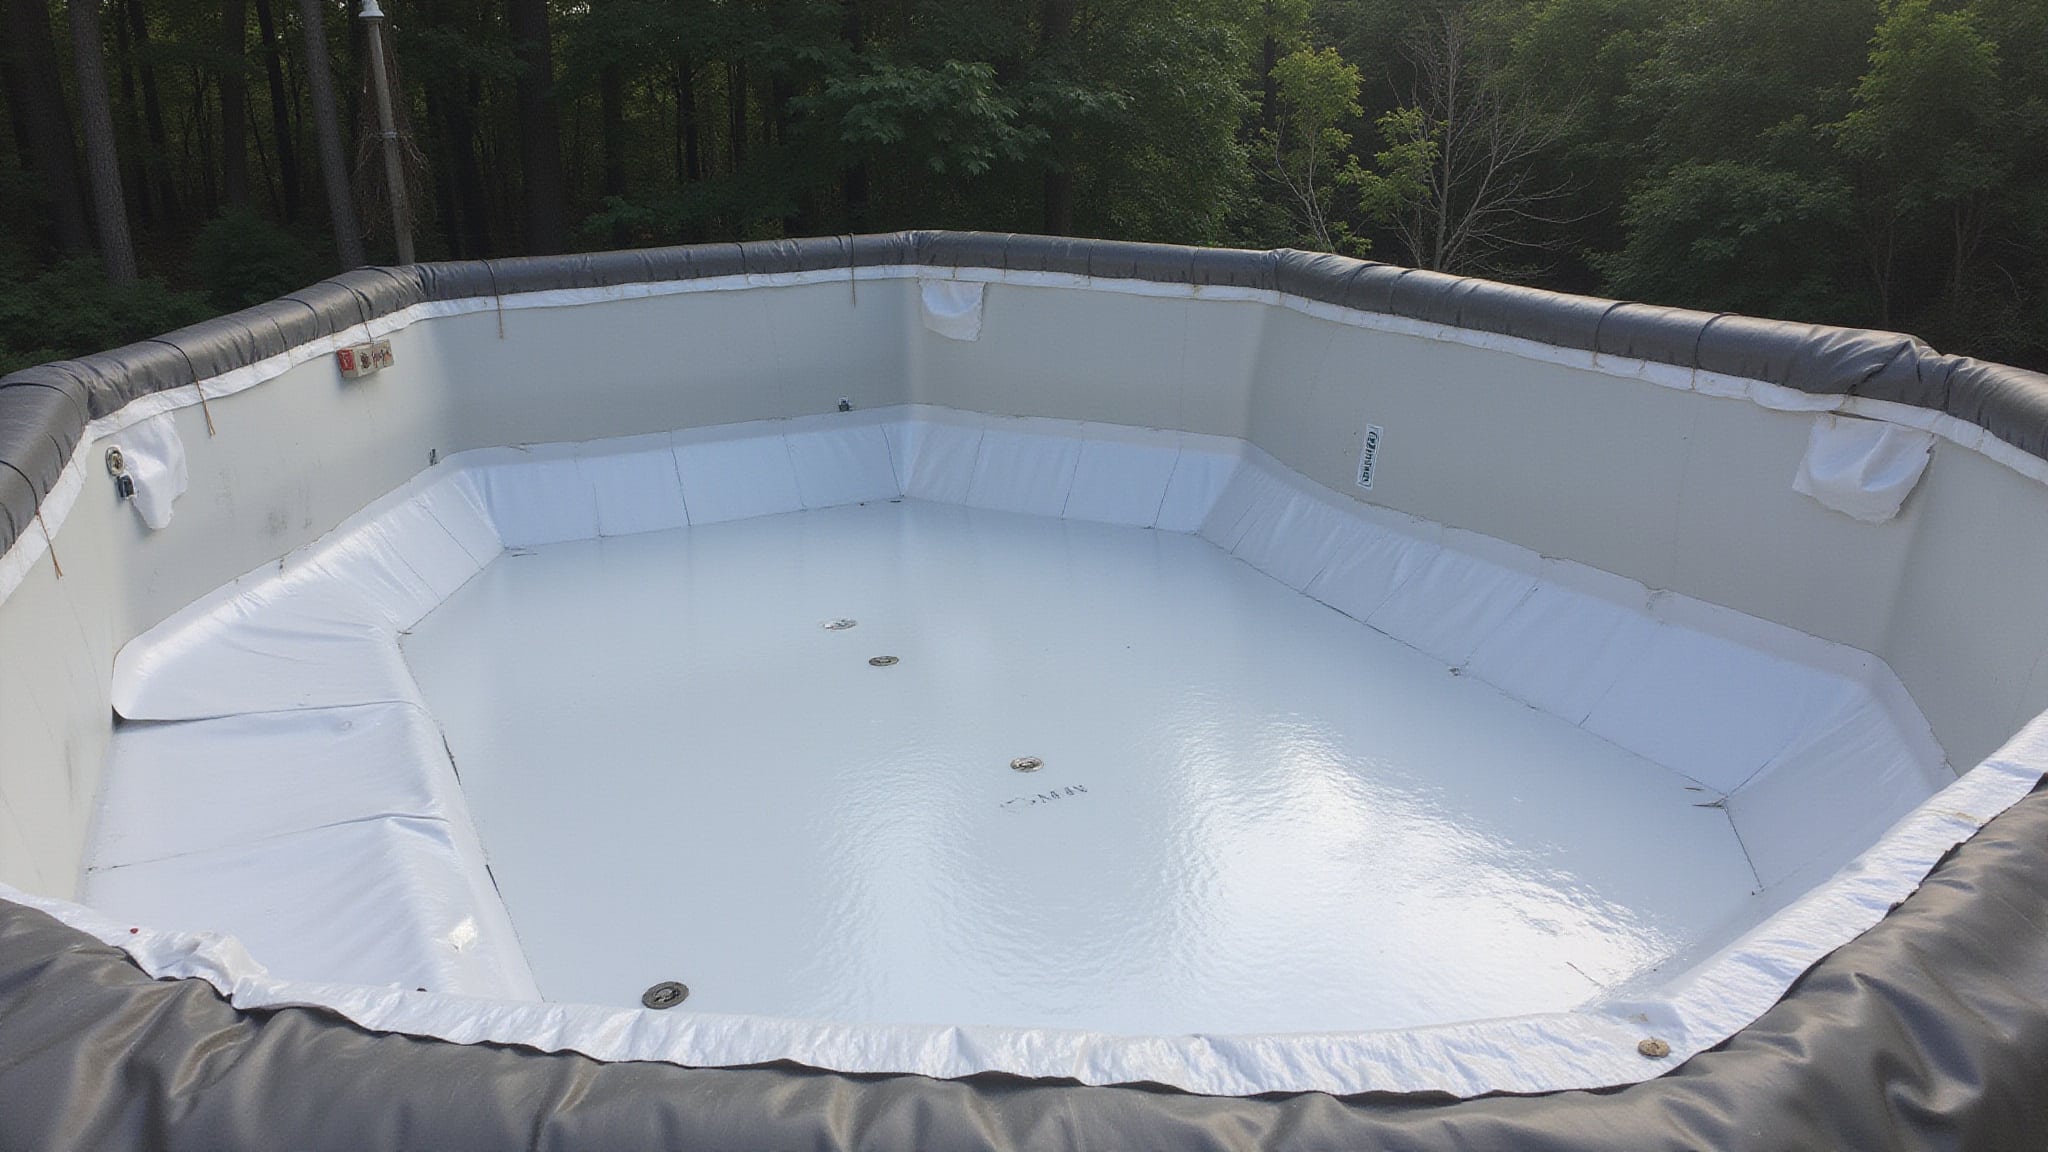
Install the new liner by laying it flat inside the pool and aligning it to the pool’s shape before you attach anything, working on a base that is level, stable, and free of debris. Install it on a warm day, or let it sit in sunlight so the vinyl becomes more flexible and easier to handle. For beaded liners, seat the bead evenly into the track around the wall. For overlap liners, secure the liner with coping strips or the pool’s top edge hardware, keeping seam lines even and centered. How to install a beaded pool liner requires careful attention to detail. After securing the bead in the track, smooth out any wrinkles in the liner to ensure a tight fit.
Add a small amount of water first, about 1/2 inch to 6 inches, to weigh down the liner. Smooth wrinkles from the center outward while it’s still adjustable, and run a shop vacuum behind the liner to pull trapped air and seat it tightly.
How much does the replacement cost
A liner replacement typically costs between $560 and $1,570 total, depending on liner type, pool size, and whether you handle the work yourself or hire a professional. Beaded and overlap liners differ in price, and larger pools require more material. How long a vinyl pool liner lasts is an important consideration for homeowners. Typically, a vinyl liner can last anywhere from 5 to 9 years, depending on maintenance and environmental factors.
| Cost Factor | Typical Range |
|---|---|
| Liner (material only) | $150, $500 |
| Professional installation | $300, $800 |
| Liner pad | $50, $150 |
| Water refill | $60, $120 |
If you follow the previous steps and install the liner yourself, you’ll eliminate labor charges and cut your total considerably. Budget extra for replacement gaskets, faceplates, or coping strips if yours show wear. Confirm measurements before ordering to avoid costly returns and make sure a precise, leak-free fit.
How do you find a pro if you would rather not DIY
Find a pro by focusing your search on installers with verified experience in above-ground liner swaps, since the process demands precise base preparation and hardware resealing. Hiring a professional makes sense if you’d rather skip the disassembly, leveling, and wrinkle-removal steps yourself. Verify credentials, request itemized quotes, and confirm they handle draining, old liner removal, and startup chemistry.
- Search local pool supply stores for referrals to certified installers.
- Confirm licensing, insurance, and liability coverage before scheduling.
- Read reviews focused on liner fit, wrinkle removal, and leak prevention.
- Request written estimates covering labor, disposal, and startup.
- Ask about warranty terms on both the liner and workmanship.
Compare at least three quotes, then confirm the timeline and site access before work begins to avoid delays.
Conclusion: Replacing an Above Ground Pool Liner With Confidence
Replacing an above ground pool liner refreshes the look of the pool and stops leaks from a worn or damaged liner. The keys to a smooth job are choosing the right size and thickness, draining and prepping the pool properly, and fitting the new liner without wrinkles. Warm weather makes the vinyl easier to work with. With careful prep and the right liner, you can restore the pool to like-new condition and enjoy many more seasons.
Get Expert Help With Your Pool Liner
Whether you’re patching, replacing, or installing a new liner, expert help makes every job stress-free. At Pool Doctor of the Palm Beaches in Kings Point, FL, our experienced team provides trusted Pool Renovation & Remodeling with expert liner work and premium materials. Call +1 (561) 586-2815 today and get your pool back in perfect shape.
Frequently Asked Questions
How Long Does an Above Ground Pool Liner Typically Last?
Most above ground pool liners last around 6 to 12 years, depending on the thickness, water chemistry, sun exposure, and care. Keeping the water balanced and avoiding sharp objects helps a liner reach the longer end of that range. When you see fading, cracking, or leaks, it is usually time to replace it.
Can You Replace a Liner During Cold Weather?
It is best to replace a liner in warm weather, since vinyl is far more flexible and easier to fit when it is warm. Cold makes the liner stiff and prone to wrinkles or damage during installation. If it has to be done in cooler weather, warming the liner in the sun first helps, but a mild day is ideal.
What Thickness of Liner Is Best for Durability?
Thicker liners, often measured in mil or gauge, resist punctures and wear better and tend to last longer, so they are a good choice for durability, especially in busy pools or with pets. Thinner liners cost less upfront. Balancing budget against how much use the pool gets helps you choose the right thickness.
Can You Reuse the Water Instead of Draining It?
Replacing a liner requires draining the pool, so the old water is emptied to remove and fit the liner. You cannot keep the water in during the swap. Some people drain onto the yard responsibly or reuse it elsewhere, but the pool itself must be empty for the new liner to be installed correctly.
Does Replacing a Liner Void the Pool’s Warranty?
It depends on the warranty terms. A liner replacement itself is normal maintenance, but improper installation or using non-approved parts could affect coverage on some pools. Check your warranty, use compatible materials, and keep records. A professional installation with documentation is the safest way to protect any remaining warranty.