

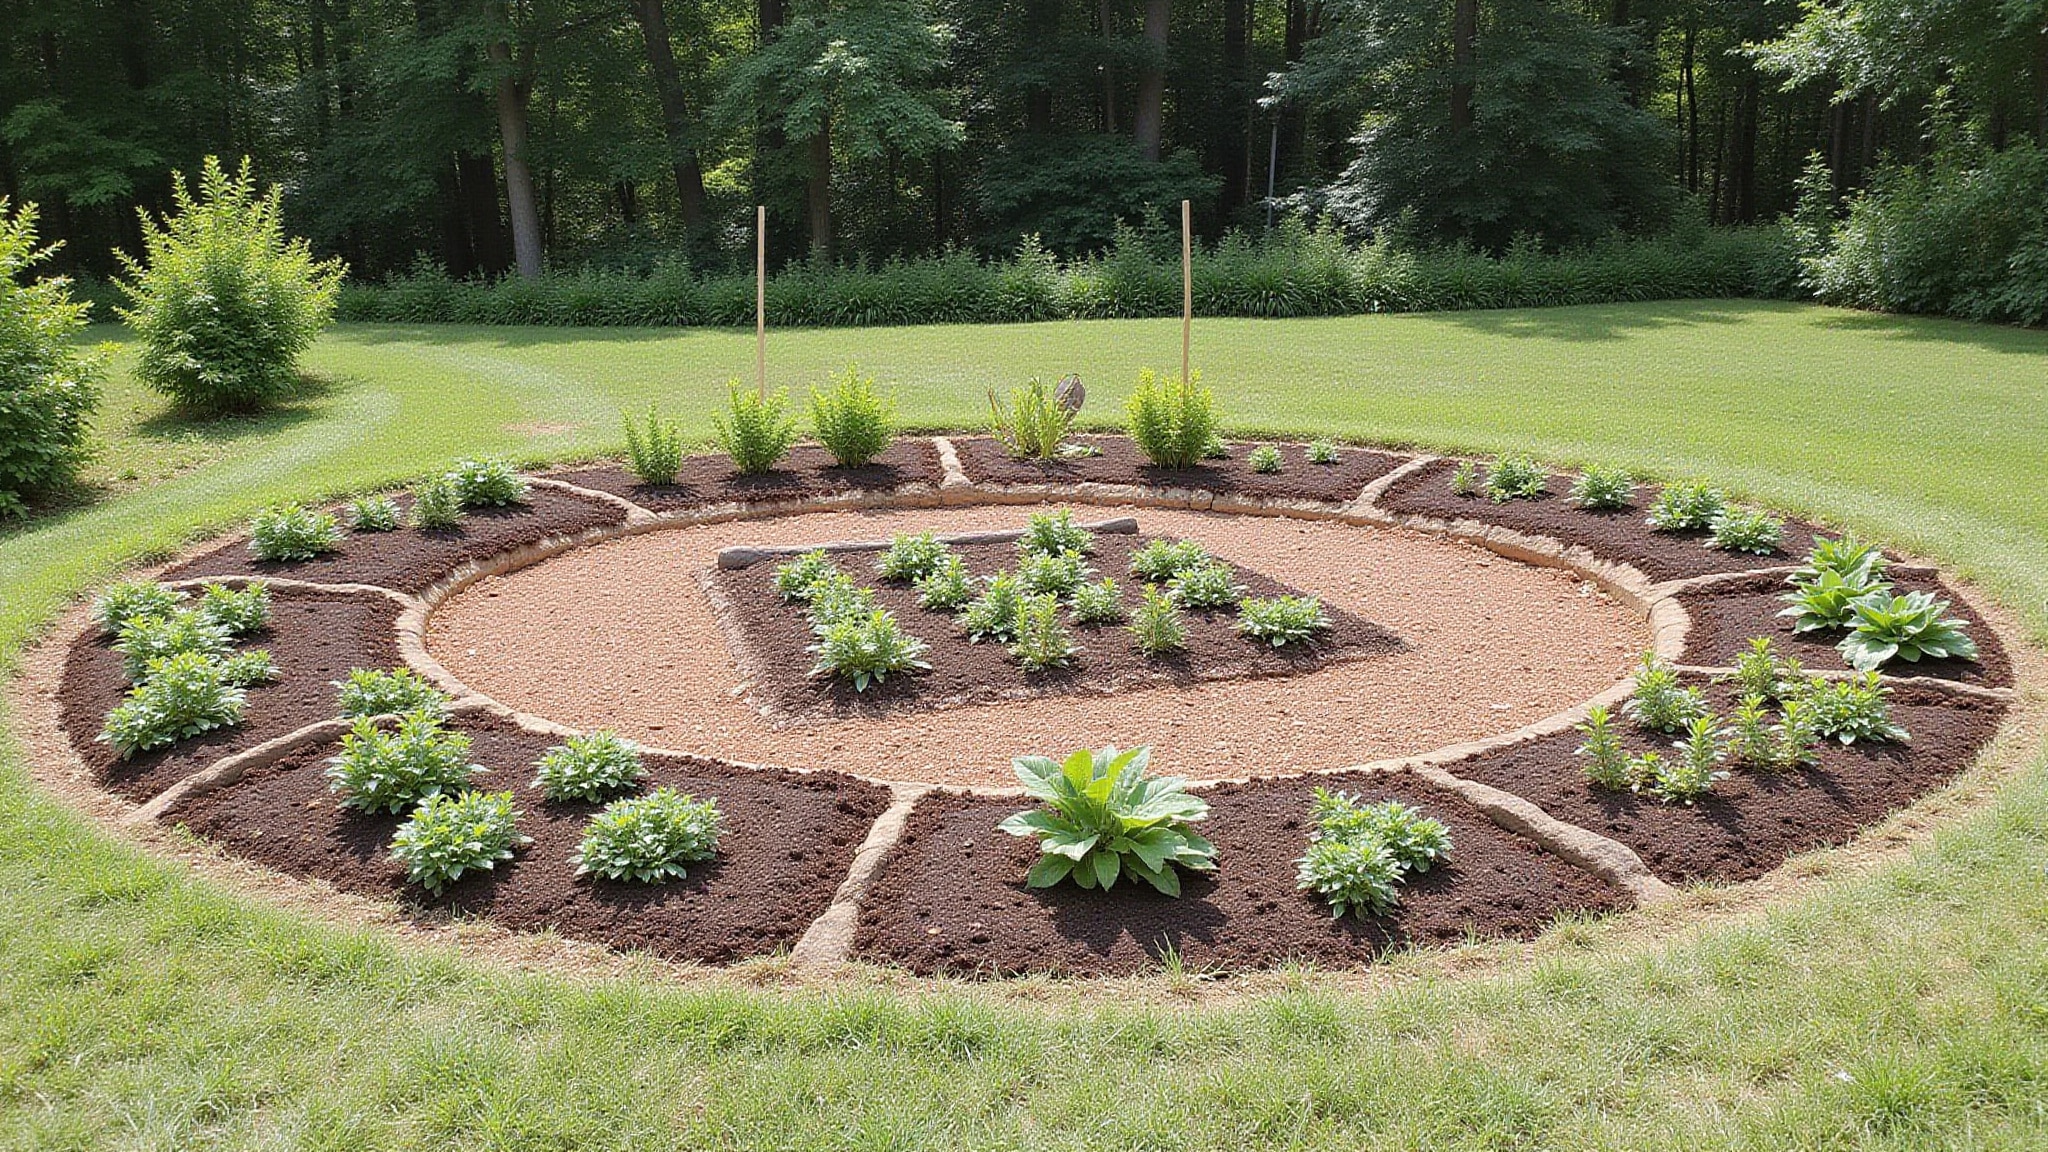
Start by clearing and grading your site, then establish a squared perimeter using stakes and taut string lines. Verify diagonals before digging. Pull deck, pool, and electrical permits, and call 811 to mark utilities. Dig footings to frost-line depth, set posts plumb, and bolt beams to form your frame. Install joists at code spacing, add bracing, then fasten decking. Finish with code-height railings and stairs. Keep going, and you’ll master every critical detail.
Key Takeaways
- Clear and grade the area to a level surface, then establish a squared perimeter using stakes and taut string lines.
- Obtain deck, pool, and electrical permits, and call 811 to mark underground utilities before digging.
- Dig footings to frost-line depth, pour concrete, set plumb posts, and bolt beams to form the main frame.
- Install joists at code spacing, add cross-bracing for stability, and fasten decking boards with gaps for expansion and drainage.
- Add code-height railings, safety gate, and compliant stairs, then inspect hardware annually and reseal as needed.
How do you build an above ground pool deck
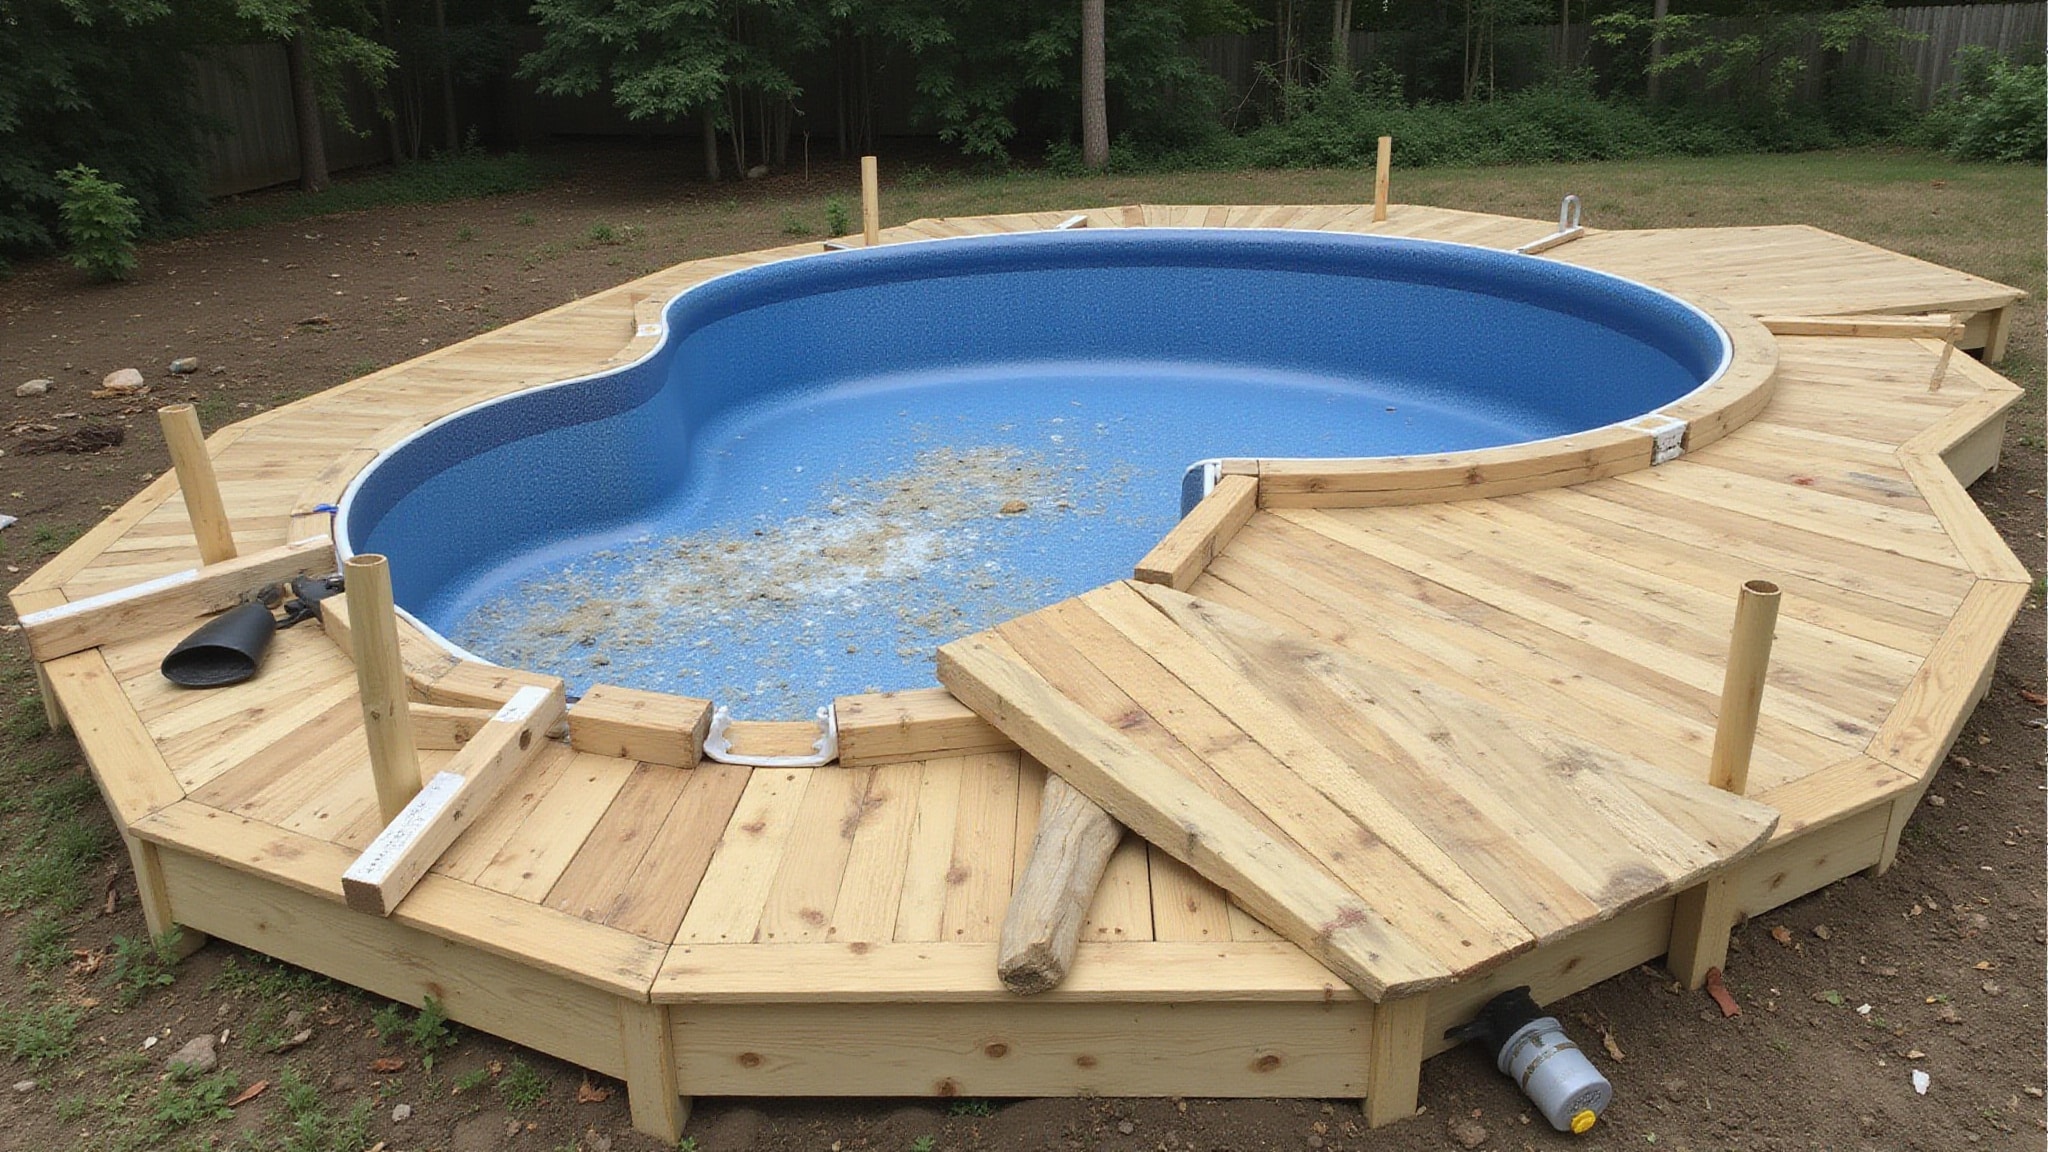
You’ll build an above ground pool deck through six sequential phases: site preparation, permitting, footings and posts, framing, decking, and safety finishing. First, clear the area and grade it level, then lay out your perimeter with stakes and string lines. Secure your permits and call 811 to mark underground utilities. Dig footings to your local frost-line depth, pour concrete, and set plumb posts. Attach beams, then install joists at code-required spacing, adding cross-bracing for lateral stability. Fasten decking boards perpendicular to the joists, leaving gaps for drainage and expansion. Finally, install railing around the perimeter at the code-mandated height, build compliant stairs, and add a gate. Never rest the deck against the pool structure.
How do you plan and design the layout
Plan and design the deck layout by clearing grass, plants, shrubs, and existing obstructions, then grading the area to a stable, level surface for footings and posts. Choose dry, well-drained ground to improve long-term stability. Establish a square perimeter using stakes and string lines, then mark post and footing locations according to your framing plan and decking material, whether pressure-treated lumber or composite decking.
- Drive corner stakes and run taut string lines to define a squared perimeter.
- Mark perimeter post locations roughly 4 feet apart, keeping interior spacing consistent.
- Locate footing holes based on your local frost line and code depth.
- Verify measurements and diagonals before digging.
Confirm all dimensions meet local building codes before proceeding.
What materials and permits does it need
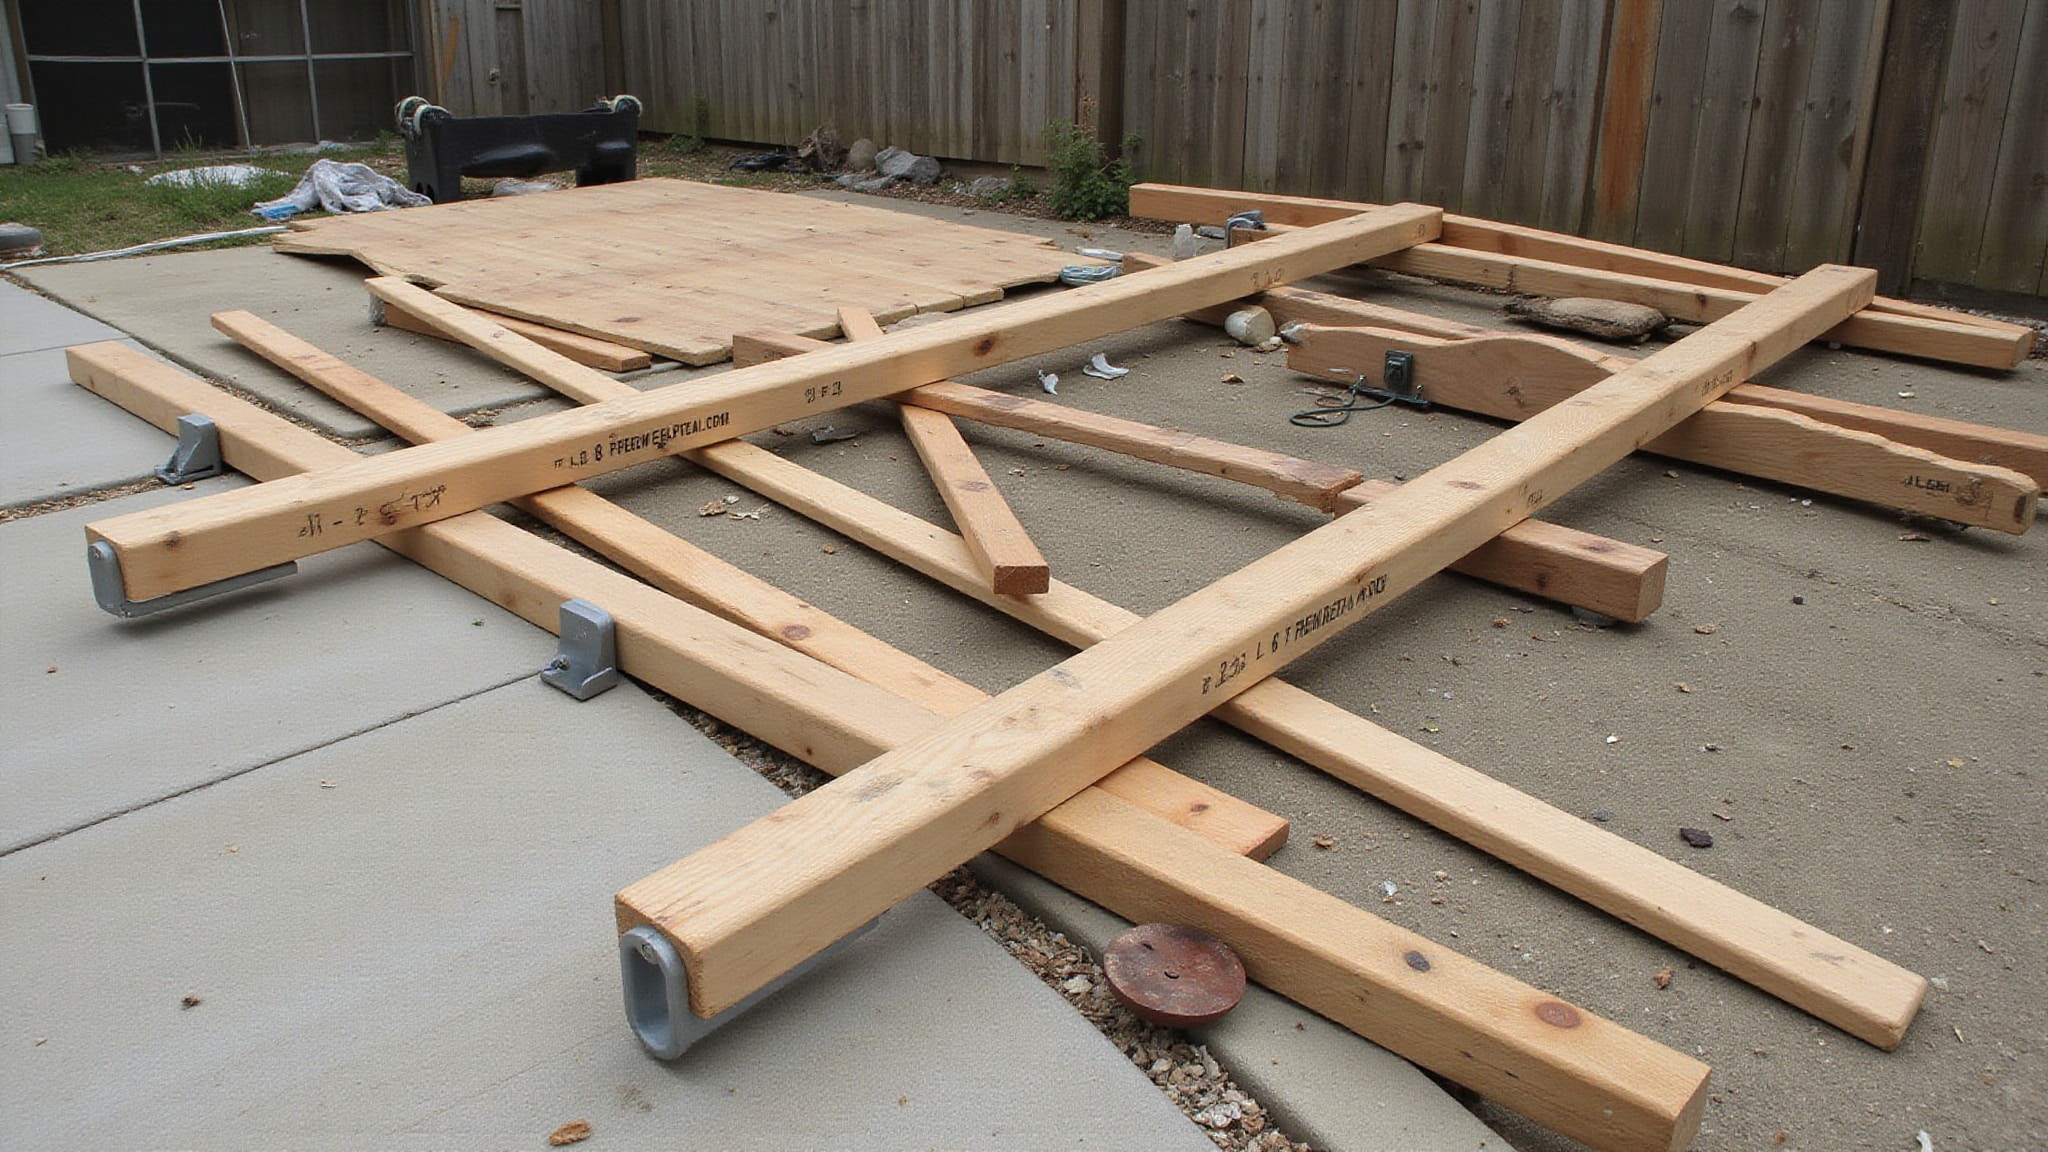
This build requires deck and pool permits, an electrical permit if adding lighting or wiring, and materials including concrete, posts, beams, joists, hardware, decking, railings, and a safety gate. Check your local municipality’s requirements and obtain deck and pool permits where applicable. If you’re adding lighting or wiring, pull an electrical permit too. Call 811 to mark underground utilities before you dig. Follow local building codes for structural connections, railing height, stair dimensions, and footing depth tied to your frost line.
For materials, you’ll need concrete for footings or pre-made piers, post anchors, and pressure-treated posts. Gather beams, joists, and joist hangers, plus approved structural hardware, bolts, screws, and hangers, for code-compliant connections. Add cross-bracing for lateral stability. Select your decking system, whether deck screws or hidden fasteners, and set aside railings, stair components, and a gate for pool safety.
How do you set the footings and framing
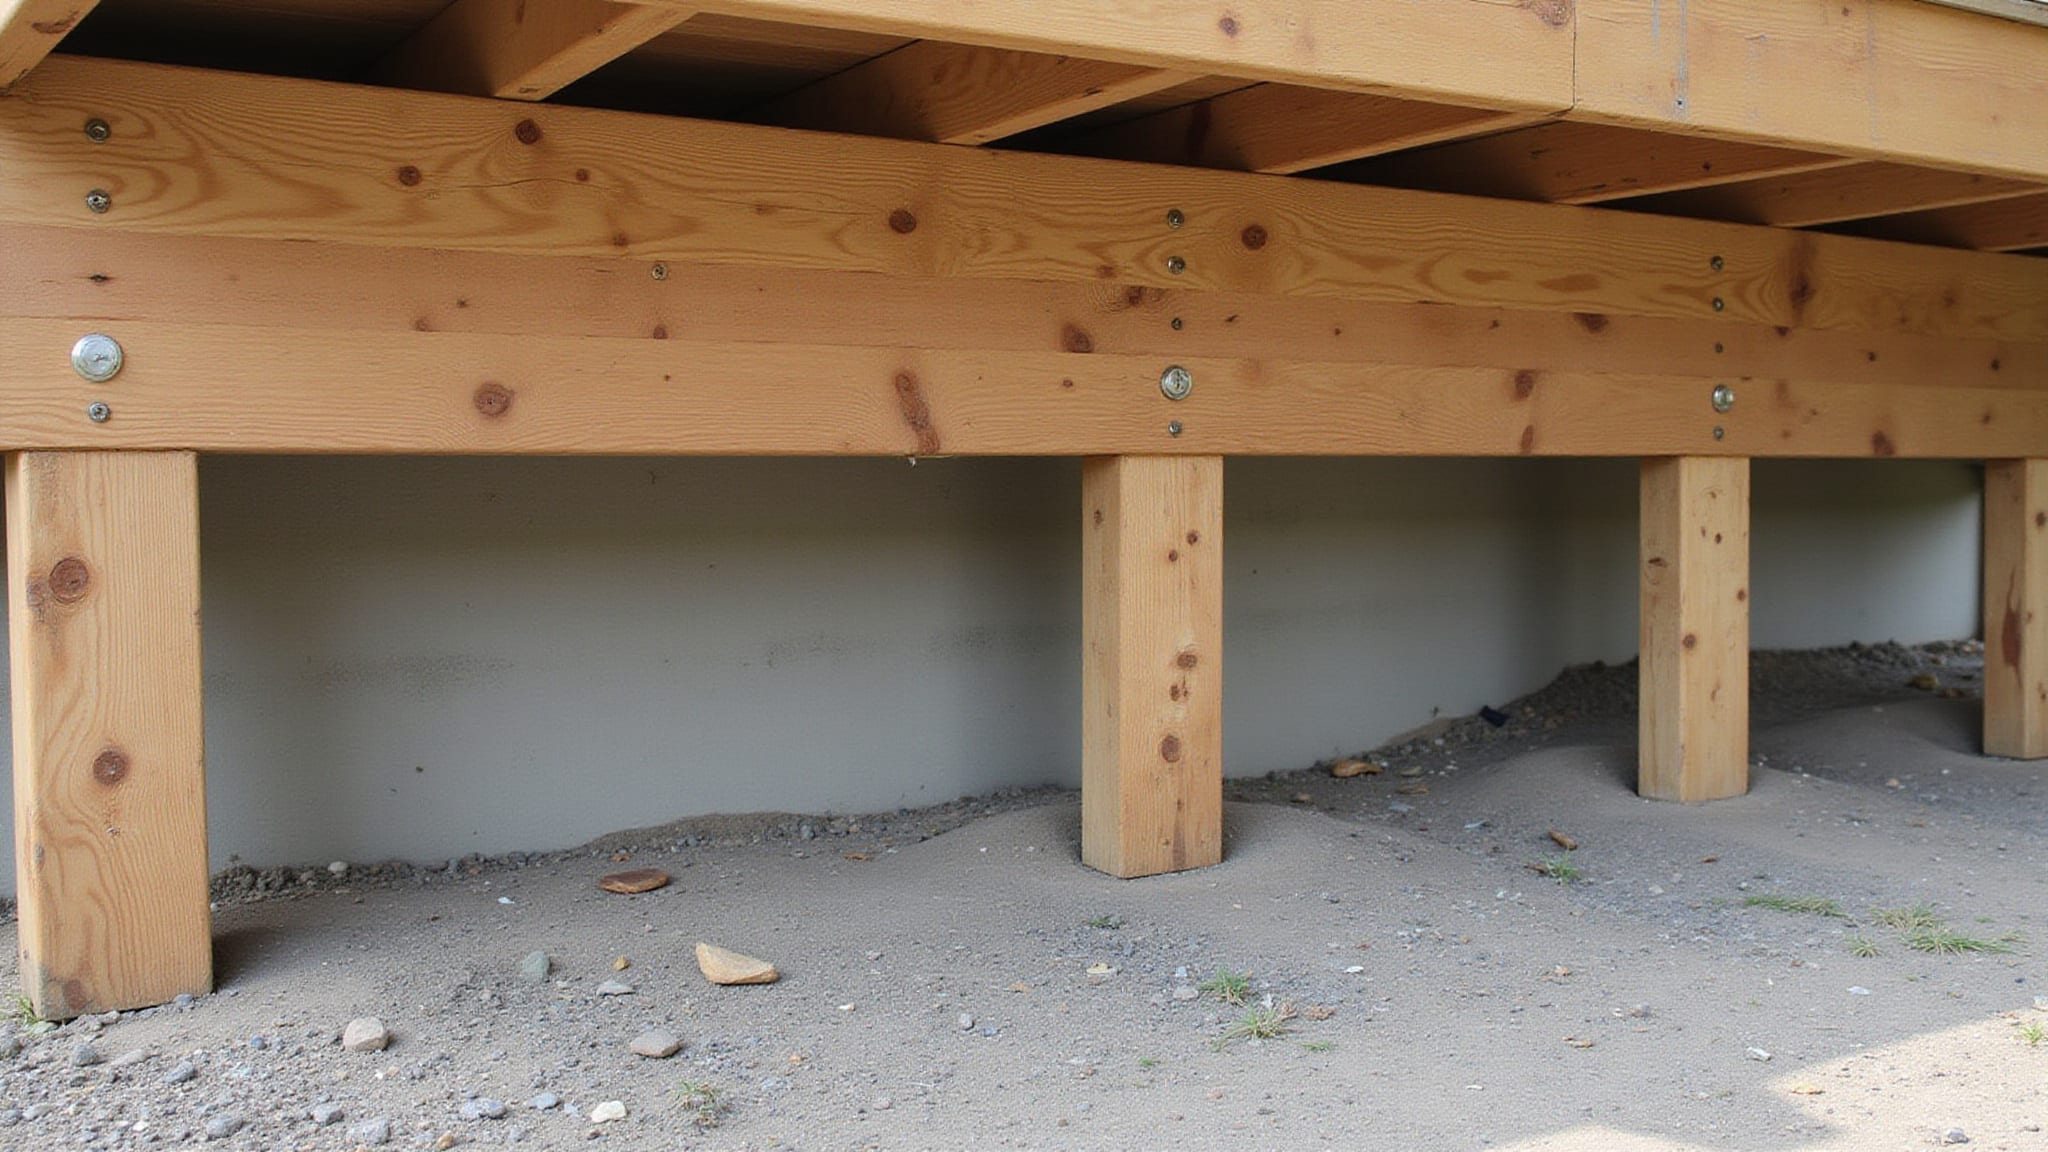
Set the footings and framing by digging holes to the depth and diameter your frost line and local code require at each marked post and footing location. Pour concrete footings or set pre-made piers at each mark, then install post anchors once the concrete cures. Set your posts, confirming plumb in both directions before you trim them to height and begin framing.
Dig to your frost line, pour footings, and set every post plumb before trimming to height and framing.
- Space perimeter posts roughly 4 feet apart, keeping interior spacing consistent with your plan.
- Bolt beams to posts to form the main frame.
- Install joists across the beams at code-required spacing.
- Add cross-bracing and diagonal bracing for lateral stability.
Use approved hardware, bolts, screws, and hangers, for every connection. Square your support frames carefully, and don’t rest anything against the pool structure.
How do the decking material options compare on cost and upkeep
Decking materials range from low upfront cost with high upkeep to highest cost with virtually no upkeep. Pressure-treated wood is cheapest to buy but demands annual sealing, staining, and rot inspection, while PVC costs the most but stays nearly maintenance-free. You’ll install boards perpendicular to your joists, leaving small gaps for expansion and drainage regardless of material. Your choice affects fastening method, longevity, and recurring upkeep near a wet pool environment.
| Decking Material | Cost & Upkeep |
|---|---|
| Pressure-Treated Wood | Low upfront; requires annual sealing, staining, inspection for rot |
| Cedar/Redwood | Moderate cost; periodic sealing resists moisture and decay |
| Composite | Higher upfront; minimal upkeep, resists warping and splintering |
| PVC | Highest cost; virtually maintenance-free, ideal for pool exposure |
You’ll balance budget against long-term labor when selecting the surface you’ll walk on daily.
How do you lay the decking and railing
Lay decking boards perpendicular to the joists, leaving small gaps between them for expansion and drainage. Fasten each board with deck screws or hidden fasteners, depending on your decking system, and maintain proper spacing from the pool edge to reduce tripping and pinched-toe hazards. Trim excess decking for a clean finished edge once installation’s complete. Filling the gap between pool and deck is crucial for both aesthetics and safety. This careful attention to detail can prevent water pooling and ensure a seamless transition from water to dry surfaces.
- Set boards square to the joists, checking gap consistency across the run.
- Drive screws or seat hidden clips at every joist intersection.
- Hold clearance from the pool edge to eliminate pinch points.
- Snap a chalk line and trim overhang for a straight edge.
Install railings around the perimeter where code requires, meeting the specified height for pool safety.
How do you finish and maintain the deck
Finish the deck by adding fascia boards, lighting, furniture, and other accessories that improve both function and appearance. Install fascia boards along exposed joist and beam ends for a clean, finished edge. Add code-compliant lighting where electrical permits allow, wiring per local standards. Verify railings, gates, and stair handrails meet height and spacing requirements before placing furniture.
For maintenance, inspect footings, post anchors, and structural hardware annually for corrosion, loosening, or movement. Re-tighten bolts and replace damaged fasteners promptly. Keep decking gaps clear of debris to maintain drainage and prevent rot. Reseal or refinish boards as the decking system requires. Confirm the deck hasn’t shifted against the pool structure, since contact can weaken pool integrity over time.
Conclusion: Building a Solid Above Ground Pool Deck
A well-built deck transforms an above ground pool into a true backyard hangout, adding safe access, lounging space, and a finished look. Good results come from solid framing, proper footings, quality decking, and attention to safety features like railings and non-slip surfaces. Planning the layout, checking local codes, and building to last make all the difference. Whether you build it yourself or hire a pro, a sturdy deck adds real value and enjoyment to the pool.
Create the Perfect Pool Deck for Your Backyard
The right pool deck material and installation elevate every part of your outdoor experience. At Pool Doctor of the Palm Beaches in Palm Beach Gardens, FL, our experienced team provides trusted Pool Deck and Coping Materials with expert installation and premium options. Call +1 (561) 586-2815 today and design a stunning pool deck.
Frequently Asked Questions
How Long Does It Take to Build an Above Ground Pool Deck?
A typical above ground pool deck takes anywhere from a few days to a couple of weeks, depending on its size, design, and whether you build it yourself or hire a crew. Permitting and weather can add time. A clear plan and materials on hand keep the project moving. A contractor can give a firm timeline for your design.
Can I Build a Pool Deck Myself or Hire a Professional?
A confident DIYer with carpentry skills can build a basic deck, but framing, footings, and code compliance are important for safety, especially around a pool. For larger or elevated decks, a professional ensures it is structurally sound and permitted. Weigh your skills and the deck’s complexity when deciding which route to take.
How Much Does Building an Above Ground Pool Deck Typically Cost?
Cost depends on the size, materials, height, and features like railings or built-in seating, so it ranges widely. Wood is more affordable upfront, while composite costs more but lasts longer with less upkeep. Getting a couple of quotes, or pricing your materials for a DIY build, gives the clearest budget for your project.
Does a Pool Deck Increase My Home’s Resale Value?
It can. A well-built, attractive deck makes the pool more usable and the backyard more appealing, which many buyers value. The return depends on build quality, materials, and your market. Keeping the deck safe, code-compliant, and well-maintained protects both its appeal and any value it adds at sale.
Will a Pool Deck Affect My Homeowner’s Insurance Premiums?
Possibly. Adding a pool and deck can affect your coverage and premium, since insurers consider the added value and liability. Safety features like proper railings and barriers may work in your favor. Let your insurer know about the deck and pool so your policy stays accurate and you have the right liability protection.