

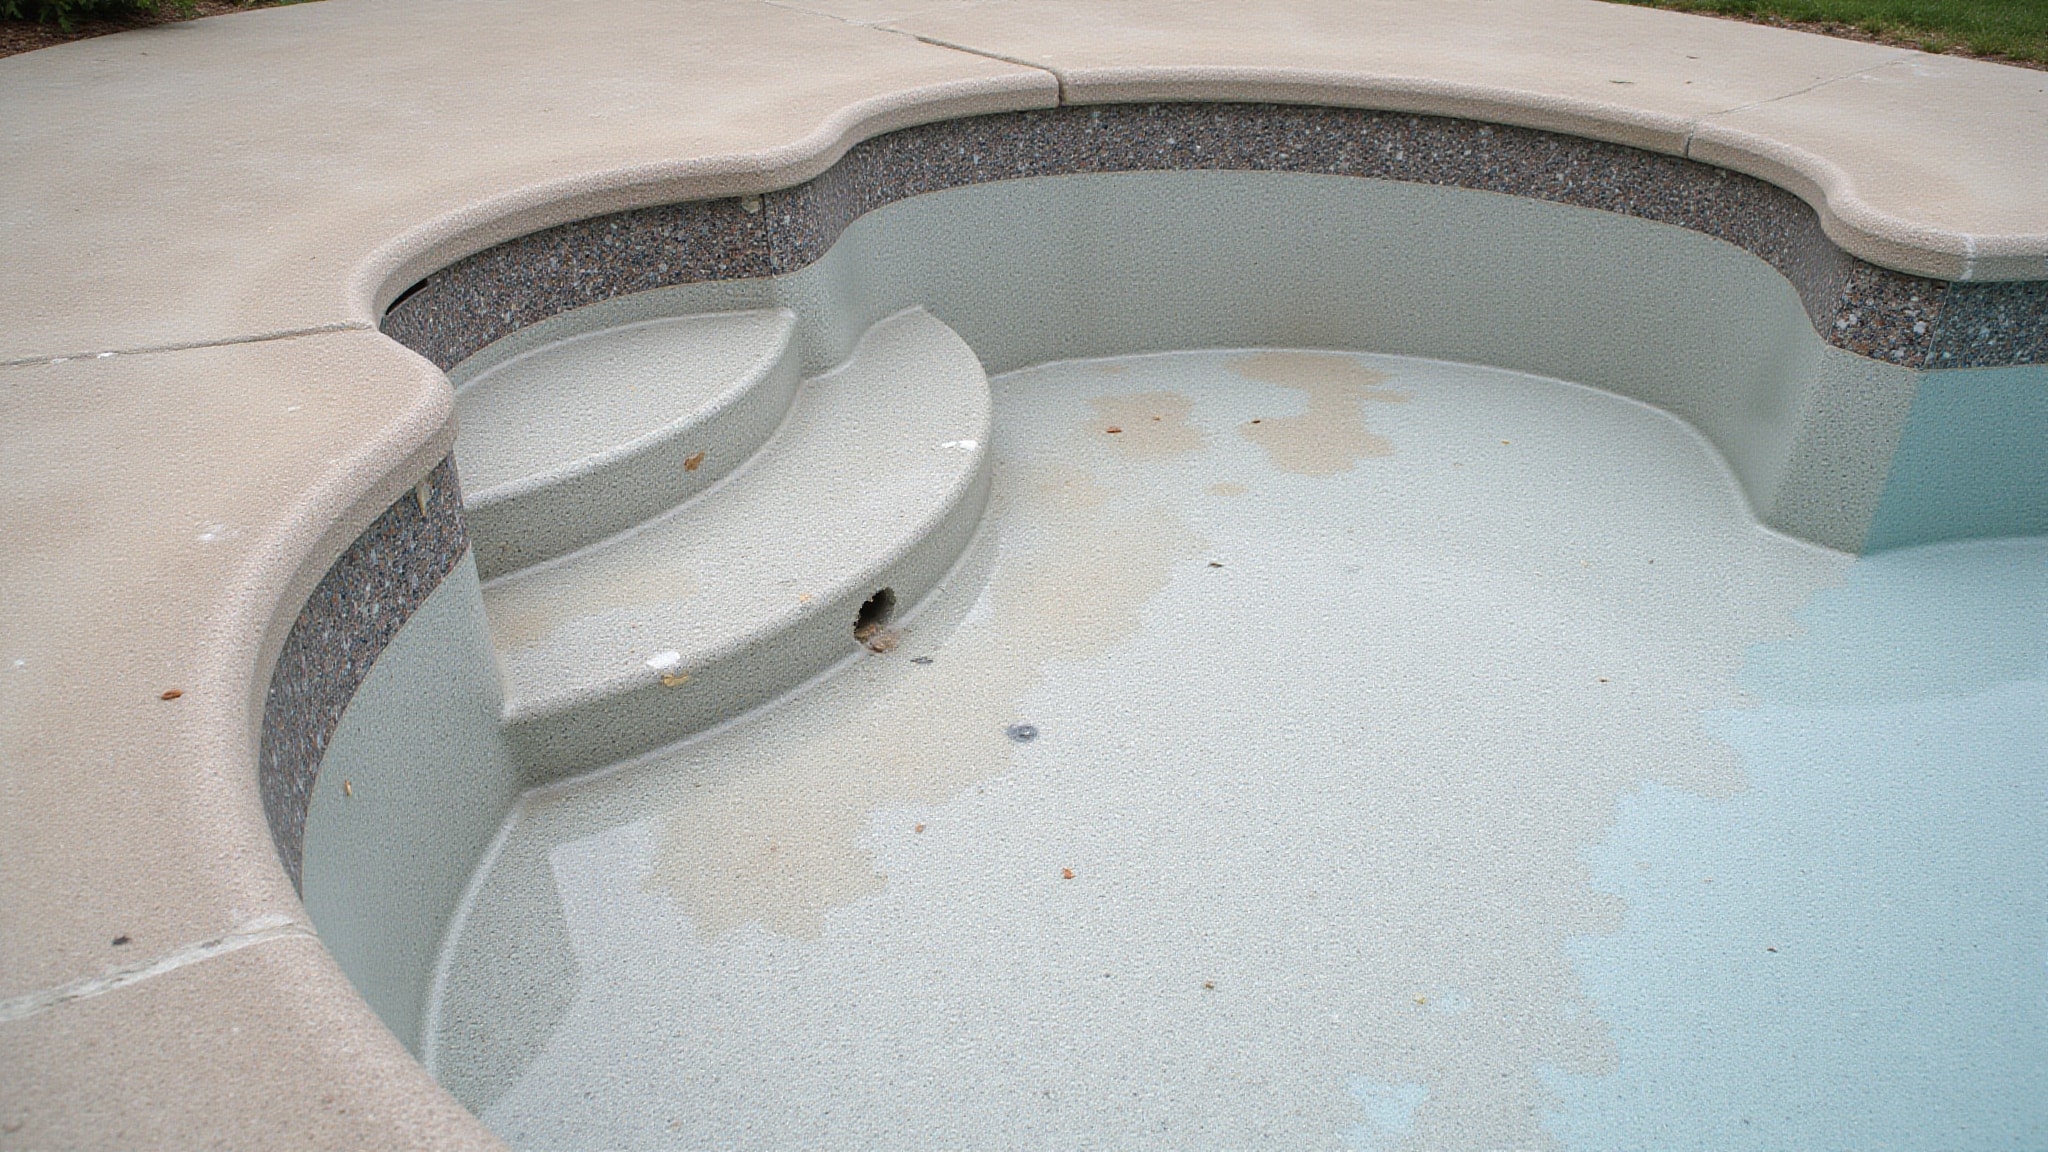
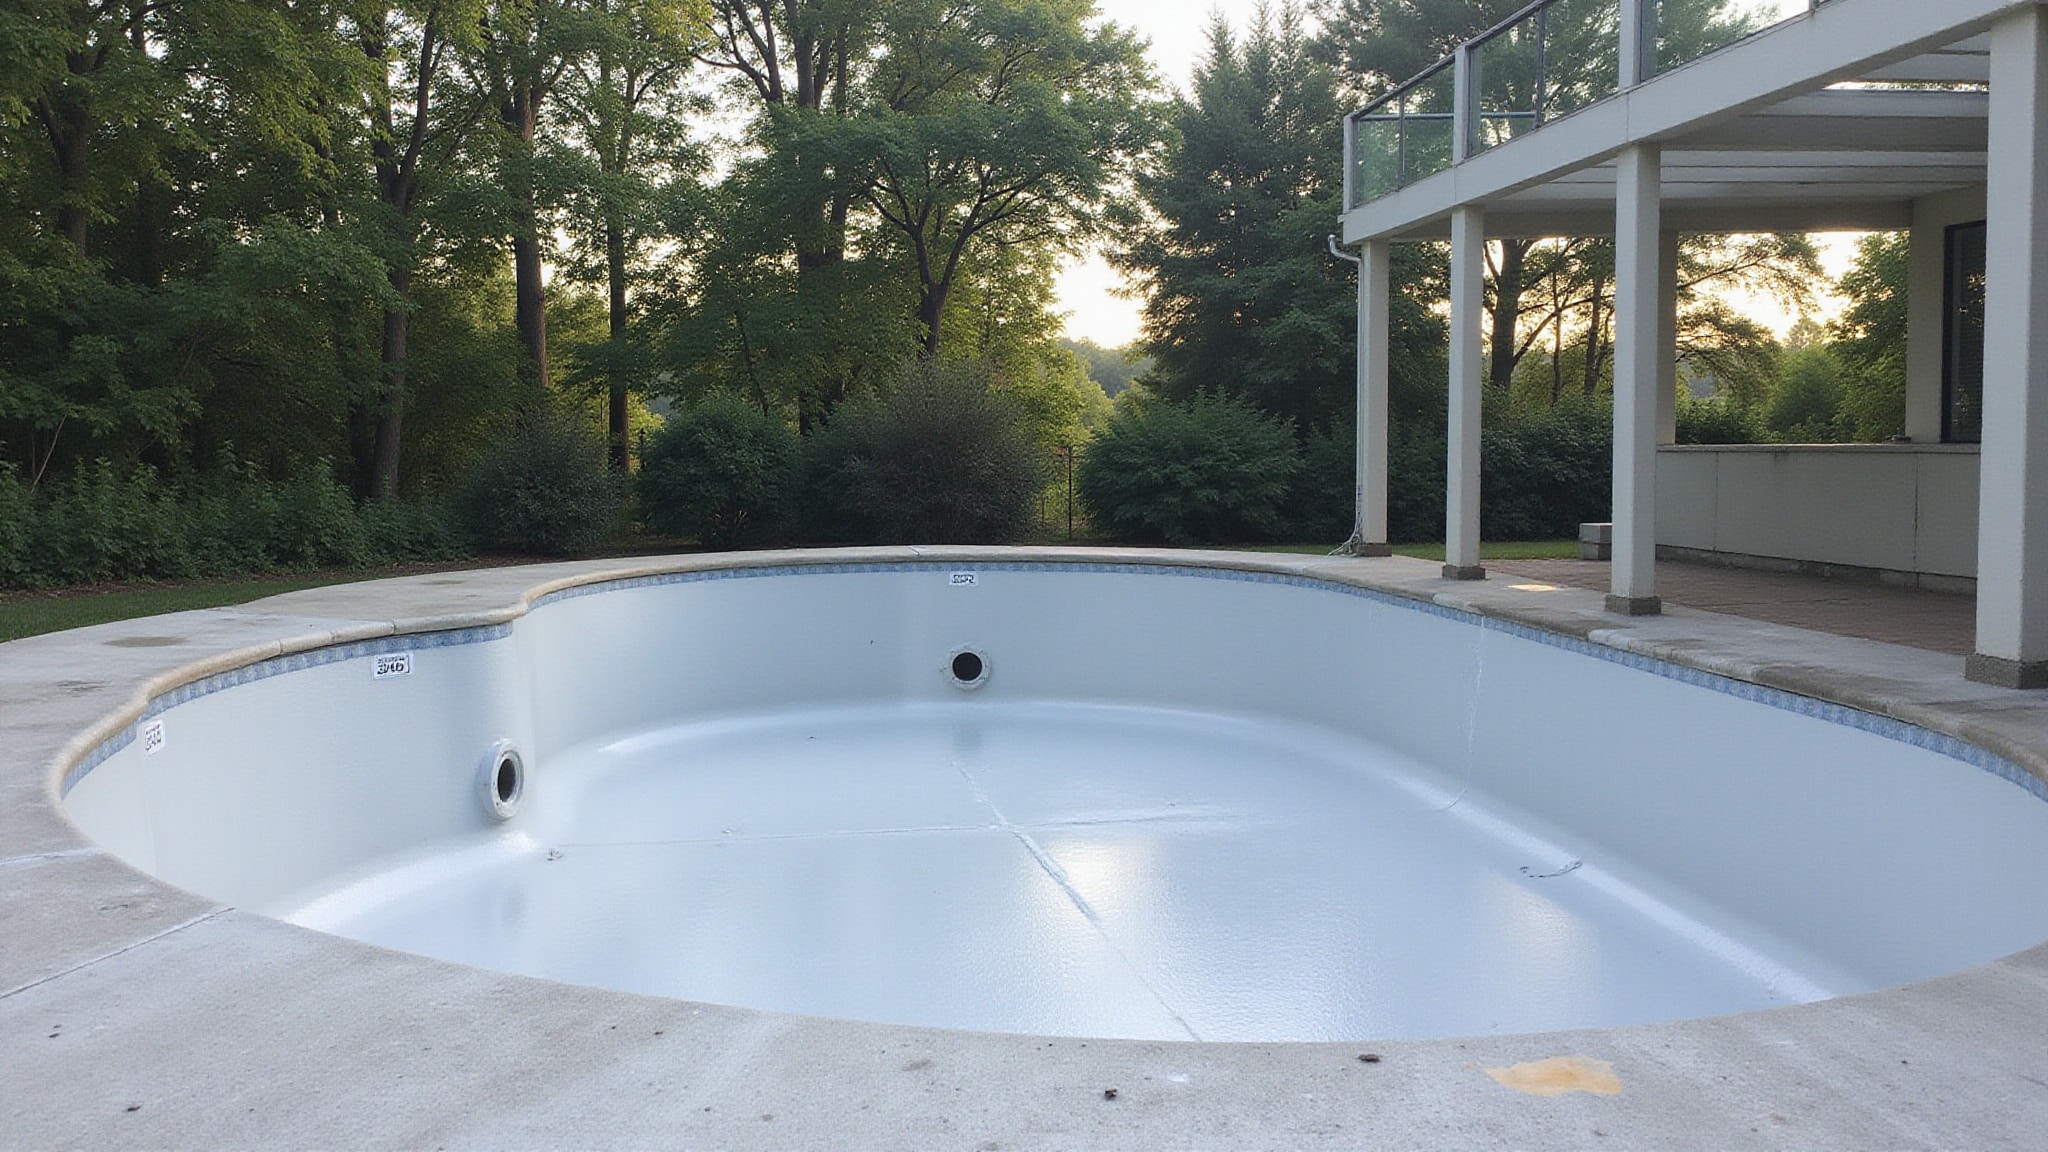
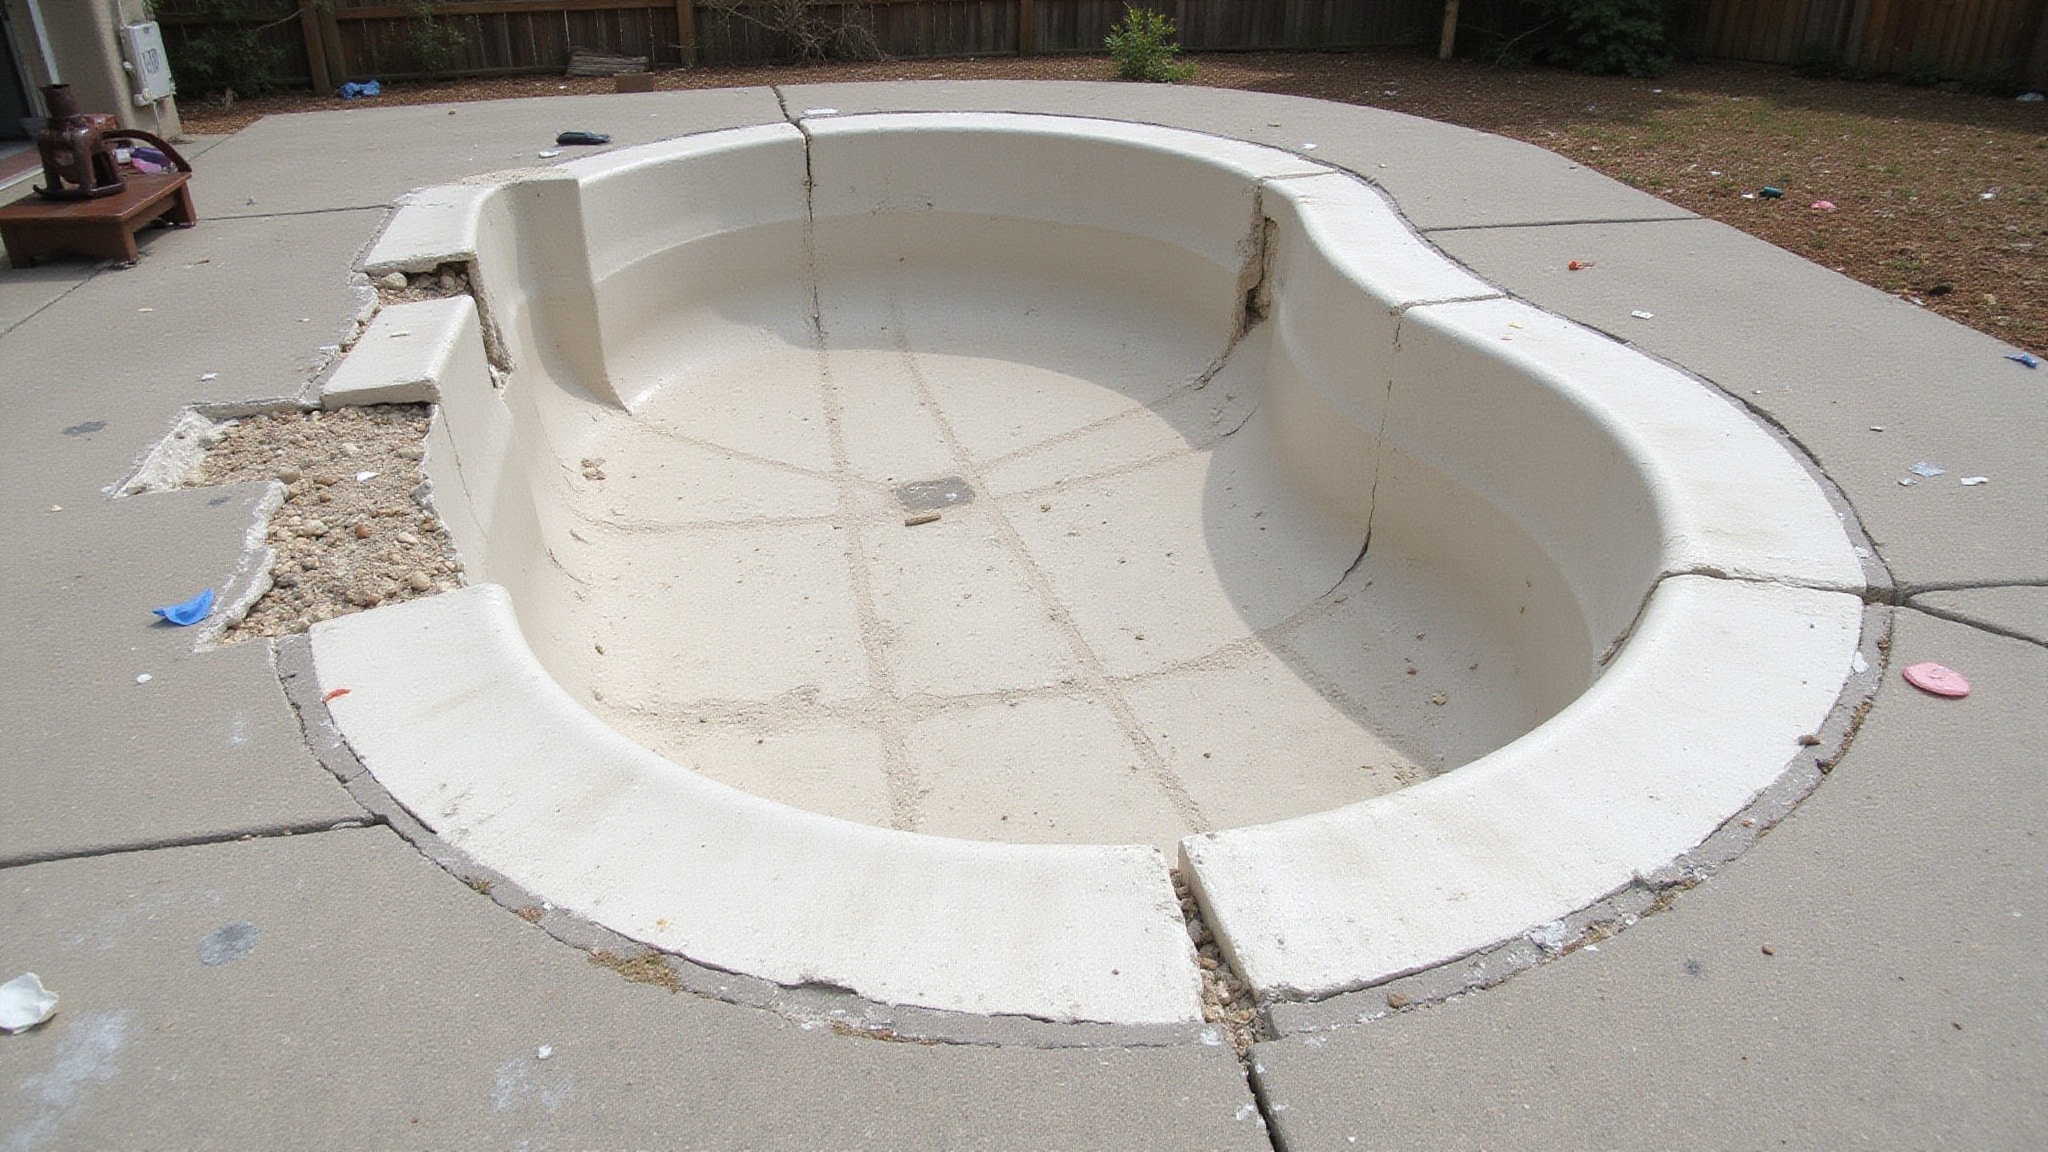
Start by draining the pool and prepping a level base, remove debris, add mason sand, and form a cove at the wall. Snap the bead into the receiver track, beginning at a wall seam and working evenly around. Keep the liner loose, center the floor seams, and smooth wrinkles outward with a push broom. Add a few inches of water to check alignment, then fill gradually. There’s more to seating it right.
Key Takeaways
- Prepare the pool base by draining, clearing debris, leveling with mason sand, and forming a cove at the wall base.
- Gather tools beforehand, including a soft push broom, utility knife, masking tape, and mason sand, inspecting for sharp edges.
- Unfold the liner print-side up and center it, aligning floor seams with the cove using 12, 3, 6, and 9 o’clock points.
- Seat the bead firmly into the receiver track starting at the wall seam, working evenly while keeping the liner loose.
- Smooth wrinkles outward with the broom, fill gradually, then install gaskets and cut skimmer and return openings.
How do you install a beaded pool liner
Install a beaded pool liner by preparing the pool properly, because a beaded liner only performs as well as the surface beneath it. Drain the pool completely, then remove grass, roots, and debris from the base. Level the surface, add mason sand where required, and form a cove at the wall base. Inspect the bead receiver for damage or sharp edges before you begin. Unfold the new liner print-side up, centering the floor seams over the cove. Start seating the bead at the wall seam, working evenly around the liner track without pulling tight. Smooth the floor with a broom or vacuum out wrinkles, then add a few inches of water. Fill gradually, install gaskets below the cutouts, and trim excess once set.
What is a beaded liner and how does it attach
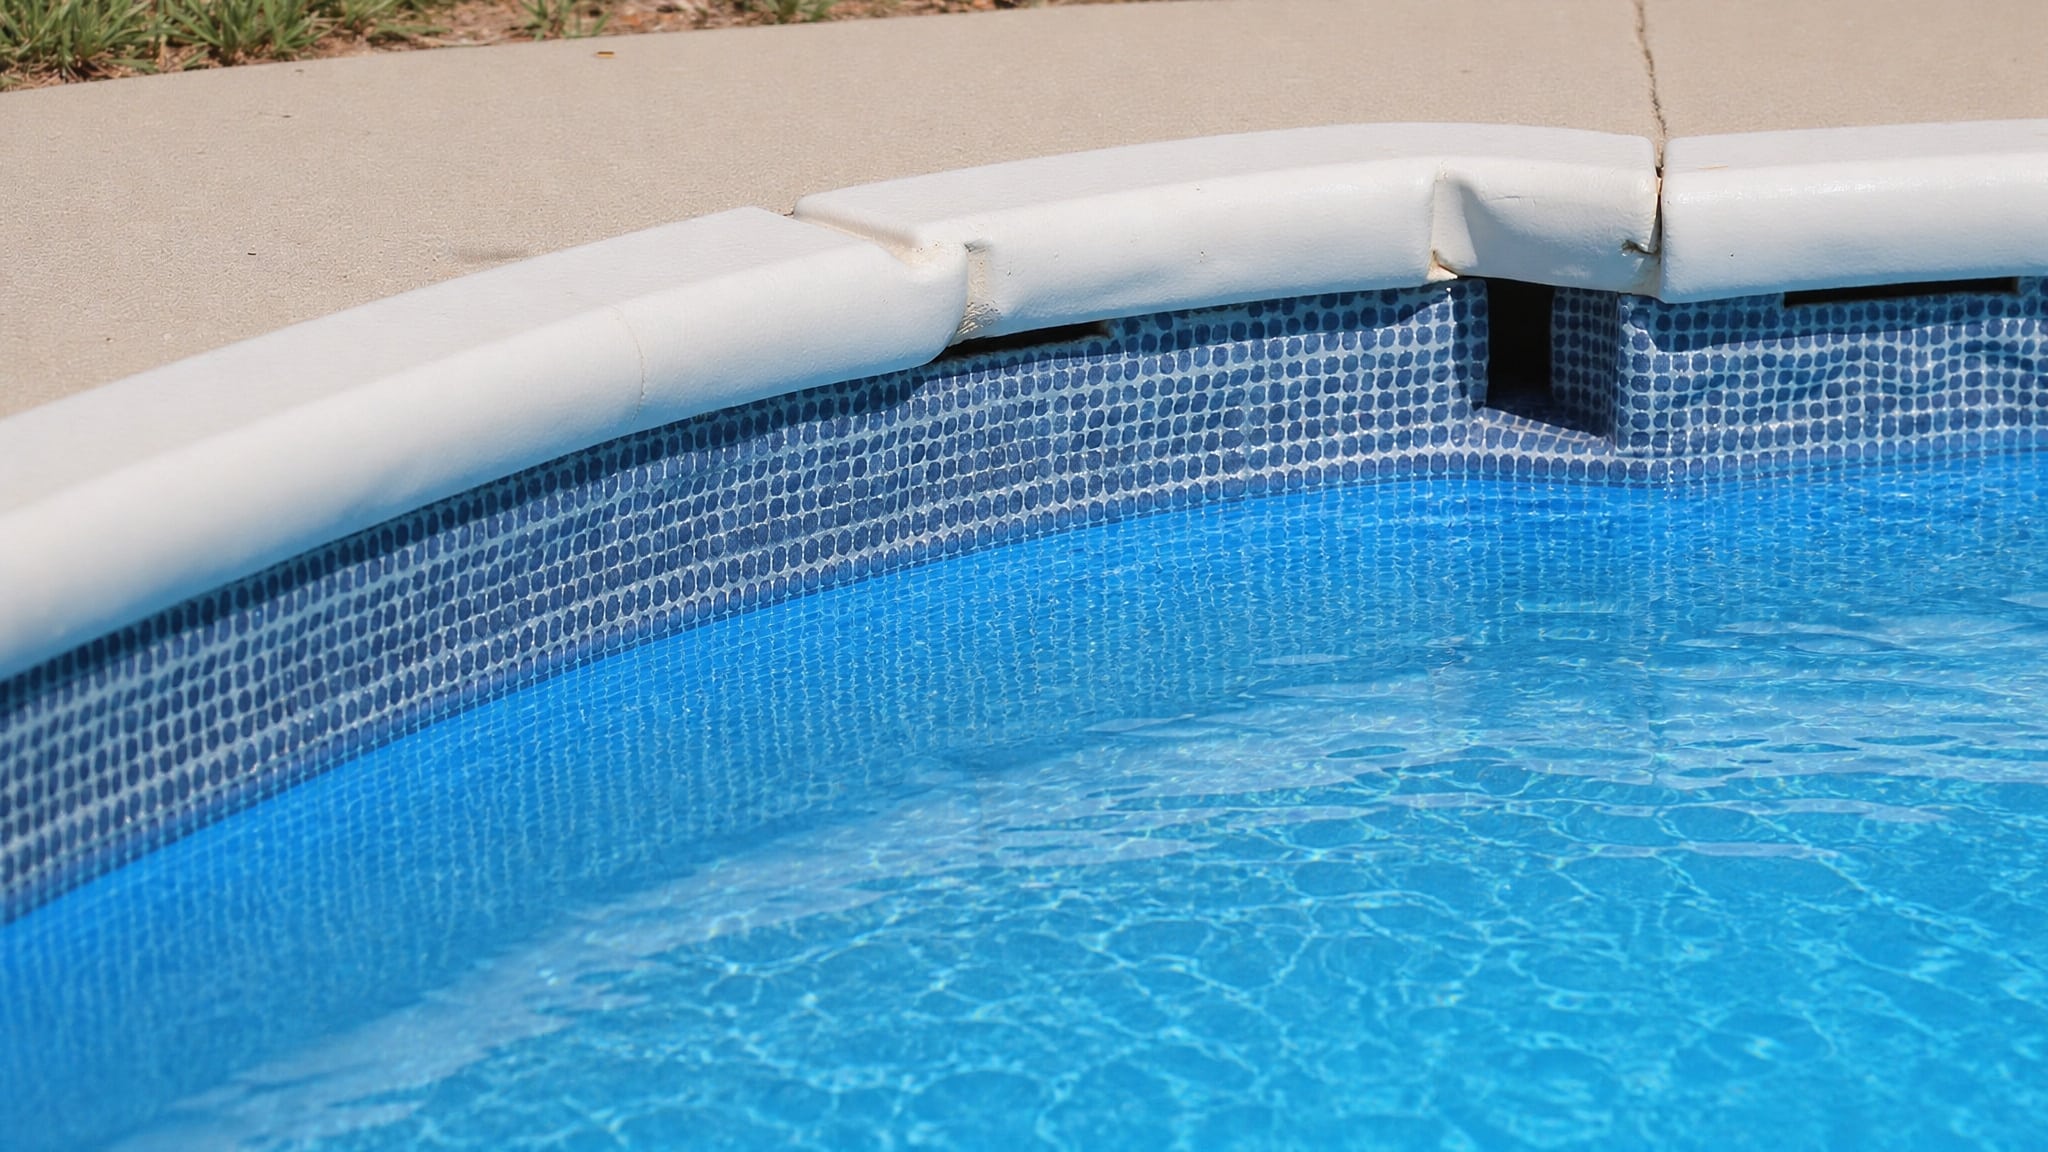
A beaded liner is a pool liner named for the rigid bead molded along its top edge, a thickened lip that snaps into a matching channel called the bead receiver. That receiver mounts to the top of the pool wall, tucked beneath the coping that caps the wall’s edge. When you press the bead upward into the track, it locks firmly, holding the liner in place without a coping strip or overlap.
You seat the bead by starting at the wall seam and working around evenly, checking that it sits snugly with no gaps or slippage. This fitting method gives you a clean, uniform top edge and lets you remove or replace the liner later without disturbing the coping or the wall hardware.
What tools and prep do you need beforehand
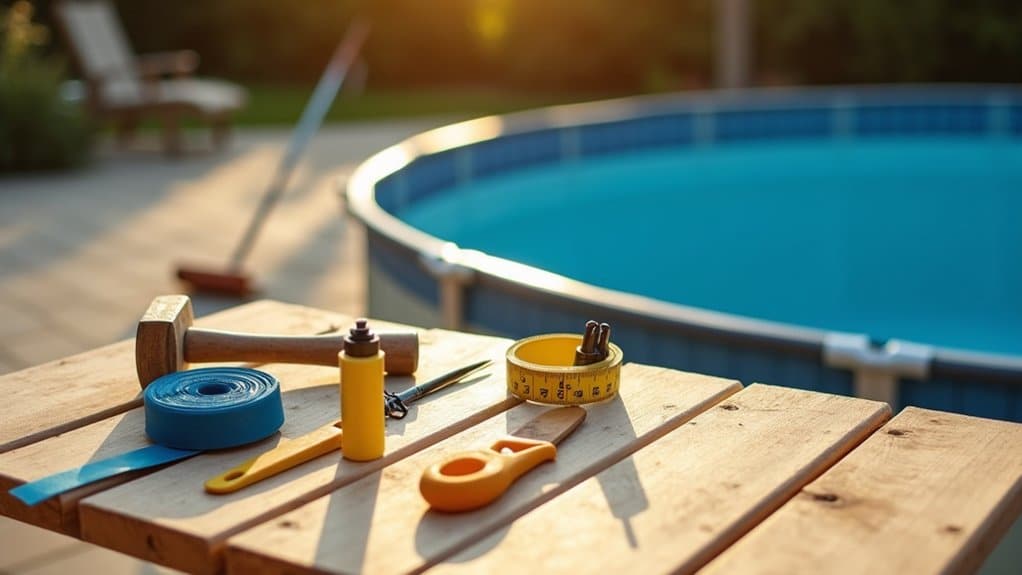
You’ll need a soft push broom for smoothing the floor, a utility knife for cutouts, and masking or electrical tape to hold the liner temporarily during positioning. Keep mason sand ready for the base, since some installs call for 1 to 2 inches leveled beneath the liner.
Complete these prep steps:
- Drain the pool completely, then measure it carefully so your beaded liner fits precisely.
- Clear grass, roots, and debris, level the surface, and form a cove at the wall base.
- Inspect the bead receiver, seams, and cutouts for sharp edges or damage.
How do you hang and align the liner
Lift the boxed liner into the center of the pool area, being careful not to drag it over any sharp metal edges. Unfold it with the print side facing upward, then center the bottom evenly so the floor seams align with the cove. On round pools, start positioning at the 12, 3, 6, and 9 o’clock points to distribute the material symmetrically. Use masking or electrical tape temporarily to hold the liner while you adjust. Once you have positioned the liner correctly, you can begin the anchor for your above ground pool liner installation. It’s essential to ensure there are no wrinkles or creases in the liner as you work to secure it in place.
| Reference Point | Action | Purpose |
|---|---|---|
| 12 o’clock | Anchor bead | Set baseline |
| 3 o’clock | Align seam | Balance tension |
| 6 o’clock | Center floor | Match cove |
| 9 o’clock | Secure edge | Complete frame |
| Center | Smooth outward | Remove slack |
Keep the liner loose throughout alignment; don’t pull it tight prematurely.
How do you set it and remove trapped air
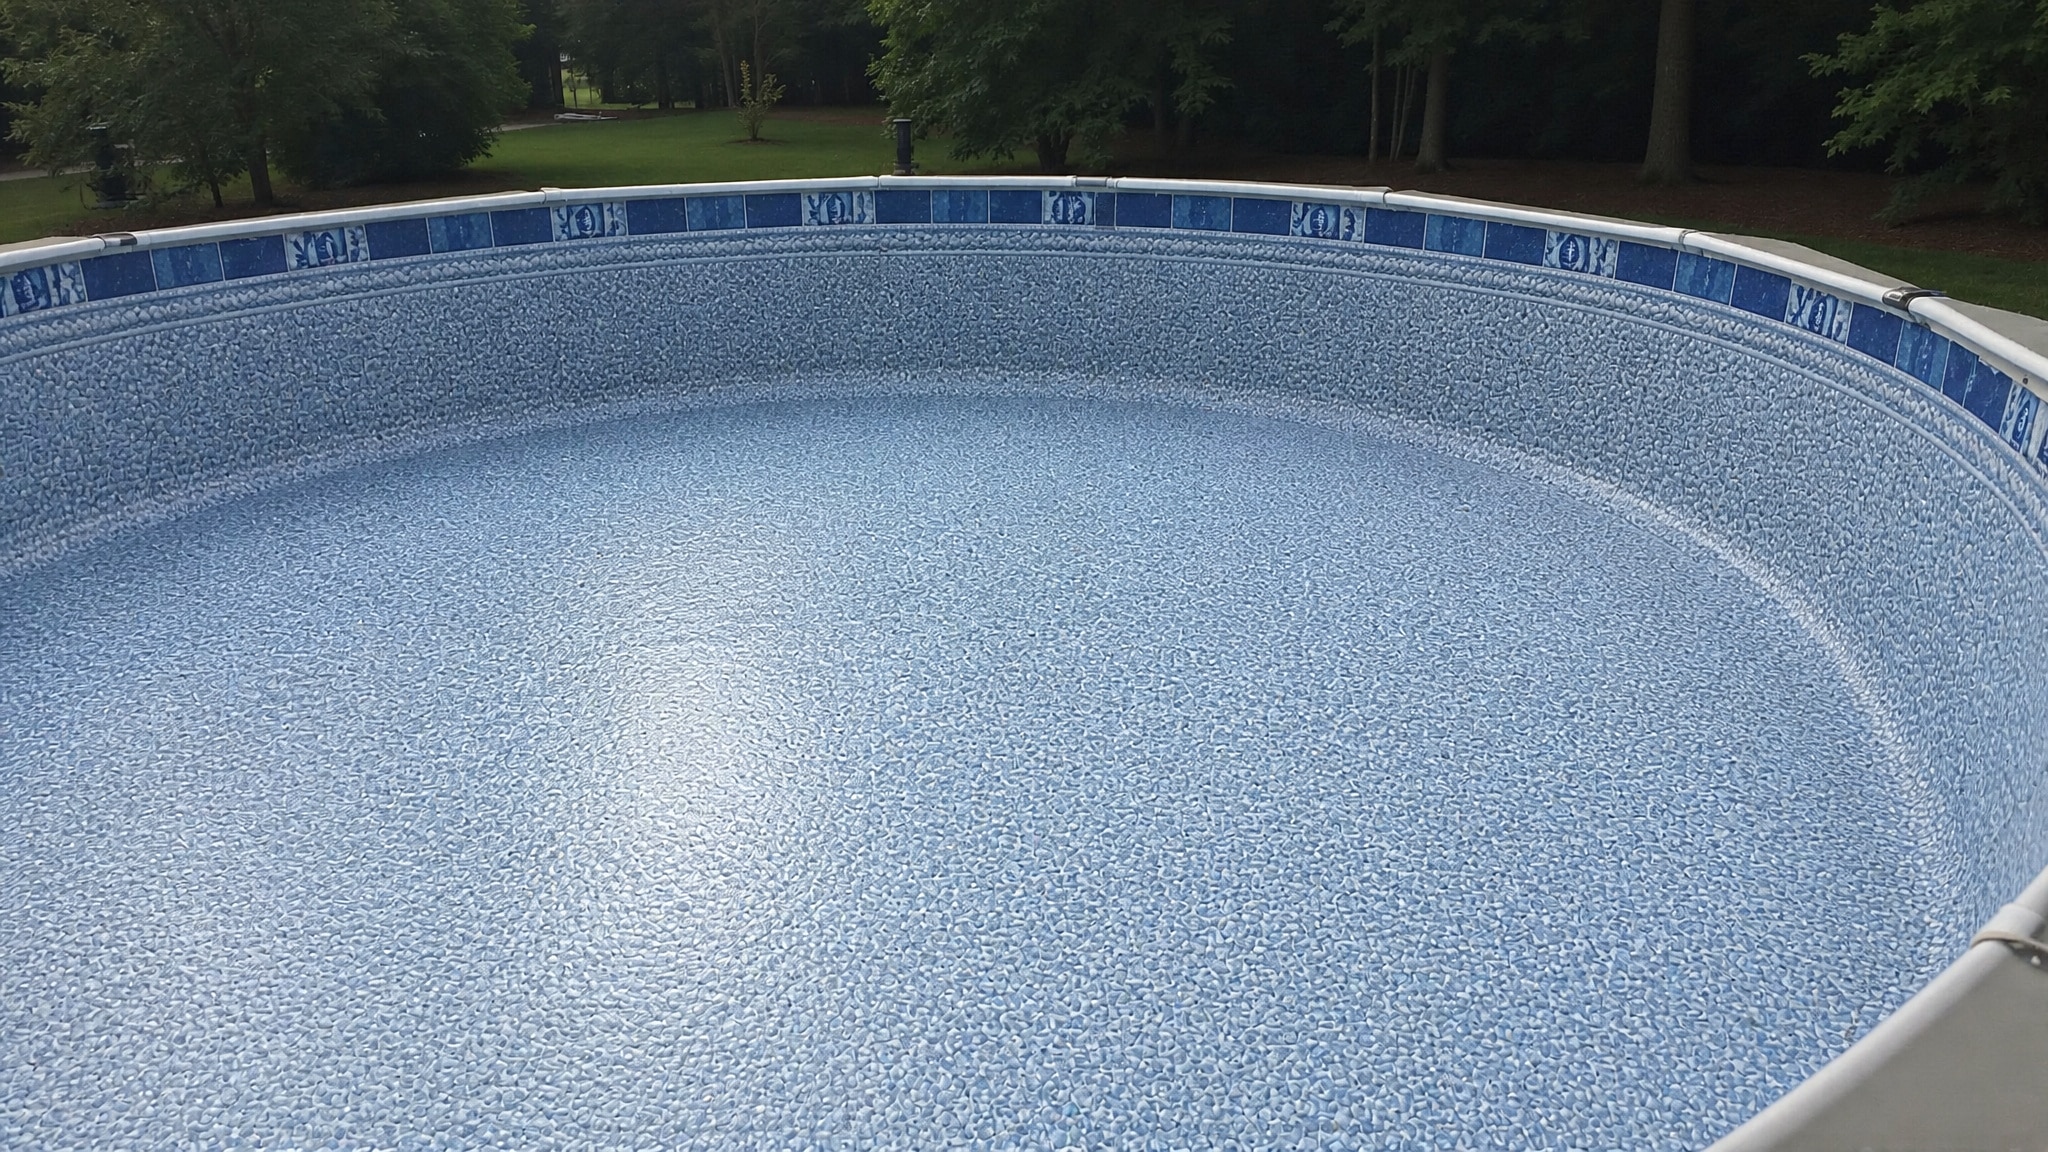
To set the liner and remove trapped air, seat the bead into the receiver track with the liner centered and loosely positioned. Start at the wall seam, pressing the beaded edge firmly into the receiver at the top of the wall. Work outward from that point, moving evenly around the pool’s circumference. Keep the liner loose while aligning it. Don’t pull it tight prematurely, or you’ll distort the floor and create tension that resists settling.
- Verify the bead sits snugly in the track without gaps or slippage at each section.
- Smooth the floor with a soft push broom, pushing wrinkles outward toward the walls.
- Add only a few inches of water, then stop to check alignment and adjust.
Work methodically; rushing traps air and locks wrinkles in place.
How do you fill the pool and finish the install
Fill the pool gradually and stay attentive, as the final fill stage locks the liner into position. Continue filling until the liner stretches fully into its final position against the wall and floor. Watch the water level closely as it approaches the skimmer and return cutouts. When it sits just below those openings, stop and install the skimmer and return gaskets. Secure the fittings firmly, then cut the liner out of the skimmer and return openings, following the faceplate edges precisely. Check each fitting for leaks and tighten as needed while the water rises. Once the pool’s filled and the liner’s set, trim the excess material at the top edge cleanly. Verify the bead remains seated in the track and confirm no wrinkles remain. After ensuring the fittings are secure, you can proceed to replace above ground pool liner if necessary. Choosing a high-quality liner will help maintain the pool’s appearance and integrity over time.
Conclusion: Installing a Beaded Pool Liner the Right Way
A beaded liner is a popular choice because it snaps into a track at the top of the pool wall, making it easier to install and replace than some other styles. Success comes from measuring correctly, working in warm weather so the vinyl is flexible, and seating the bead evenly to avoid wrinkles. Taking your time with the fit gives a smooth, leak-free result. With the right liner and careful installation, the pool looks great and holds water for years. Vinyl pool liner lifespan can vary significantly based on usage and environmental factors. Proper maintenance, including regular cleaning and protecting the liner from sharp objects, can extend its durability.
Get Expert Help With Your Pool Liner
Whether you’re patching, replacing, or installing a new liner, expert help makes every job stress-free. At Pool Doctor of the Palm Beaches in Kings Point, FL, our experienced team provides trusted Pool Renovation & Remodeling with expert liner work and premium materials. Call +1 (561) 586-2815 today and get your pool back in perfect shape.
Frequently Asked Questions
How Long Does a Beaded Pool Liner Typically Last?
A beaded liner generally lasts around 6 to 12 years, similar to other above ground liners, depending on thickness, water chemistry, and sun exposure. Balanced water and gentle care extend its life. When it fades, stiffens, or starts to leak, replacing it, which is straightforward with the beaded design, restores the pool.
Can I Install a Beaded Liner in Cold Weather?
It is much easier in warm weather, since vinyl becomes stiff and hard to seat in the track when it is cold, which can cause wrinkles or damage. If you have to install in cooler conditions, warming the liner in the sun first helps. A mild, sunny day gives the best, most flexible working conditions.
How Much Does a Replacement Beaded Liner Cost?
Cost depends on the pool’s size and the liner’s thickness and pattern, so prices range accordingly. Thicker, higher-quality liners cost more but last longer. Because beaded liners are designed for easier swapping, you may also save on installation if you do it yourself. Getting a size and thickness quote gives the clearest figure.
Can I Reuse My Old Liner After Removal?
Generally no. Once a liner is removed, it has usually stretched and conformed to the pool, and it is often being replaced because it is worn or leaking. Reinstalling an old liner rarely gives a good, leak-free fit. Replacing it with a new liner is the reliable way to get a smooth, lasting result.
What Thickness Should I Choose for My Beaded Liner?
Thicker liners resist punctures and wear better and last longer, which suits busy pools, pets, or anyone wanting maximum durability, while thinner liners cost less. Liner thickness is usually given in mil or gauge. Weighing how much the pool is used against your budget helps you pick the right thickness.