

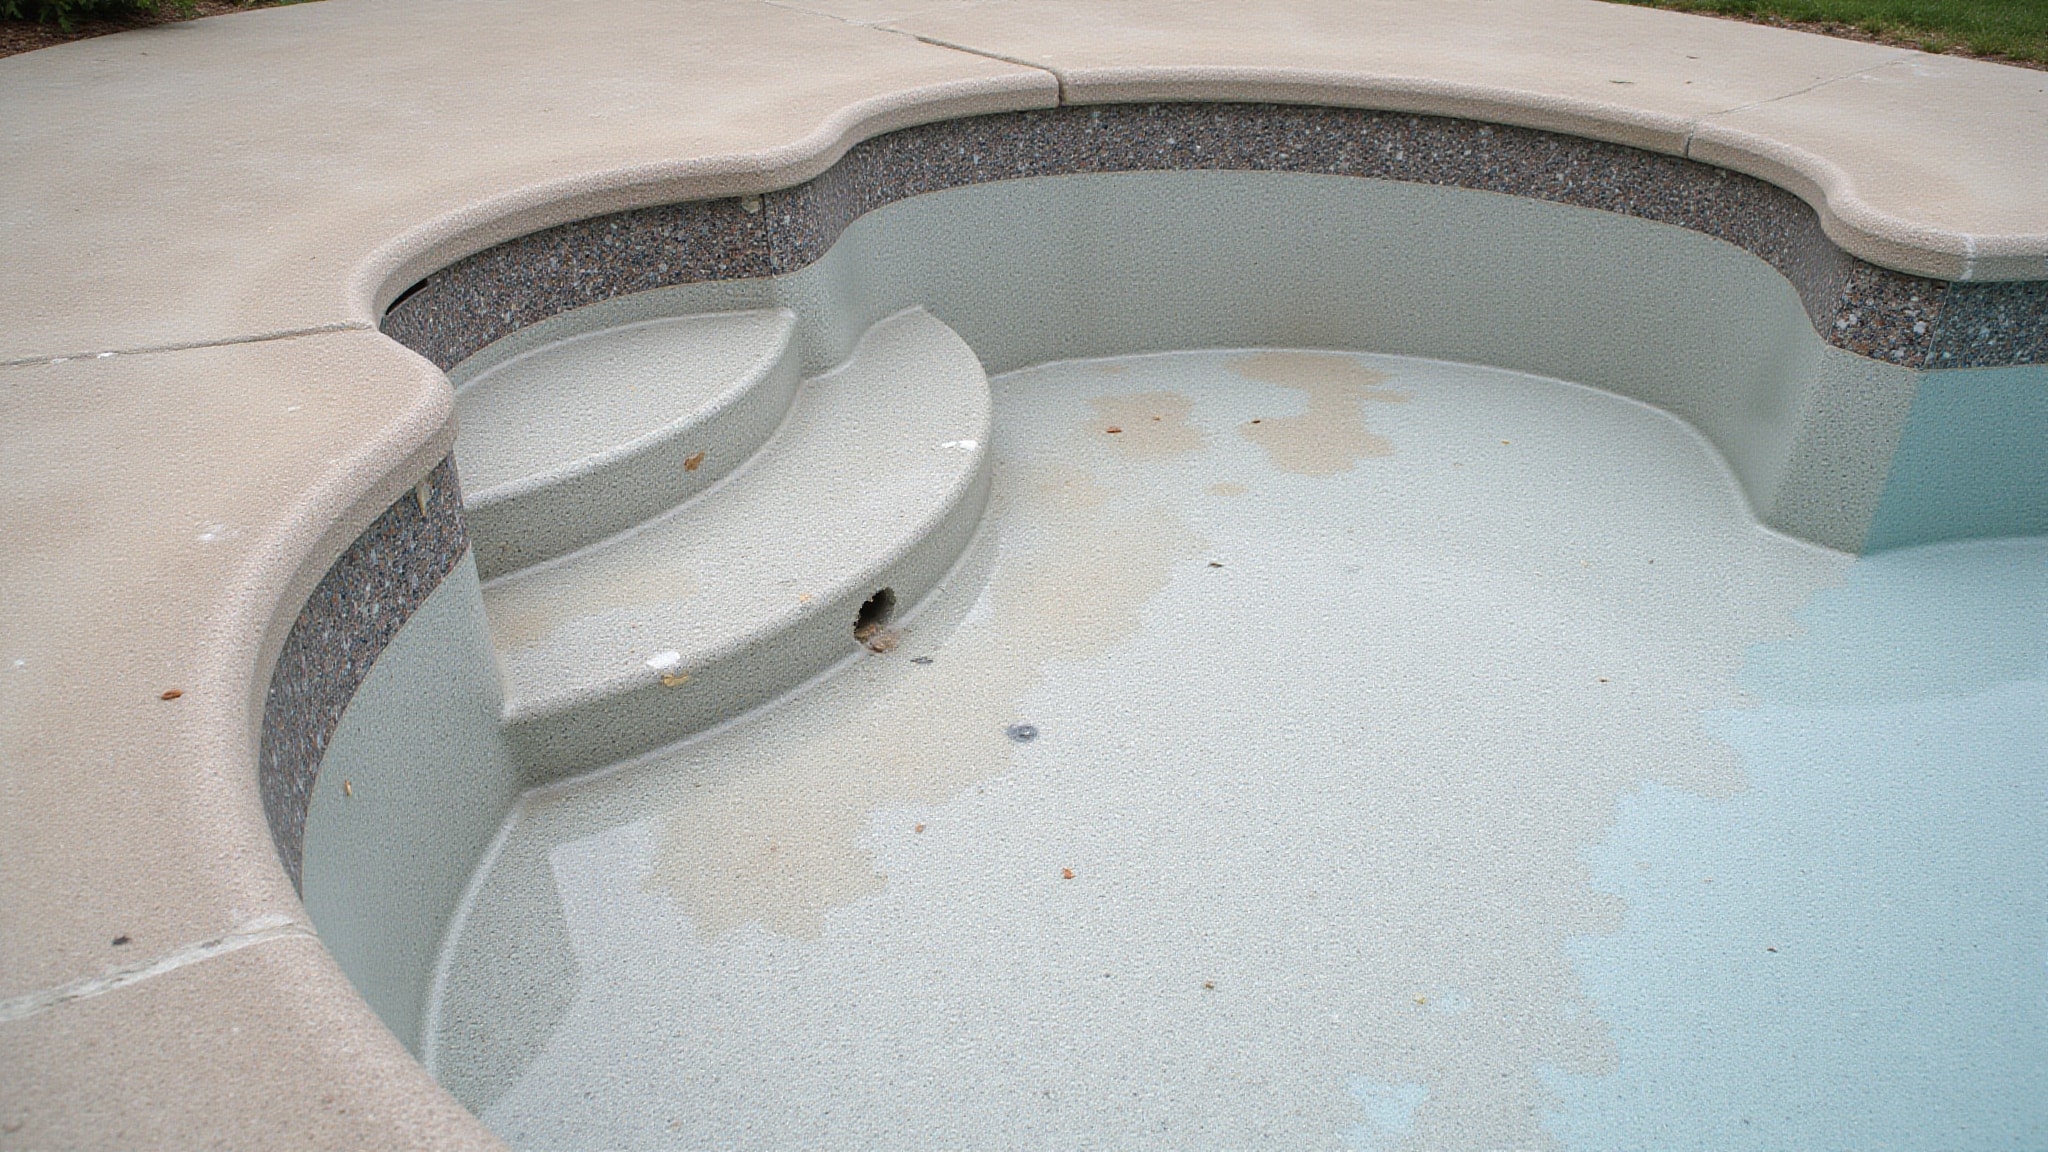
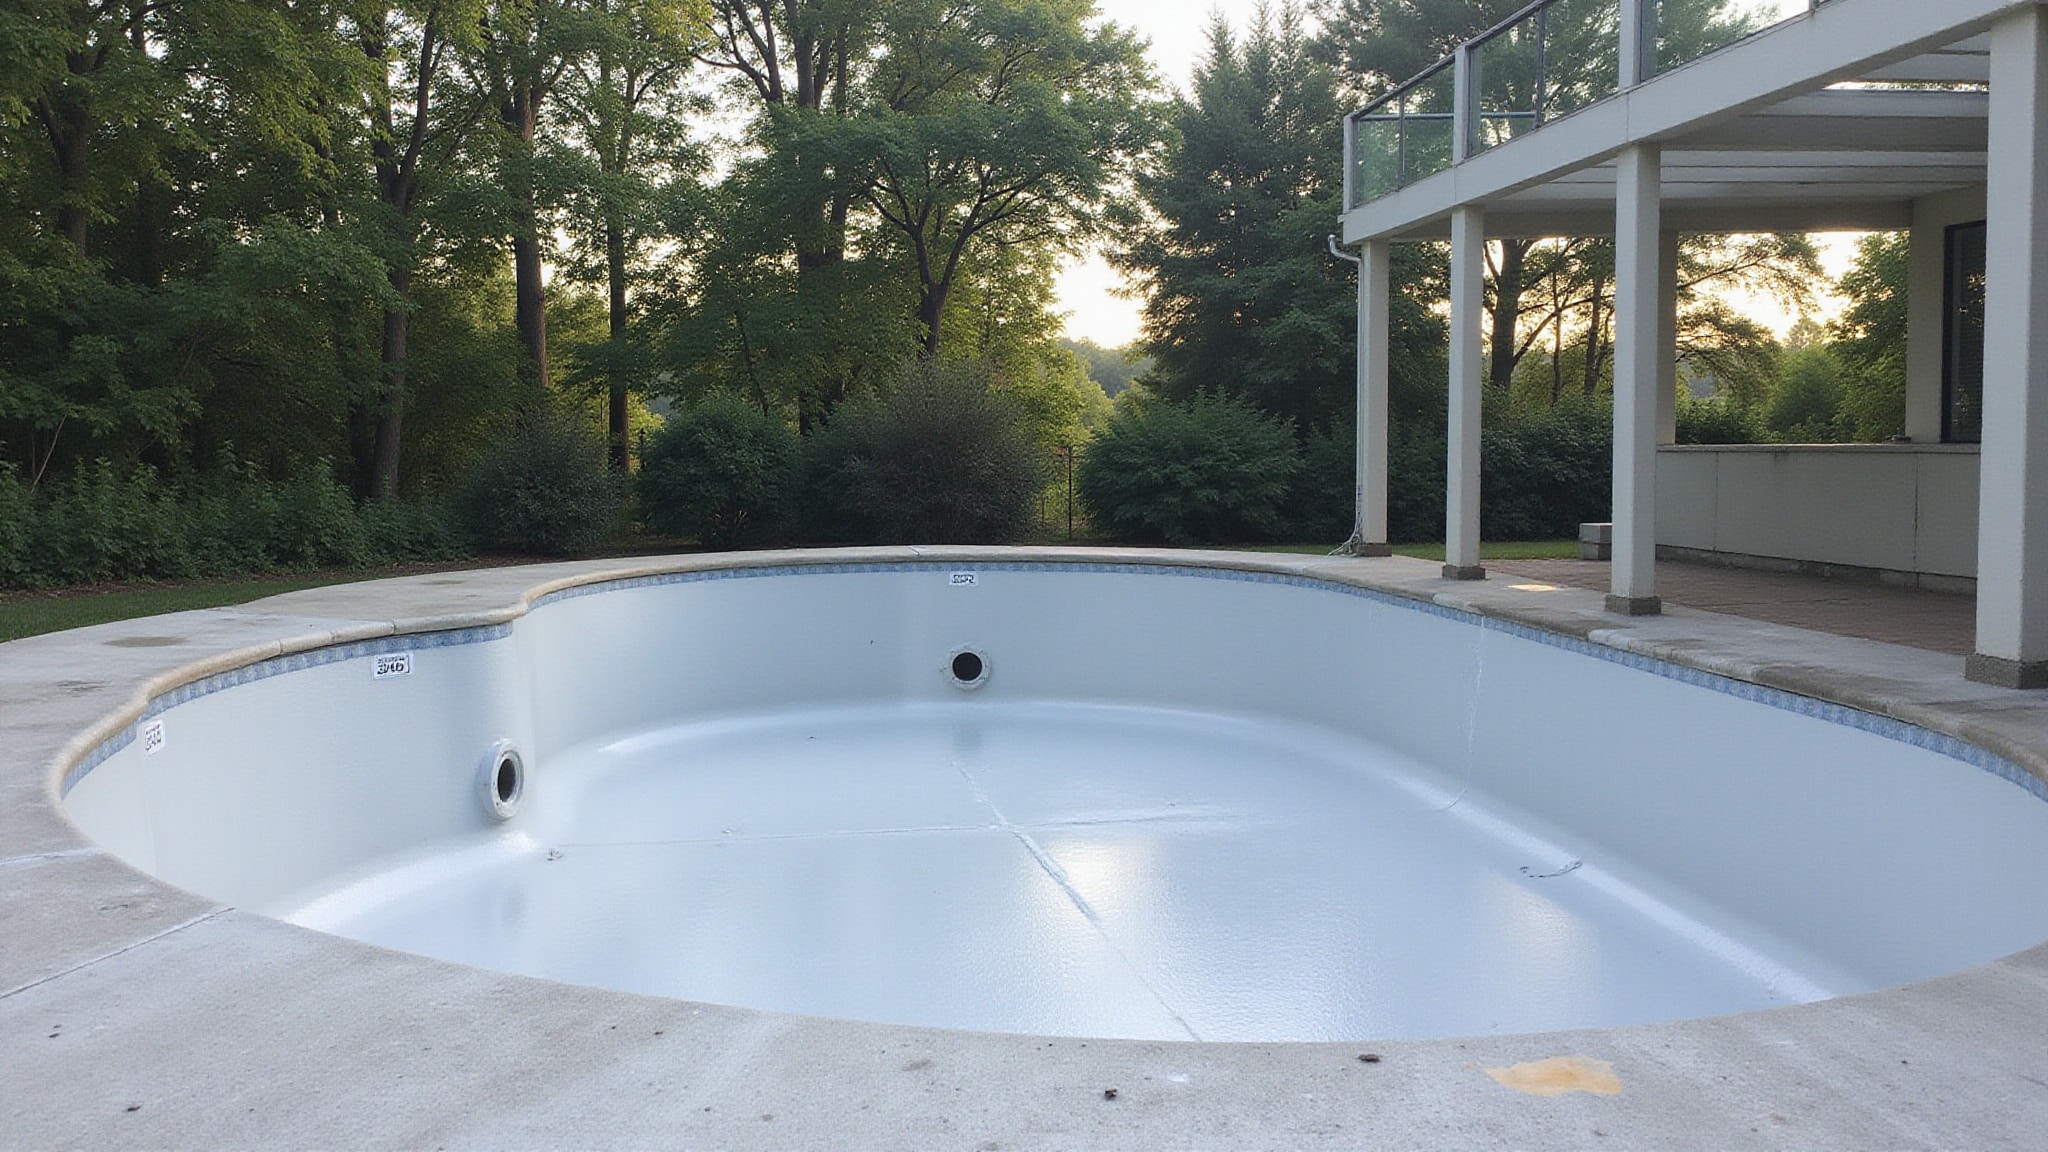
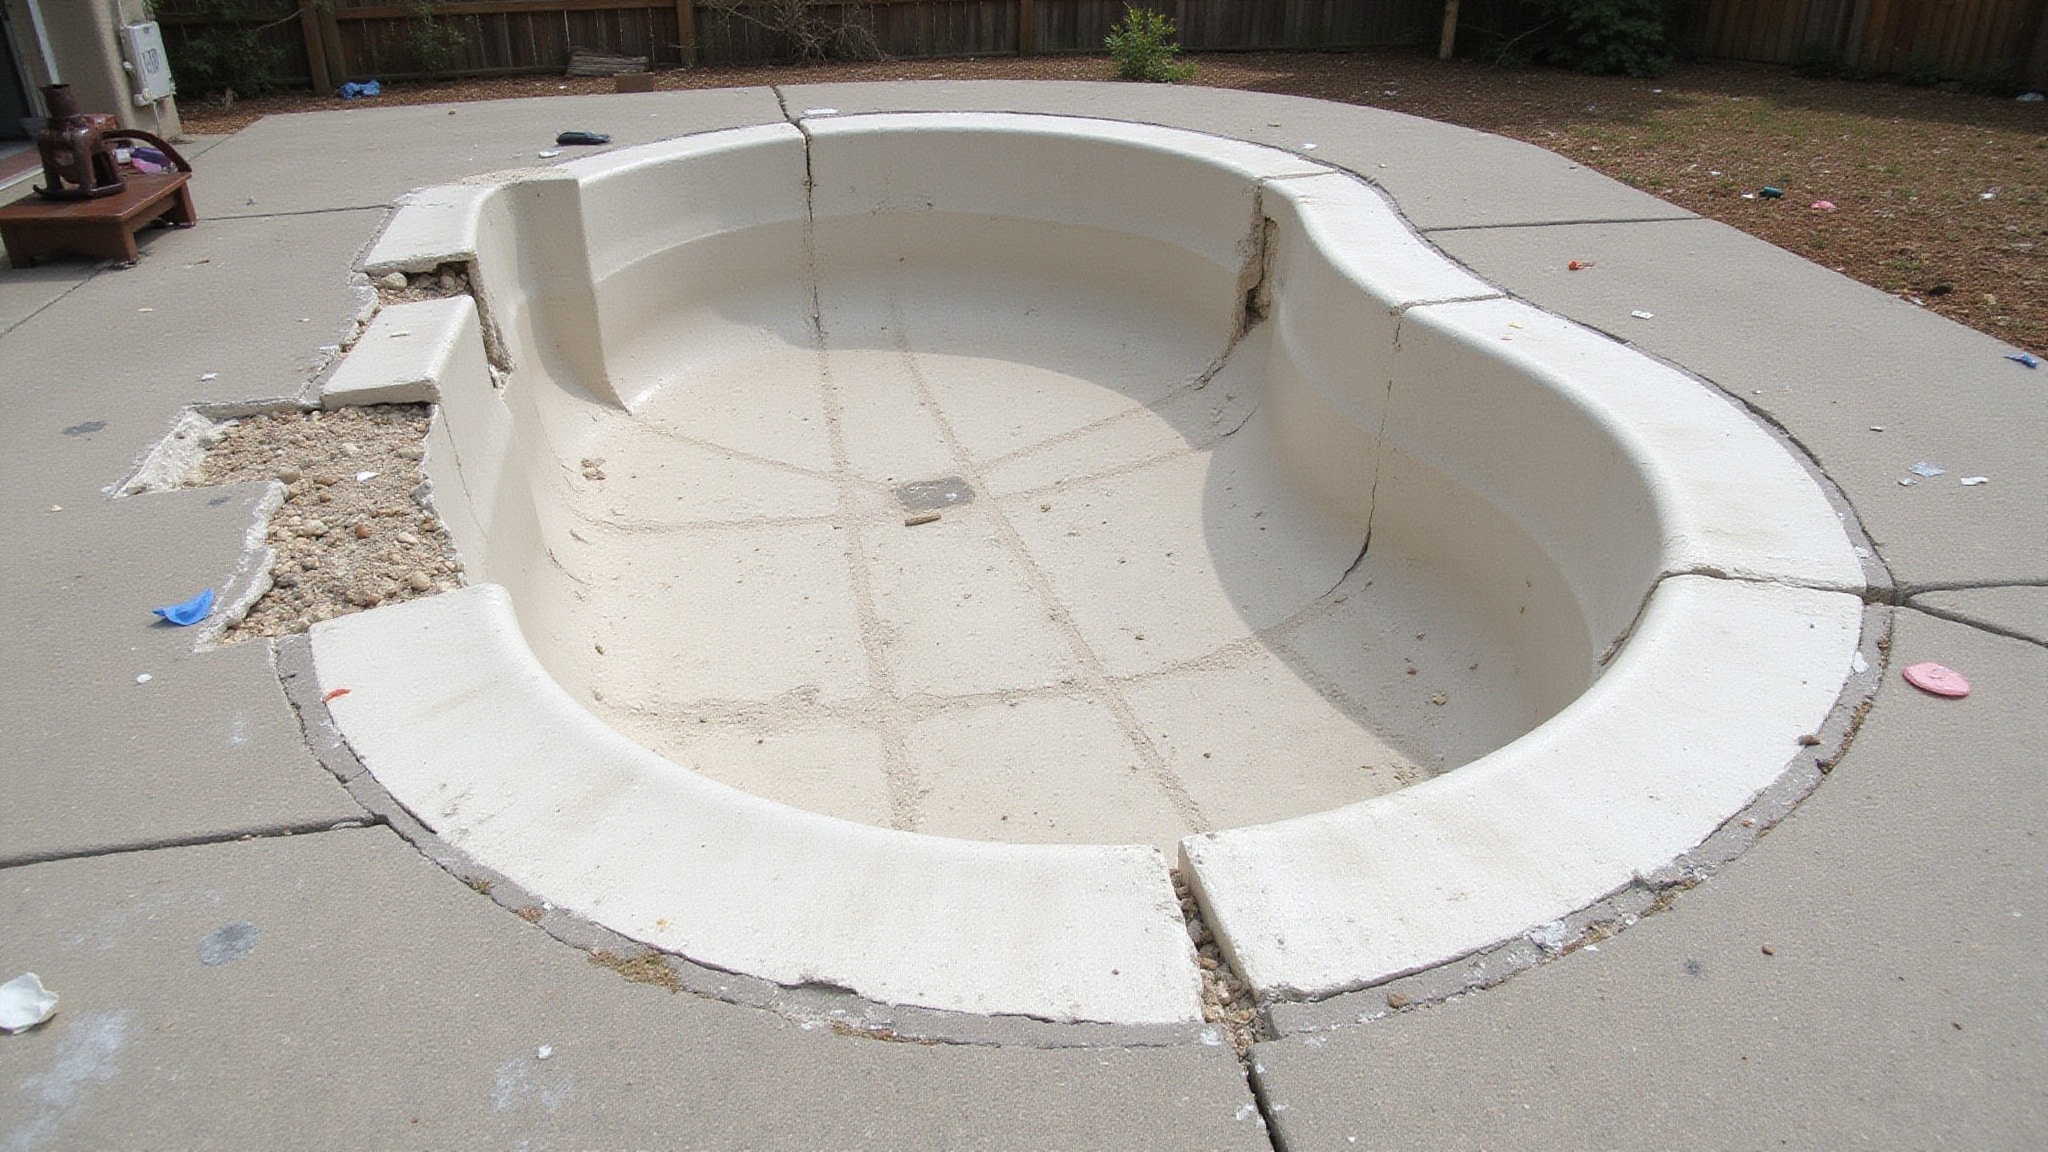
To replace waterline pool tiles, start by evaluating cracks, chips, and loose tiles. Lower the water below the damaged waterline area. Cut away old grout, then remove damaged tiles with a chisel, hammer, or oscillating tool, don’t crack the shell. Scrape off remaining mortar and clean the cavity. Fill shell cracks with epoxy for a waterproof base. Set new tiles, grout, cure, and seal. Keep going to master each step’s technical details. Waterline tiles in a pool can significantly enhance the overall aesthetic of your swimming area. Choosing the right color and style is essential, as it can complement your pool’s design.
Key Takeaways
- Assess the damage by identifying cracks, chips, and loose tiles before starting the repair process.
- Lower the pool water below the affected waterline tiles, without necessarily draining the entire pool.
- Cut away grout, remove damaged tiles carefully, then scrape and clean the cavity of remaining mortar.
- Fill shell cracks with epoxy, then set new tiles using pool-grade adhesive or submerged-use thinset.
- Grout the joints, cure fully, apply sealer, and refill while balancing pH to 7.2 to 7.6.
How do you replace waterline pool tiles
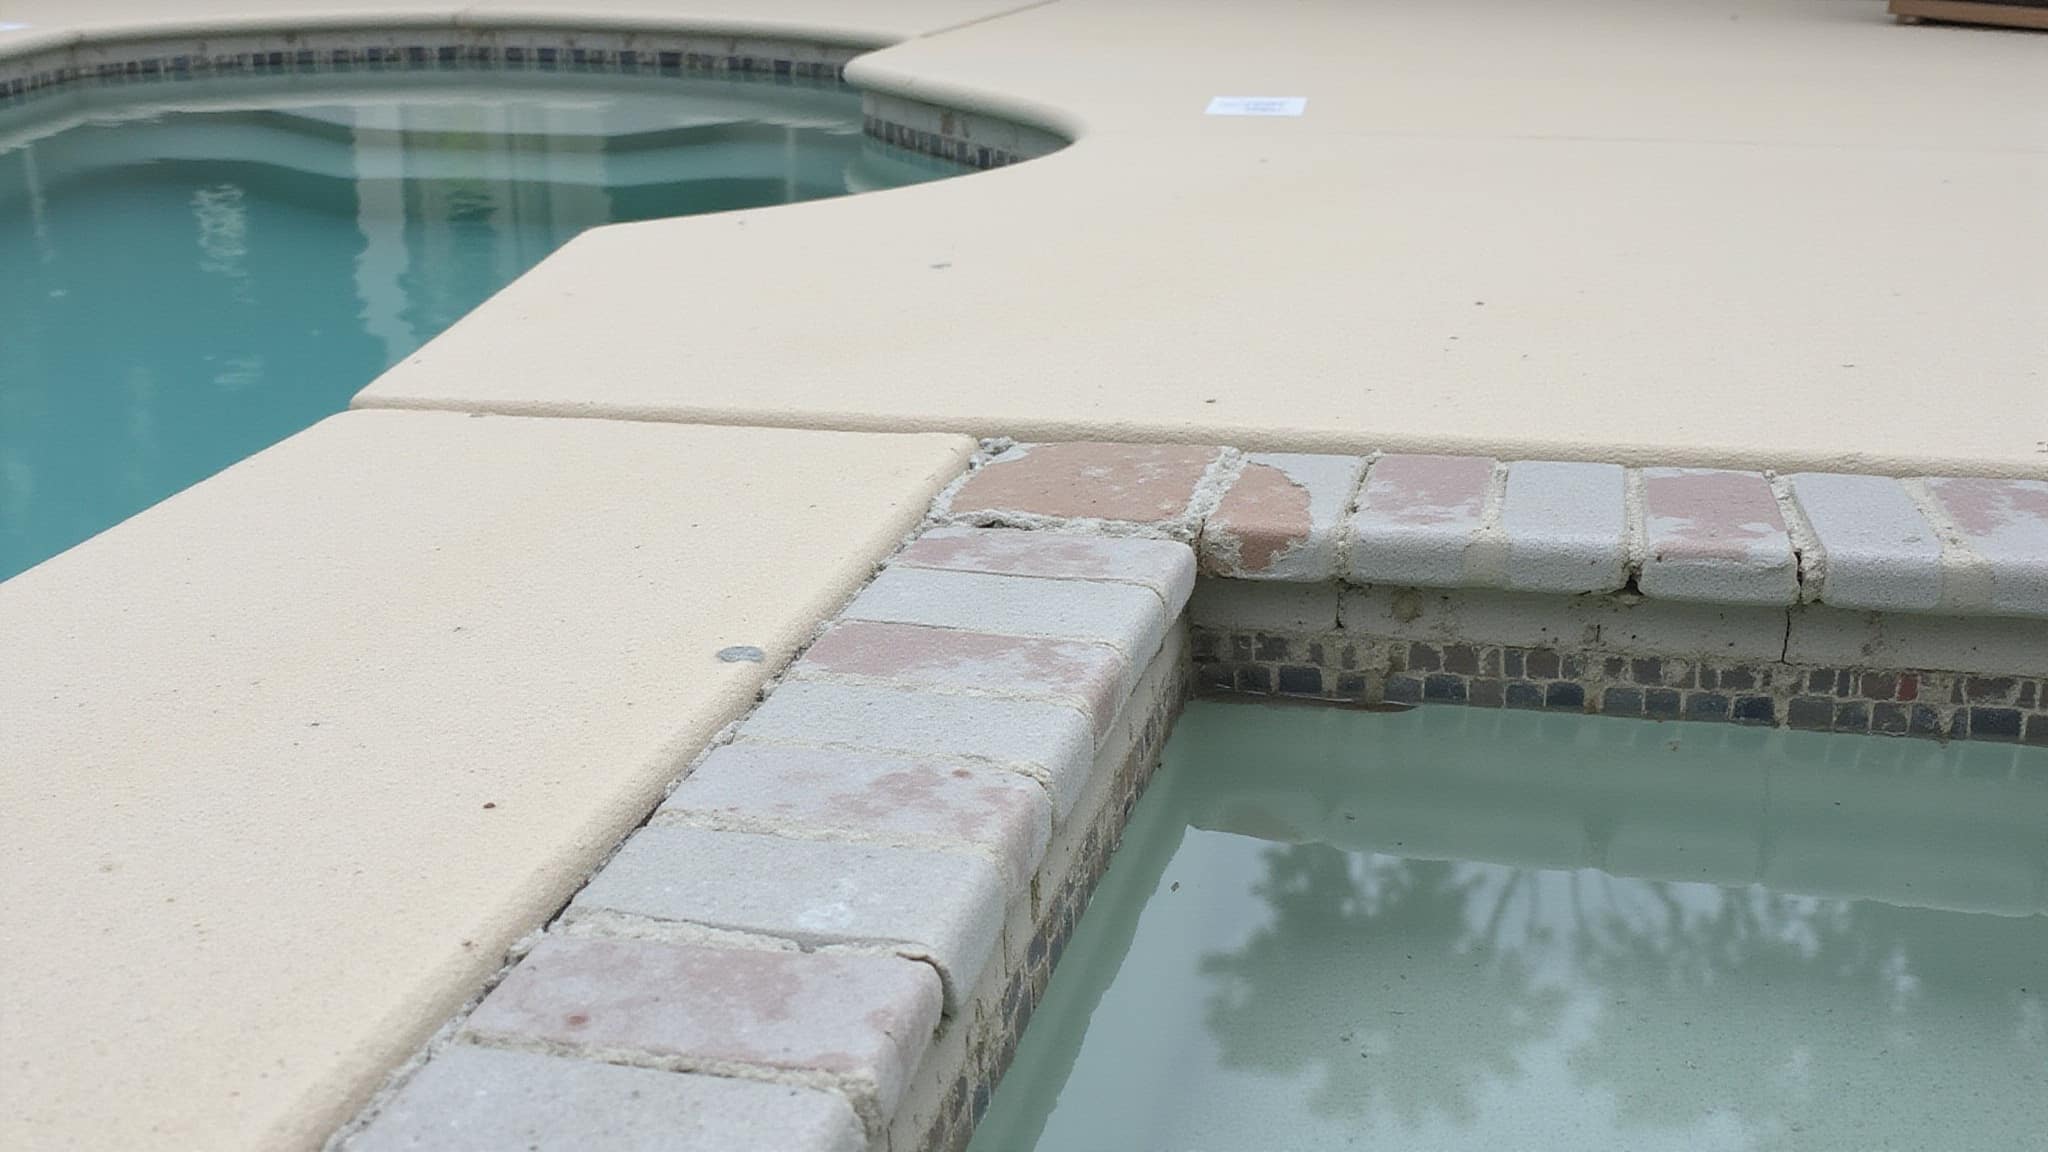
Replace waterline pool tiles by assessing the damage, lowering the water below the affected tiles, removing the old grout and tile, repairing and prepping the exposed surface, setting new tiles with pool-grade adhesive, and then grouting, curing, and refilling. Start by identifying cracks, chips, and loose tiles, then drain only enough to expose the repair zone. Chip away the grout, remove the damaged tiles, and scrape off remaining mortar. Fill shell cracks with epoxy to create a waterproof base, then apply submerged-use thinset with a notched trowel. Press each tile firmly, maintain consistent joints, and let the thinset cure roughly 24 hours before grouting. Seal the grout, refill slowly, and balance pH between 7.2 and 7.6 before use.
What tools and materials do you need for the job
The job requires removal tools, installation tools, and finishing materials. Start with removal tools: a chisel, hammer, and an oscillating or similar specialty tool for lifting old tiles and cutting away grout. Keep a scraper ready to clear remaining mortar from the cavity.
For installation, gather pool-grade adhesive or submerged-use thinset, a notched trowel to spread it evenly, and a rubber mallet to seat tiles without air pockets. Tile spacers help you hold consistent joints.
Stock replacement tiles matched to your existing waterline layout, epoxy or patching compound for shell cracks, grout, a grout float, and grout sealer. Have cleaning supplies on hand so the exposed surface stays free of dust and debris.
How do you drain and remove the old tiles
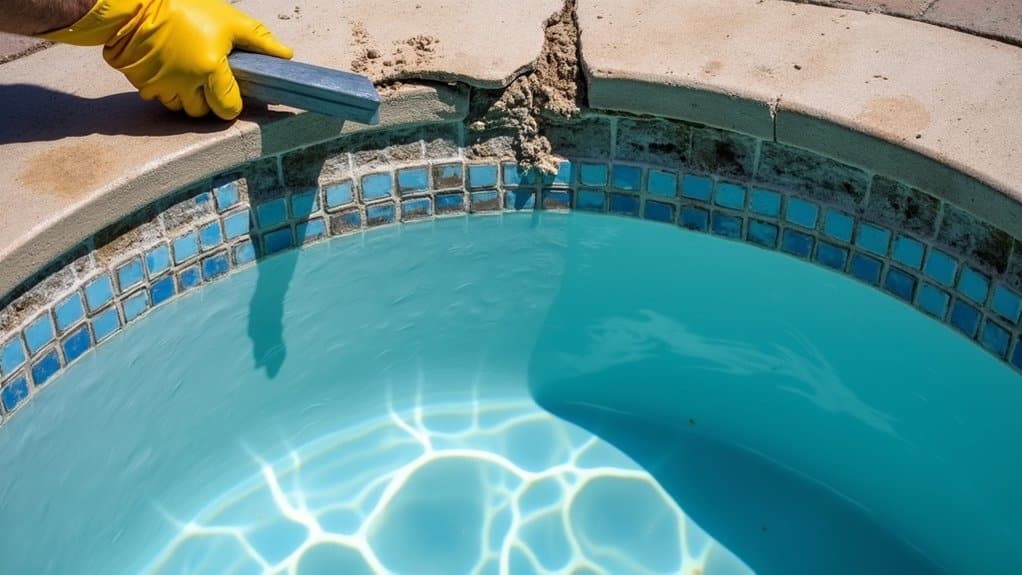
How do you drain and remove the old tiles? Lower the water level below the damaged waterline tiles. You don’t always need to drain the pool fully. In many cases, exposing only the repair zone works. Follow local drainage guidelines, since improper discharge can affect local water systems. The waterline pool tile height is crucial for maintaining the aesthetic and functionality of your pool. Proper installation ensures that water doesn’t overflow and that tiles remain submerged to prevent damage.
Next, cut or chip away the grout around the damaged tiles first. Remove the old tiles with a chisel, hammer, oscillating tool, or similar specialty tool. Work carefully to avoid cracking the pool shell or damaging adjacent tiles.
Once the tiles are out, scrape off any remaining adhesive or mortar completely. Then clean the exposed cavity thoroughly so dust and debris won’t interfere with adhesion. A clean, sound cavity sets up the next repair stage.
How do you prep the surface and set new ones
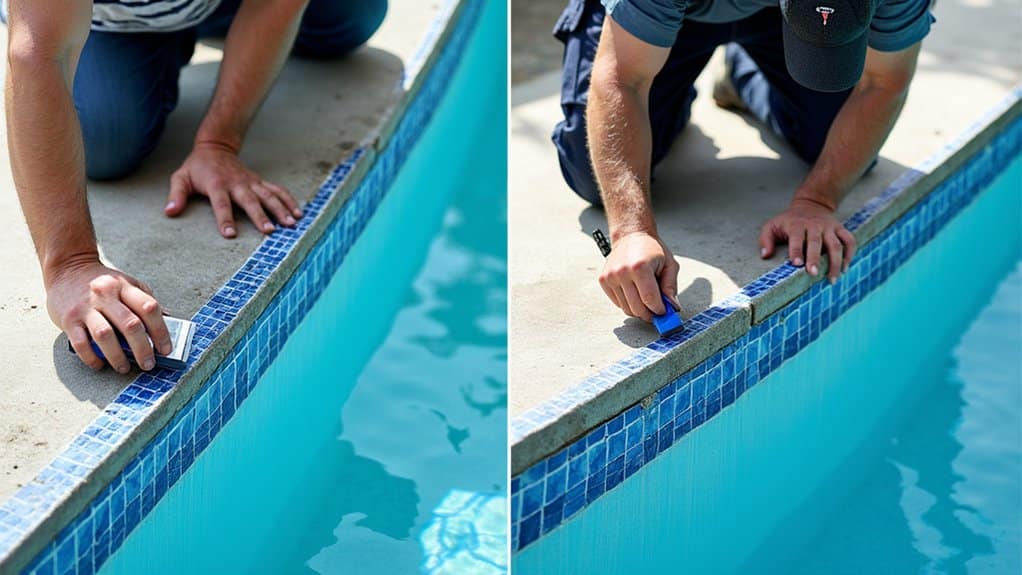
Prep the surface by filling any cracks in the pool shell with epoxy or a patching compound and letting it cure. Smooth the surface until it’s even and free of residue, since leftover dust or mortar weakens adhesion. Spread pool-grade adhesive or submerged-use thinset with a notched trowel, coating the wall or the tile backs evenly. Press each new tile firmly into the adhesive, aligning it with the surrounding tiles. Use tile spacers or careful visual checks to keep grout joints consistent. Tap lightly with a rubber mallet to seat tiles evenly and remove air pockets. Let the adhesive reach the proper cure stage, commonly about 24 hours, before you grout. Rushing this step compromises the bond and the finished waterline’s durability.
How do DIY and professional replacement compare
DIY and professional replacement differ mainly in the scope of damage they can handle and the skill required. If you’re addressing a few loose or chipped tiles in an accessible zone, you can handle removal, adhesive application, and grouting yourself. But hidden shell deterioration, extensive cracking, or precise tile matching often demands professional assessment and tools.
| DIY Approach | Professional Approach |
|---|---|
| Localized, small repair zones | Extensive or hidden damage |
| Basic visual inspection | Thorough deterioration assessment |
| Standard chisel and trowel | Specialty removal and setting tools |
| Higher risk of shell cracks | Reduced secondary-repair risk |
| Lower material cost | Better visual consistency |
Weigh your confidence against the risk of costly shell damage before you commit to either path.
How do you grout and seal the finished tile
To grout and seal the finished tile, load your grout float and press the grout firmly into each joint, working diagonally across the tile faces to fill every gap completely. Wipe off excess material before it hardens, since dried grout is difficult to remove without damaging the surface. Let the grout cure for the period your manufacturer specifies before any full water exposure. Once it’s cured, apply a grout sealer to improve water resistance and reduce staining and discoloration along the waterline. After sealing, refill the pool slowly to avoid sudden pressure on the fresh repair. Check your water chemistry once it’s full, balancing pH to roughly 7.2 to 7.6 before regular use resumes.
Conclusion: Replacing Waterline Pool Tiles the Right Way
Waterline tiles take the brunt of splashing, sun, and chemical exposure, so cracked or loose tiles are common over the years. Replacing them restores the look and protects the pool’s edge from water damage. Success comes from matching the tile, prepping the surface, and using the right waterproof adhesive and grout. Whether you tackle a few tiles yourself or hire a pro for a full band, timely repair keeps the waterline looking sharp and the structure protected. Tiles for a pool water line can come in various materials, including ceramic, glass, and stone. Choosing the right design can enhance the overall aesthetic of your outdoor space.
Upgrade Your Pool With Beautiful Waterline Tiles
Quality waterline tiles do more than protect your pool, they transform its entire look. At Pool Doctor of the Palm Beaches in Palm Beach Gardens, FL, our experienced team provides trusted Pool Renovation & Remodeling with expert tile work and premium finishes. Call +1 (561) 586-2815 today and refresh your pool’s look.
Frequently Asked Questions
How Often Should Waterline Pool Tiles Be Inspected or Replaced?
Give the waterline a look at least once a season, checking for cracked, loose, or missing tiles and failing grout. Individual tiles are replaced as needed rather than on a set schedule. Catching a loose tile early prevents water from getting behind the band and causing bigger problems.
What Causes Waterline Tiles to Crack or Loosen Over Time?
Common causes include freeze-thaw cycles, ground and structure movement, calcium scale buildup, impact, and aging adhesive or grout. Poor original installation can also lead to early failure. Keeping the water balanced to limit scale and addressing small issues promptly helps the tiles stay put longer.
How Much Does Professional Waterline Tile Replacement Typically Cost?
Cost depends on how many tiles need replacing, the tile type, and access, so a few tiles are affordable while a full waterline band costs more. Matching an older tile can add to the price. A pool tile professional can assess the damage and quote the repair for your pool.
Can Waterline Tile Damage Lower My Pool’s Resale Value?
It can affect a buyer’s impression, since cracked or missing tiles look neglected and hint at possible water damage behind them. Repairing the waterline before selling refreshes the look and reassures buyers. Keeping the tile in good shape protects both the pool’s appearance and its value.
Are Certain Tile Materials More Durable for Waterline Use?
Yes. Porcelain and glass tiles are popular for the waterline because they resist water, chemicals, and fading well, while natural stone needs more sealing and care. Quality, frost-resistant tile lasts longer in demanding conditions. Choosing a durable, pool-rated tile helps the waterline hold up for years.